Glass gems, with their vibrant sparkle and captivating shine, offer a surprisingly versatile material for crafting unique and eye-catching jewelry. From delicate rings to statement brooches, the possibilities are endless, and the best part? Creating these beautiful pieces is easier than you might think! This tutorial will guide you through the simple yet rewarding process of making your own stunning glass gem rings and brooches, perfect for adding a touch of handmade elegance to your wardrobe or gifting to loved ones. Forget expensive designer pieces – you can achieve a similar look at a fraction of the cost and with a lot more personal flair.
This simple DIY project requires minimal supplies and only basic crafting skills, making it ideal for beginners and experienced crafters alike. Let's dive into the step-by-step instructions, and soon you’ll be proudly displaying your dazzling, handcrafted creations.
Preparation and Safety Guidelines
- Glass gems
- Fingernail polish
- Ring mounts
- Pin bags
- Adhesive (e.g., E6000)
- Always wear safety glasses when working with glass, especially when cutting or grinding. Small shards can easily cause eye injuries.
- Use caution when working with sharp tools like glass cutters and jewelry pliers. Cut away from yourself and keep your fingers clear of blades.
- If using resin, work in a well-ventilated area and avoid skin contact. Follow the resin manufacturer's instructions carefully.
Step-by-Step Instructions
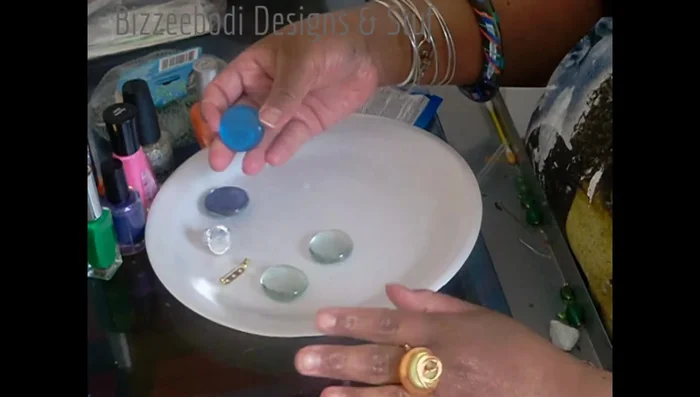
Gather Supplies
- glass gems, nail polish, ring mounts/pin backs, adhesive.

Gather Supplies Apply Base Coat
- Apply a base coat of nail polish to the glass gems. Let it dry completely (around 30 minutes per layer).
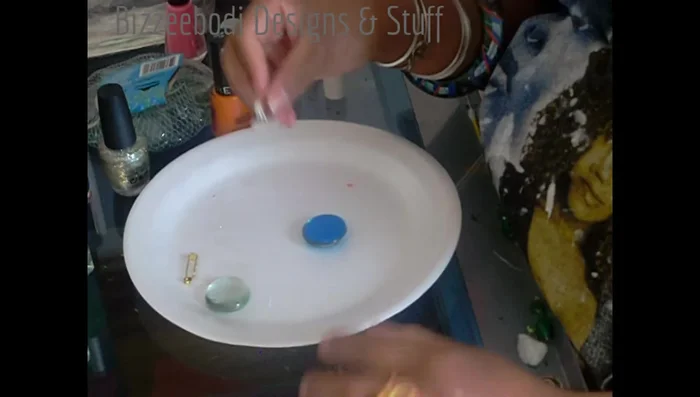
Apply Base Coat Add Design Layers
- Add additional layers of nail polish and/or glitter for desired design. Let each layer dry completely.
Add Design Layers Apply Adhesive
- Once the polish is completely dry, apply a small amount of adhesive to the back of the glass gem.
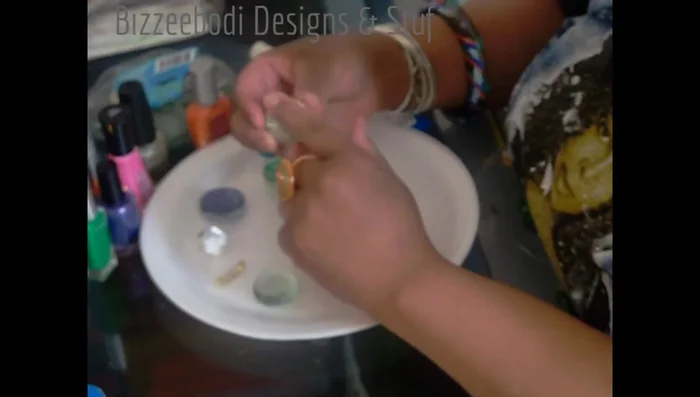
Apply Adhesive Attach to Mounting
- Carefully attach the gem to the ring mount or pin back. Ensure the adhesive is evenly distributed to avoid air bubbles.
Attach to Mounting Final Drying
- Let the adhesive dry completely overnight.
Final Drying


Read more: DIY Tiered Tassel Earrings: A Quick & Easy Jewelry Tutorial
Tips
- Consider using a top coat to seal the design and prevent chipping.
- Nail polish remover can be used to correct mistakes.
- Be careful when handling the glass gems, especially when working with children, as they can be fragile.
- Don't use too much adhesive; it will spread as you attach the gem.