Unlock your inner artist and create stunning, intricate geometric patterns with effortless precision using a DIY geometric pattern jig! Tired of freehand drawing limitations and frustrating inconsistencies? Imagine effortlessly replicating complex designs across multiple surfaces, from wood and fabric to paper and metal, achieving perfectly aligned lines and shapes every time. This simple yet versatile tool will transform your crafting experience, opening up a world of creative possibilities previously deemed too challenging or time-consuming. Forget tedious measurements and wavering lines; precise, repeatable geometric beauty is finally within your reach.
This guide will walk you through the surprisingly straightforward process of building your own custom geometric pattern jig. We'll cover everything from choosing the right materials and understanding basic geometric principles to assembling the jig and mastering its use. Ready to elevate your crafting game? Let's dive into the step-by-step instructions and start creating breathtaking designs!
Preparation and Safety Guidelines
- Scrap plywood
- 1x4 Oak material
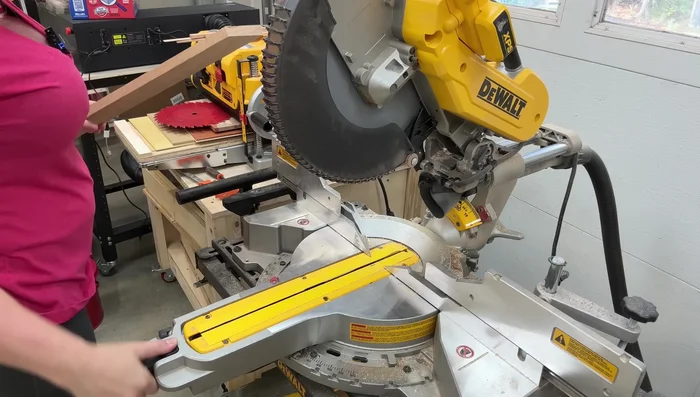
- Miter saw
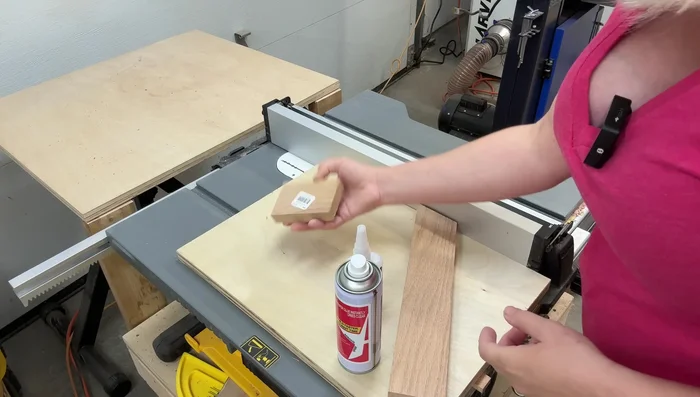
- CA glue
- Glue activator
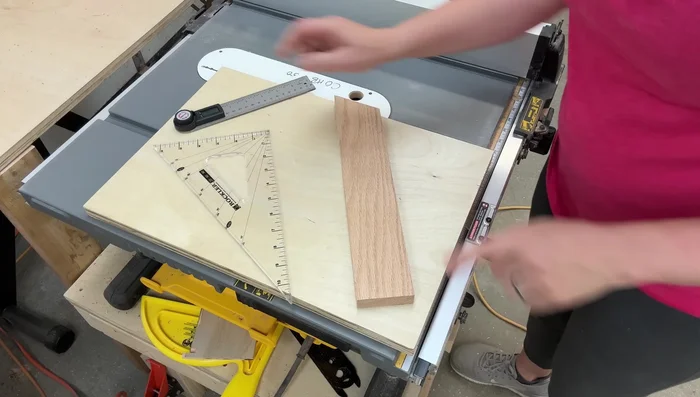
- Square
- Digital angle ruler (optional)
- Clamps
- Cherry wood for runner and shims
- Crosscut thin kerf blade
- Table saw
- Table saw fence
- Drill
- Screws
- Stop block
- Table saw fence clamps
- Caliper (optional)
- Always use sharp tools with caution. Keep fingers clear of blades and cutting surfaces.
- Ensure your work surface is stable and secure to prevent accidental slips or movement during cutting.
- Wear appropriate safety glasses to protect your eyes from flying debris or sharp objects.
Step-by-Step Instructions
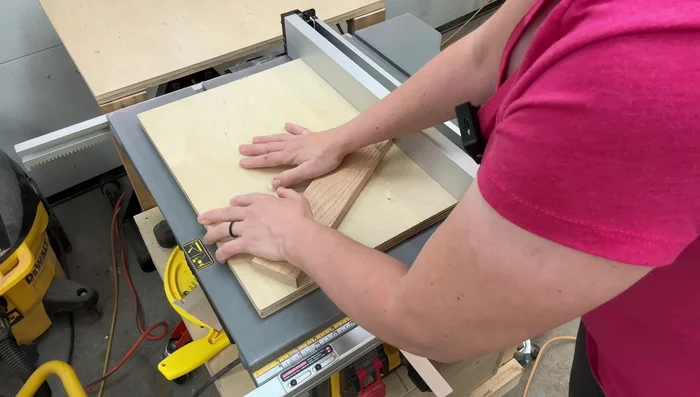
Prepare the Base and Support
- Cut a rectangular piece of scrap plywood (e.g., 18x12 inches).
- Cut a piece of 1x4 Oak material at a 30° angle using a miter saw.
- Use a digital angle ruler or a 30-60-90 triangle to ensure the angled support is exactly 30°. Glue and clamp it securely to the plywood base, ensuring flush contact and leaving a tiny gap near the edge for the fence.
- Glue and optionally screw a small piece of 3/4-inch Oak material to the top of the angled support block.

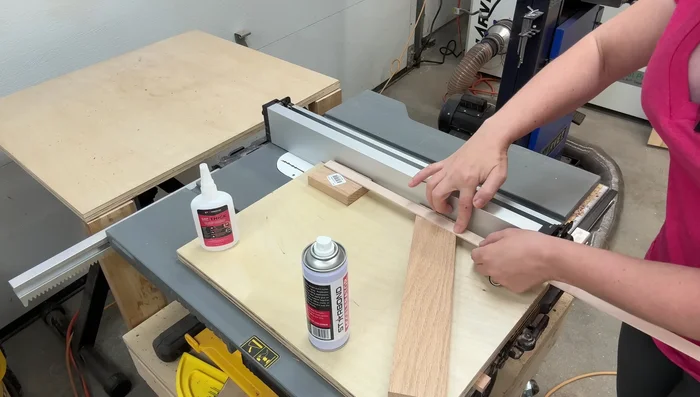
Prepare the Base and Support Create and Attach the Runner
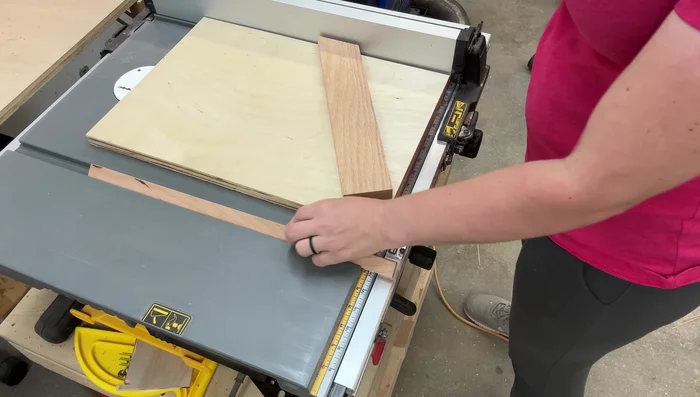
- Cut a runner from cherry wood to fit your miter slot. It should run smoothly without wobbling.
- Glue the runner to the base, using shims to lift it slightly above the table surface for proper contact with the sled.
Create and Attach the Runner Set up the Fence and Runner
- Set your table saw fence to precisely 1 inch (or your desired strip width).
- Apply CA glue and activator, carefully positioning the runner flush against the fence.
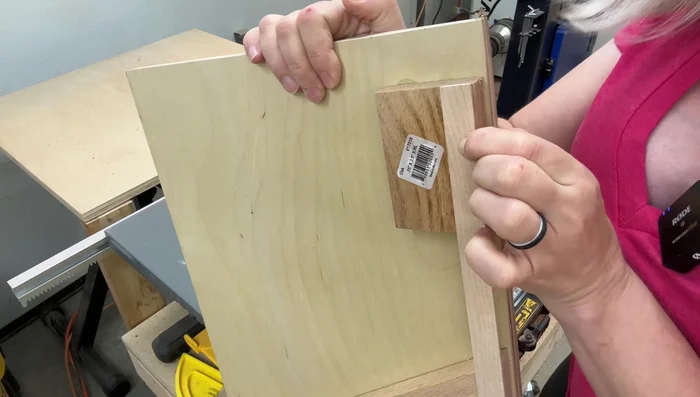
Set up the Fence and Runner Add Rear Stop Block
- Cut a thin Maple strip to extend from the back angled support, past the 30° block. Glue this only to the angled support block, leaving the top edge free.
- Pre-drill a hole and screw the Maple strip to the angled support to prevent it from moving.
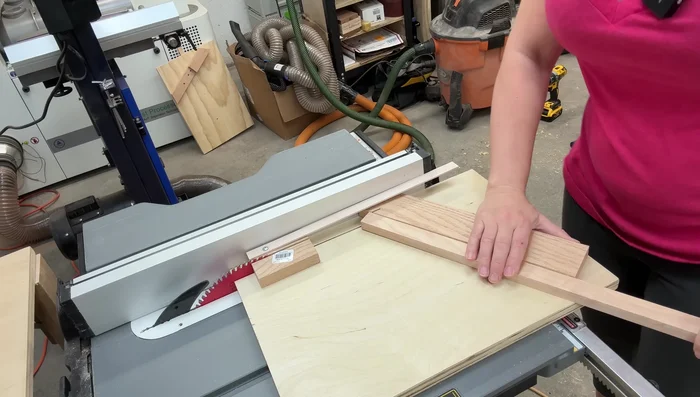
Add Rear Stop Block Cut Shapes
- Use the jig to cut the diamond shapes. Remember to cut only 2-3 pieces at a time to prevent kickback. For the other shapes, use a second, simpler jig (just a 30° angled block) and adjust your fence accordingly, employing a stop block to manage workpiece position and prevent kickback.
Cut Shapes


Read more: Build a Stunning Black Walnut Coaster Set: The Ultimate Furniture Protector
Tips
- Take your time and ensure all measurements are precise to avoid gaps in your patterns.
- Use a thin kerf blade for clean cuts and minimal chipping.
- Chamfer the bottom of the angled support to help with dust collection.
- Use a stop block to prevent kickback when cutting additional shapes. Cut only a few pieces at a time to avoid overcrowding.
- Use calipers for precise measurements and adjustments when creating additional shapes.