Winter's chill may have your garden dormant, but it doesn't mean your gardening passion needs to hibernate. In fact, the quieter months offer the perfect opportunity for enriching DIY projects that will pay off handsomely come spring. This winter, why not tackle a rewarding and surprisingly simple undertaking: crafting your own garden stakes? Forget expensive store-bought options; with readily available materials and a little elbow grease, you can create personalized, durable stakes that will elevate your garden's aesthetic and functionality. These customized markers are perfect for labelling herbs, vegetables, and flowers, ensuring you always know what’s growing where.
From rustic wooden designs to whimsical repurposed materials, the possibilities are truly limitless. This project is not only economical but also deeply satisfying, allowing you to express your creativity while preparing for a bountiful growing season. Ready to transform your winter downtime into a productive and creative pursuit? Let's delve into the step-by-step guide and begin crafting your unique garden stakes.
Preparation and Safety Guidelines
- Axe
- Maul
- Splitting wedges
- Hatchet
- Always wear safety glasses when using sharp tools like knives, saws, or drills. Flying debris can cause serious eye injuries.
- Use caution when working with power tools. Ensure they are properly plugged in and functioning correctly before use. Follow manufacturer's instructions carefully.
- If using treated lumber, wear gloves and a dust mask to prevent skin and respiratory irritation from chemicals. Dispose of scraps responsibly.
Step-by-Step Instructions
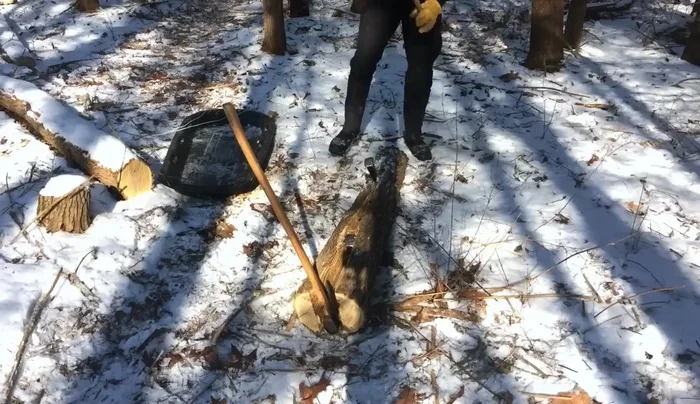
Sourcing and Harvesting
- Look for straight runs (4-6 feet) in leaning or older trees with good wood.
- Fell the trees and transport them.

Sourcing and Harvesting Initial Processing
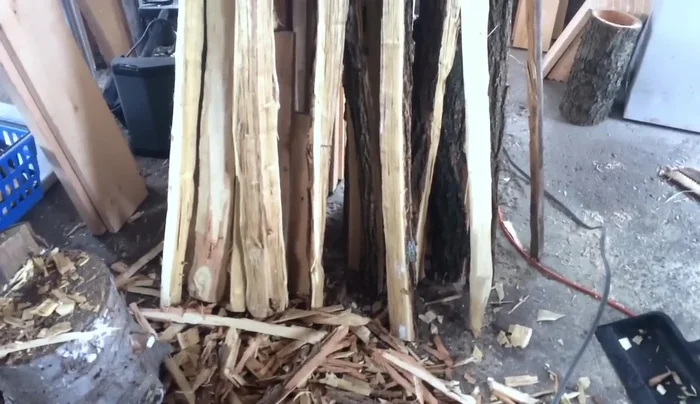
- Split the logs into manageable pieces using hand tools (axe, maul, wedges).
- Split the pieces further to desired dimensions, allowing for variable widths and densities for different uses.
Initial Processing Debarking and Shaping
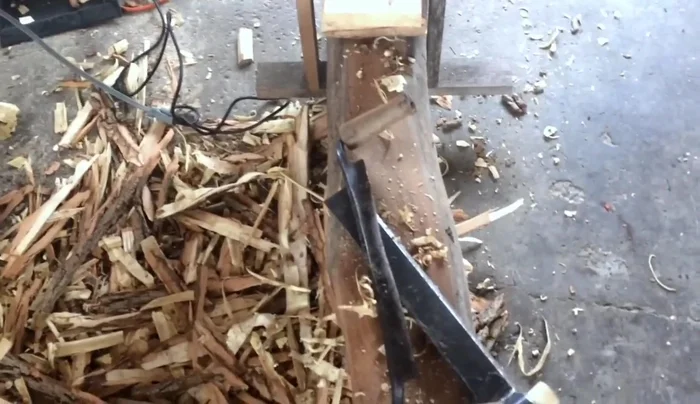
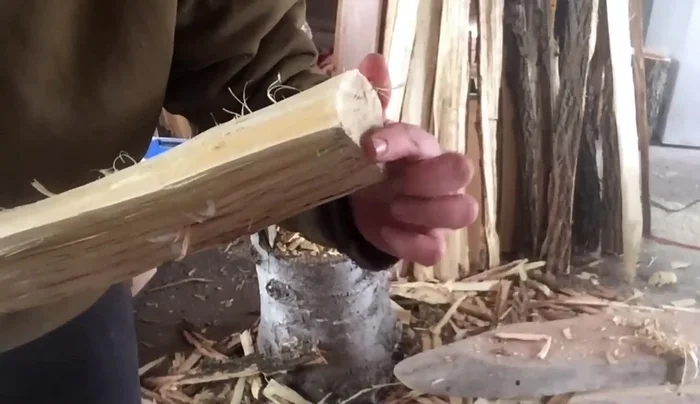
- Remove the bark using a hatchet, taking glancing blows to get under the bark and peeling it away.
- Sharpen the stakes using a hatchet, taking small chips up and down the line to remove wood efficiently.
- Smooth the tapered end for easier driving into the ground.
- Round over the corners of the driving end to prevent the sledgehammer from splitting the wood.
Debarking and Shaping Finishing Touches
- Drill holes every foot for easy wire attachment.
Finishing Touches


Read more: Build a Stunning Black Walnut Coaster Set: The Ultimate Furniture Protector
Tips
- Use durable wood like black locust, oak, or maple.
- Take small bites when sharpening to avoid large, wasteful cuts.
- A sharp hatchet is essential for efficient bark removal and sharpening.
- Chamfering the driving end prevents wood from splitting when hammering.