Unleash your inner artist and add a touch of rustic charm to your home with this delightful DIY project! Transform a plain wooden box into a stunning floral masterpiece using the captivating technique of string art. This project is perfect for beginners, requiring only basic crafting skills and readily available materials. Imagine the vibrant colours and delicate patterns you can create, perfectly showcasing your creativity and adding a unique, handcrafted element to your décor. Whether you're a seasoned crafter or just starting out, this project offers a rewarding experience and a beautiful finished product.
This detailed guide will walk you through each step of creating your own bespoke floral string art wooden box, from preparing the wood to meticulously wrapping the strings to achieve the desired floral design. Ready to get started and add a touch of handcrafted beauty to your space? Let's dive into the step-by-step process!
Preparation and Safety Guidelines
- Blank wooden box
- Acrylic paints (brown shades)
- Flat brushes
- Water
- Nails (5/8 inch length)
- Hammer
- Dandelion pattern (printable)
- White thread
- Green thread
- Tweezers
- Metal caps
- Soft polyester fabric
- Cardboard
- Double-sided tape
- Always use sharp scissors or wire cutters when handling floral wire to prevent injury. Never try to cut wire with your teeth.
- Supervise children closely if they are assisting with this project, especially when using sharp tools or hammering nails.
- Ensure the wooden box is stable and secure on your work surface to prevent accidental damage or injury during hammering.
Step-by-Step Instructions
Prepare the Wooden Box
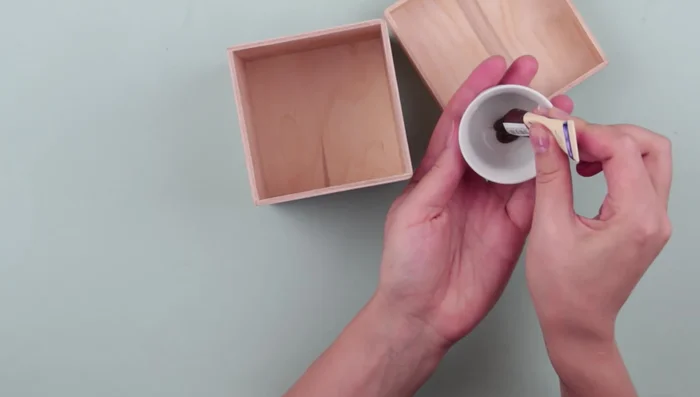
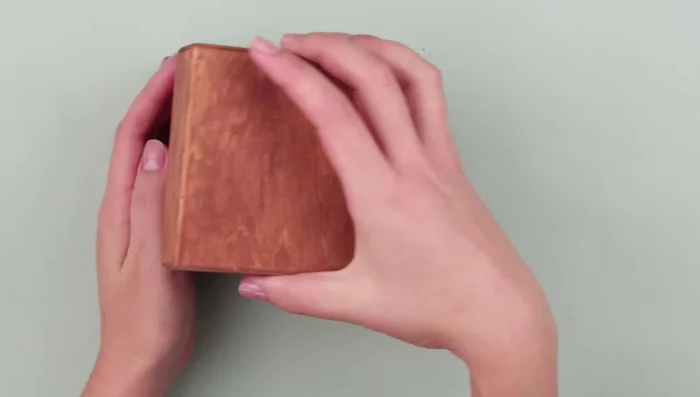
- Paint the wooden box with brown paint diluted with water to enhance the wood pattern.

Prepare the Wooden Box Prepare the Dandelion Pattern
- Prepare the dandelion pattern. You can either use the provided pattern or draw it freehand.
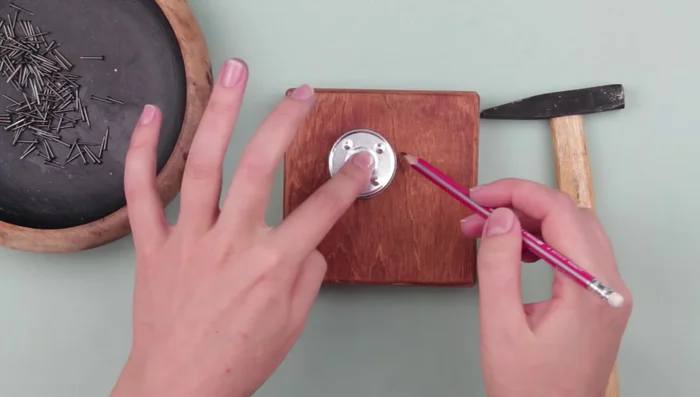
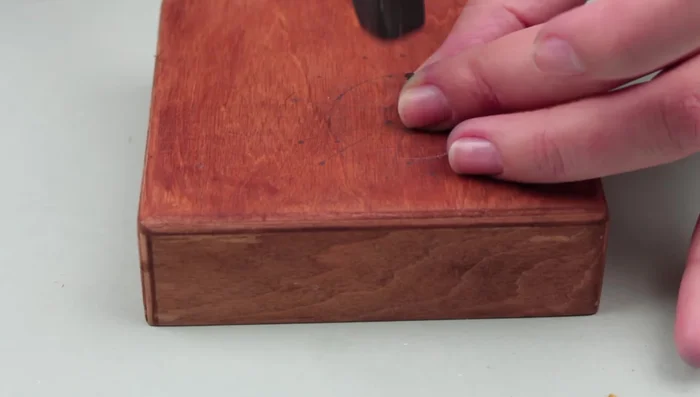
- Draw the dandelion pattern on the box lid. Mark the center, draw a smaller inner circle, and mark points following the pattern. Use a ruler for easier marking.
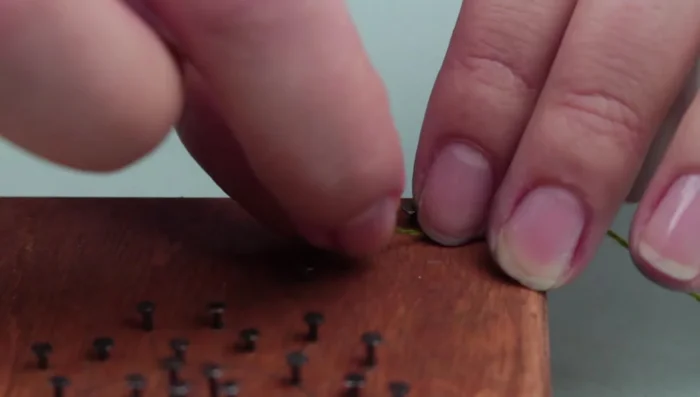
Prepare the Dandelion Pattern Hammer in the Nails
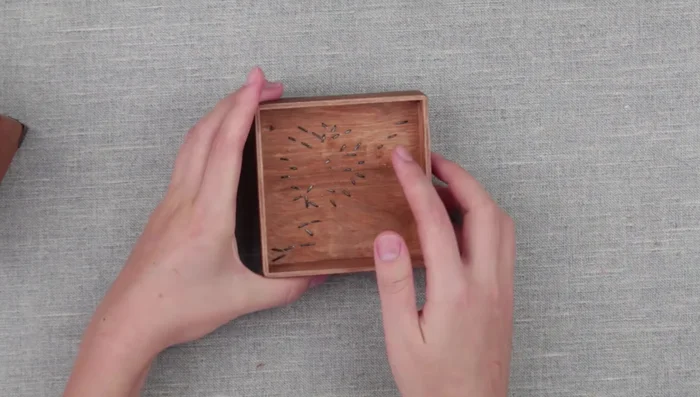
- Hammer nails into the marked points, starting with the center.
Hammer in the Nails Create the Dandelion Stem
- Weave green thread around the nails to create the dandelion stem.
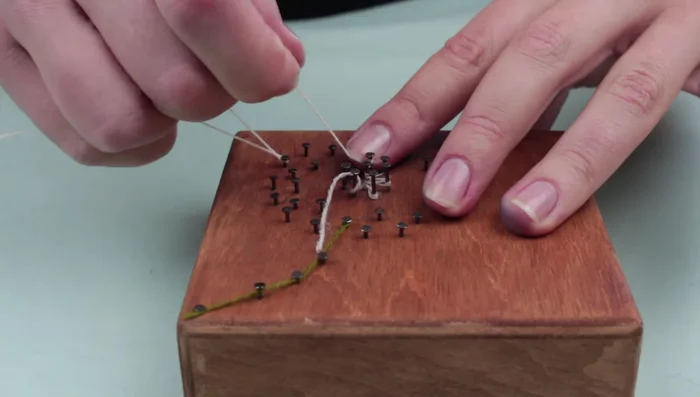
Create the Dandelion Stem Create the Dandelion Flower
- Weave white thread around the nails to create the dandelion flower, starting from the center and moving outwards. Use tweezers to help press the thread down.
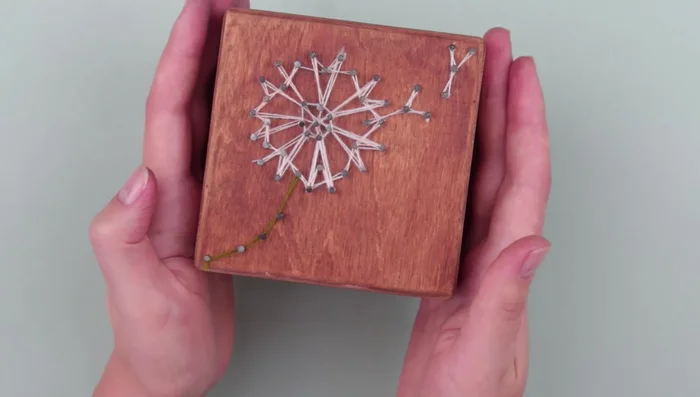
Create the Dandelion Flower Add Finishing Touches to the Box
- Embellish the box corners with metal caps.
- Decorate the inside of the lid.
- Bend the sticking-up nail ends.
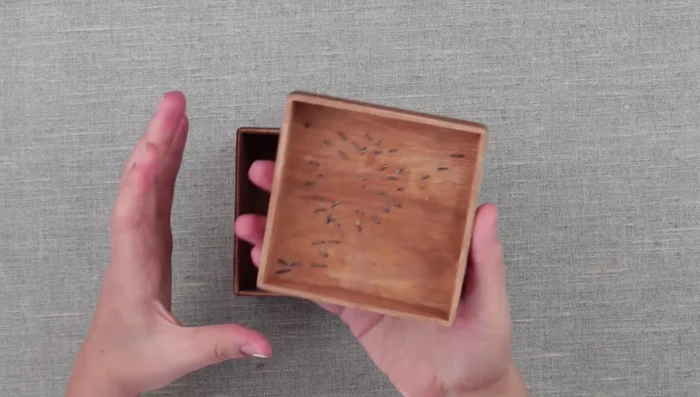
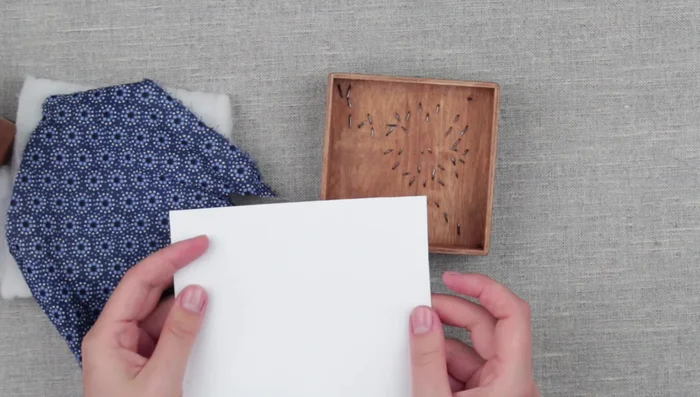
Add Finishing Touches to the Box Create the Interior Lining
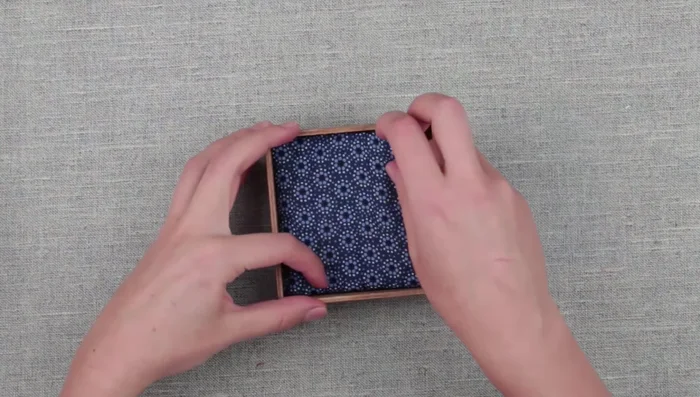
- Cut a piece of polyester fabric and cardboard to the size of the box lid's inside. Attach the fabric to the cardboard using double-sided tape.
- Attach the fabric-covered cardboard to the inside of the lid with tape to create a soft interior.
Create the Interior Lining
Read more: Build a Stunning Black Walnut Coaster Set: The Ultimate Furniture Protector
Tips
- Diluting the brown paint helps to show the wood grain.
- Use a ruler to help with marking the nail positions.
- The nail heads will help keep the thread in place.
- Use tweezers to help press the thread down if needed.
- Weave the nails several times to make the pattern more intense.