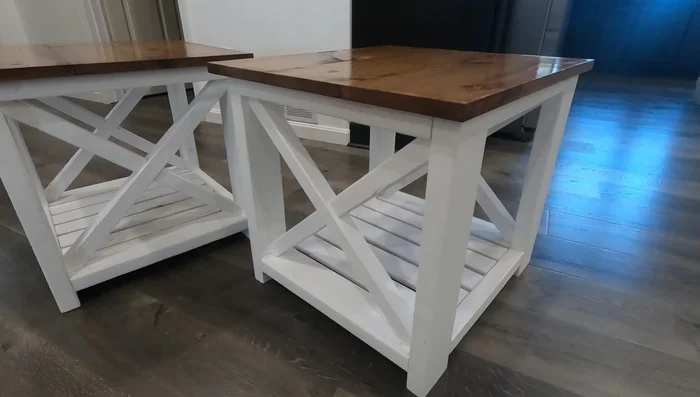
End tables. Those ubiquitous little sidekicks to our sofas and armchairs. They're functional, often beautiful, and surprisingly expensive to buy. But what if you could craft your own, perfectly tailored to your space and style, without needing a degree in woodworking? This guide proves that building your own DIY end tables is easier than you think, even if your tool collection is limited to the basics. Forget overpriced furniture stores and embrace the satisfying world of handmade home décor. You'll be amazed at how much you can achieve with a little patience and the right instructions.
This guide will walk you through several easy woodworking projects, perfect for beginners. From simple designs using readily available materials to slightly more advanced options, we'll cover everything you need to know, from selecting the right wood to finishing touches. Ready to transform some basic lumber into stunning, personalized end tables? Let's dive into the step-by-step instructions and start building!
Preparation and Safety Guidelines
- Miter saw or circular saw
- Drill
- Pocket hole jig
- Clamps
- Wood glue
- Screws
- Nails (optional)
- Sandpaper (optional)
- Paint sprayer or paint brush
- White latex paint
- Minwax Early American stain
- Polyurethane gloss
- Always wear safety glasses to protect your eyes from flying debris.
- Use clamps to secure your workpieces while gluing and assembling to prevent injury and ensure a strong bond.
- Ensure proper ventilation when using power tools and finishes; wood dust and fumes can be harmful.
Step-by-Step Instructions
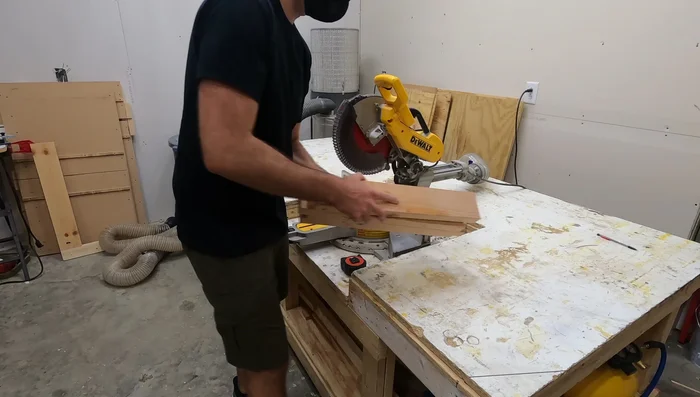
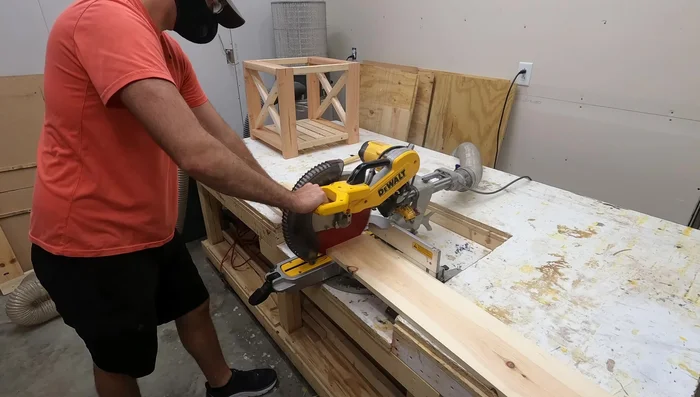
Cut Frame Pieces
- Cut the legs and horizontal braces:

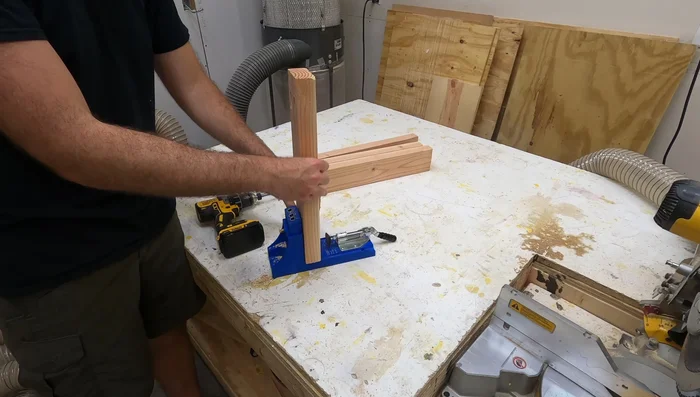
Cut Frame Pieces Prepare Braces
- Drill pocket holes on the braces:
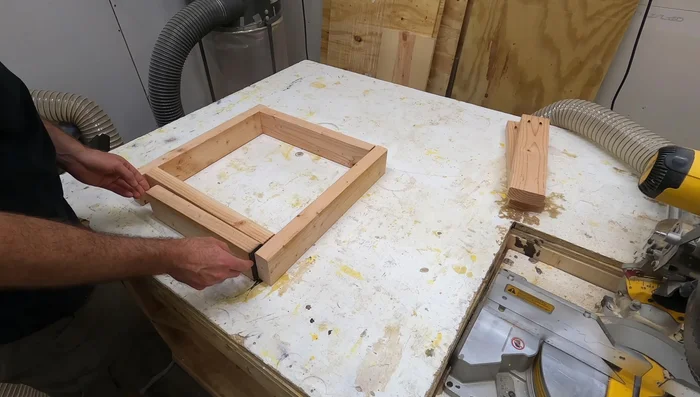
Prepare Braces Assemble Side Frames
- Assemble the side support frames:
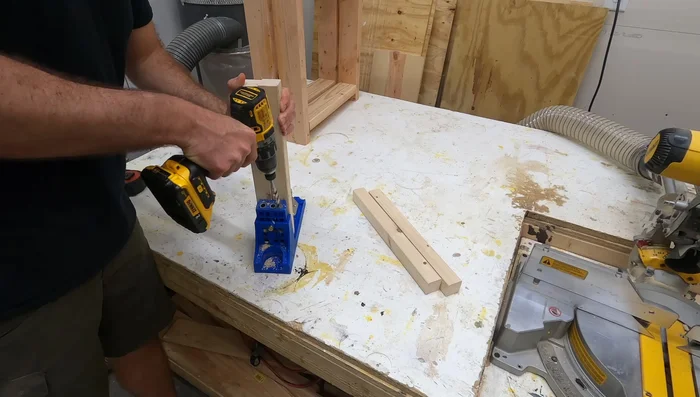
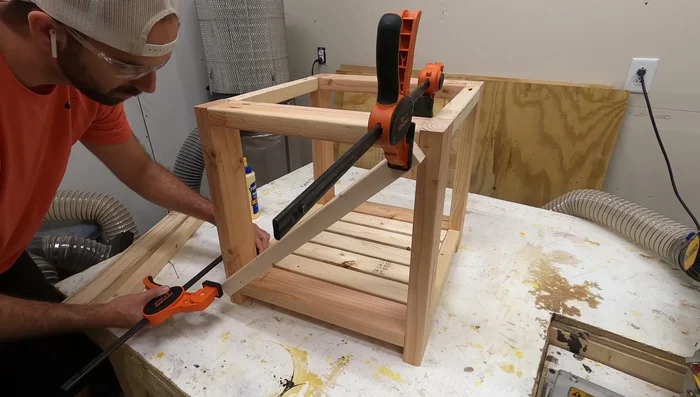
Assemble Side Frames Connect Side Frames
- Attach the side frames together using pocket holes and 2x2s:
Connect Side Frames Install Bottom Slats
- Install the bottom slats (using table saw for cleaner look, or just cut to length and attach directly if you don't have one):
Install Bottom Slats Install Shelves
- Create and attach shelves using ripped strips of wood:
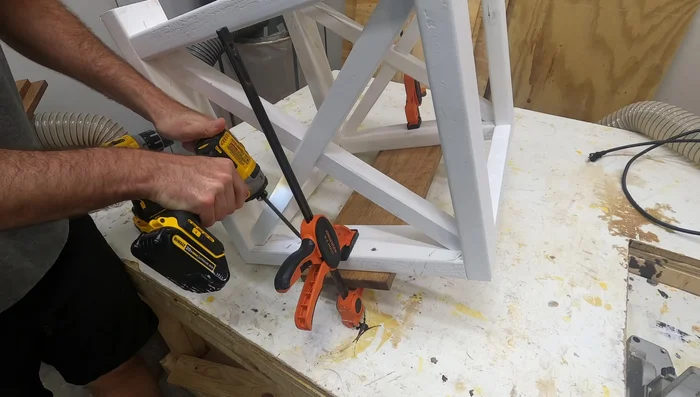
Install Shelves Add X-Braces
- Build and attach the X-braces for each side:
Add X-Braces Prepare Tabletop
- Cut and attach the tabletop:
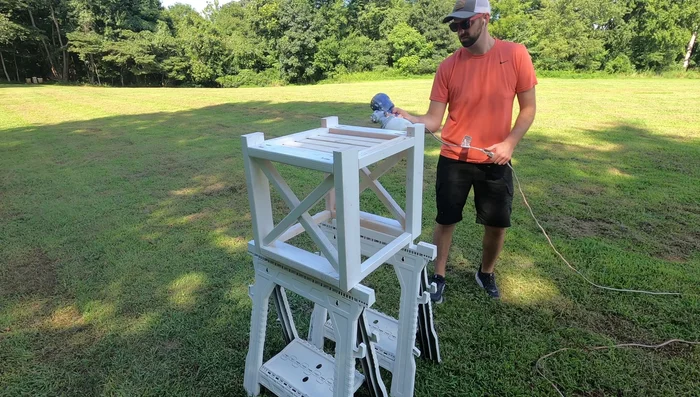
Prepare Tabletop Paint Frame
- Paint the table frame:
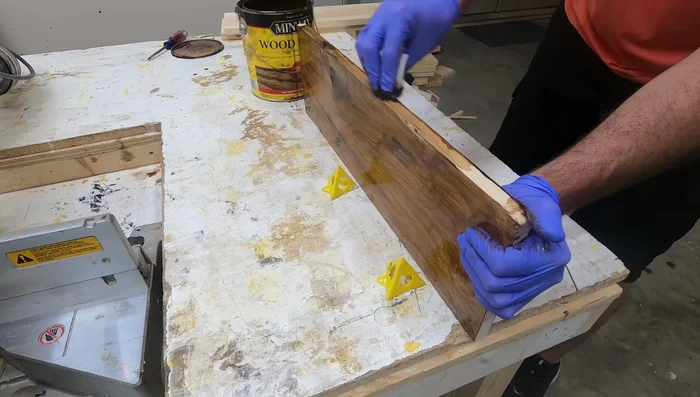
Paint Frame Stain Tabletop
- Stain the tabletop:
Stain Tabletop Attach Tabletop
- Attach the tabletop to the frame:
Attach Tabletop Finish Tabletop
- Apply polyurethane gloss to the tabletop:
Finish Tabletop


Read more: Build a Stunning Black Walnut Coaster Set: The Ultimate Furniture Protector
Tips
- Ensure all parts are square before attaching. A crooked frame will result in a wobbly table.
- Use glue in addition to screws for stronger joints.
- If you don’t have a table saw, cut the bottom slats to length and attach directly to the frame.
- Use a push block for safety when using the table saw, especially when ripping thin strips.
- Take your time when making multiple passes with the miter saw on the X-braces.