Elevate your entertaining with a stunning, handcrafted serving tray, showcasing the timeless elegance of mitered corners and the robust strength of spline joints. This project transcends the ordinary, offering a rewarding journey into woodworking that results in a piece both beautiful and functional. Forget flimsy store-bought trays; this DIY project empowers you to create a personalized serving tray, perfectly tailored to your style and needs, using readily available materials and techniques easily mastered even by intermediate woodworkers. The rich grain of the wood, perfectly joined and finished, will be a testament to your skill.
This guide will walk you through each step of constructing your own elegant serving tray, from selecting the perfect wood to the final sanding and finishing touches. We'll unravel the seemingly complex techniques of creating precise mitered corners and secure spline joints, providing clear instructions and helpful tips along the way. Ready to transform your serving game and create a heirloom-quality piece? Let's get started!
Preparation and Safety Guidelines
- Table Saw
- Band Saw
- Router
- Clamps
- Wood Glue
- Tape Measure
- Gauge Blocks
- Spline Jig
- Sandpaper
- Finish
- Drill
- Connecting Bolts
- Allen Wrenches
- Always wear safety glasses when using power tools, especially when cutting and sanding wood.
- Use clamps to secure your workpiece during gluing and ensure proper alignment for a strong mitered joint. Improper clamping can lead to uneven joints and injury.
- Sharp chisels and knives are crucial for precise spline work; handle them with care and use a push stick to avoid hand injuries.
Step-by-Step Instructions
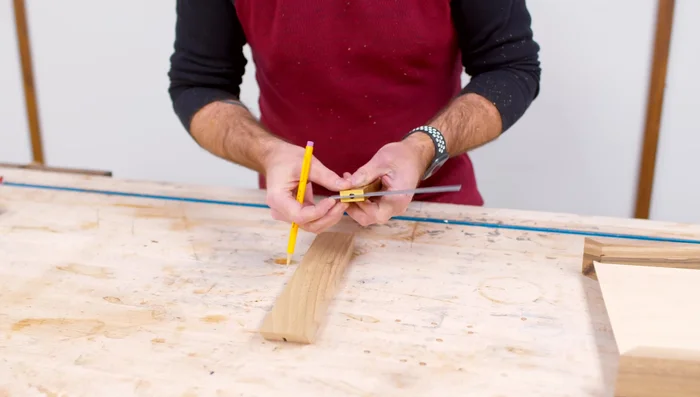
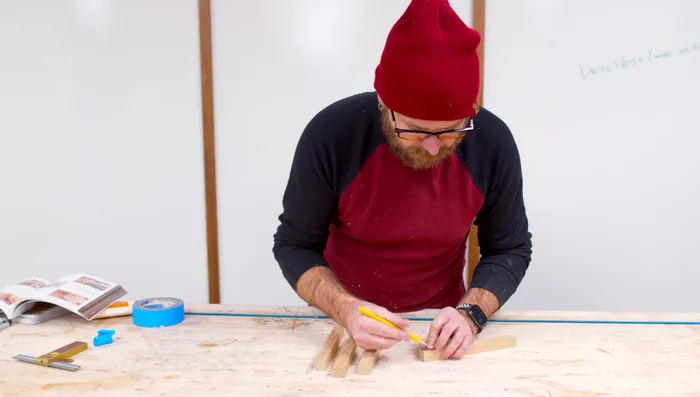
Prepare Frame Pieces
- Cut strips for the frame using a table saw set at 45 degrees for mitered corners. Use a stop block for consistent length.
- Cut a groove down the center of each frame piece using a table saw. Use gauge blocks for precise blade height.
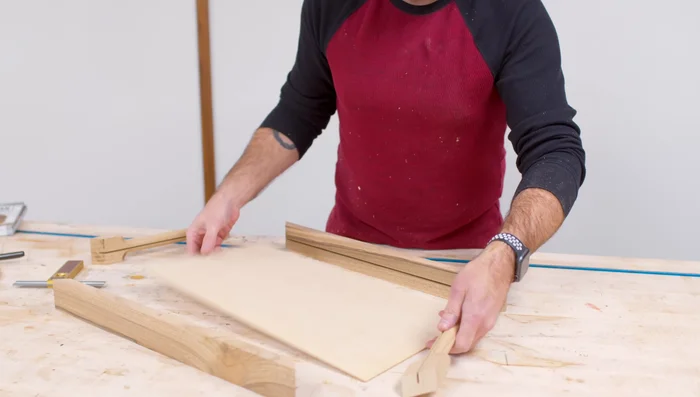
Prepare Base and Handle
- Cut the plywood base slightly smaller than the inside dimensions of the frame.
- Cut the handle sections, round over the edges using a router.

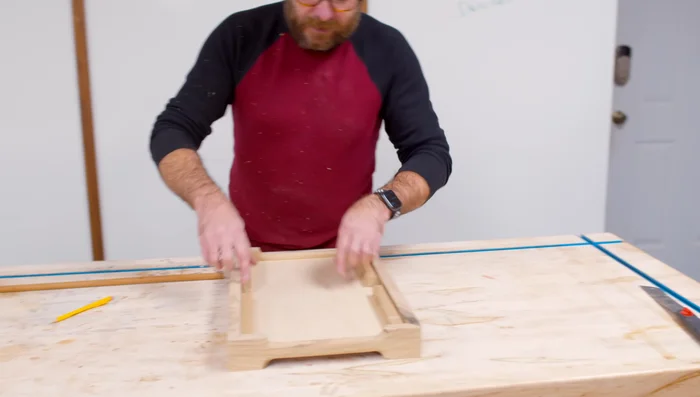
Prepare Base and Handle Assemble Frame
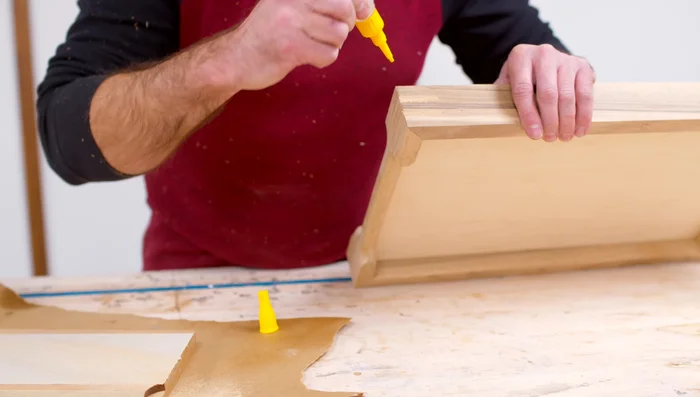
- Glue the frame pieces together, using tape for clamping. Let dry for an hour.
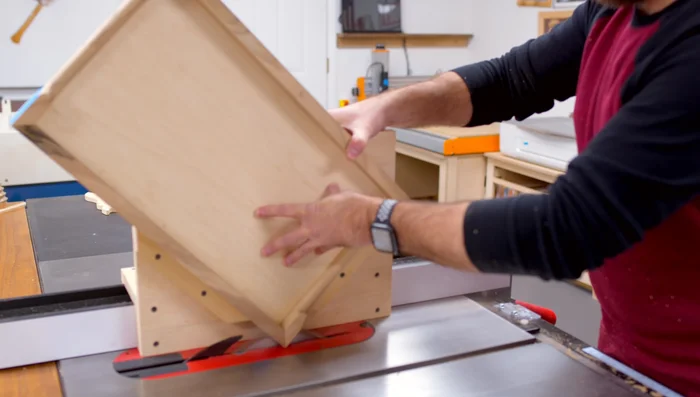
Assemble Frame Create and Install Splines
- Cut splines using a spline jig and table saw to reinforce the mitered corners.
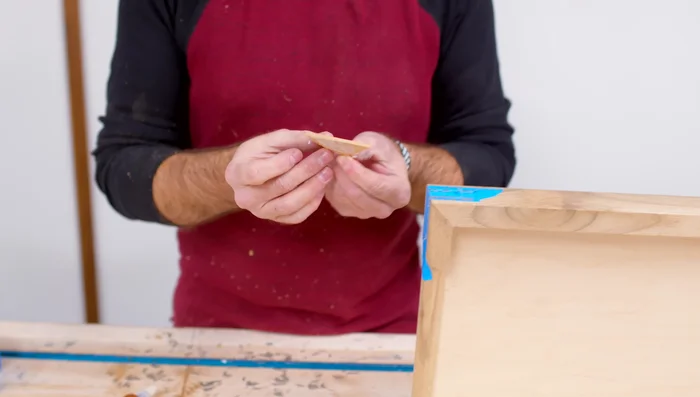
- Cut and shape the spline pieces, sanding to fit snugly.
- Glue and insert the splines into the mitered joints.
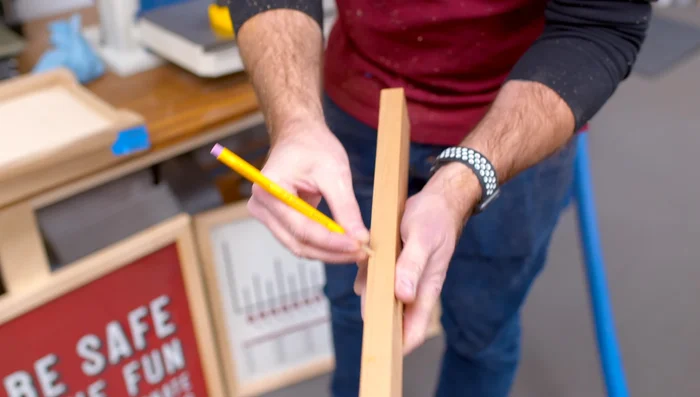
Create and Install Splines Prepare and Attach Legs
- Cut and shape the legs. Drill holes for support dowels and connecting bolts.
- Assemble the legs using support dowels and connecting bolts. Cut bolts to length for snug fit.
Prepare and Attach Legs Finishing Touches
- Fill gaps with wood glue and sawdust.
- Sand and finish the tray.
Finishing Touches
Read more: Build a Stunning Black Walnut Coaster Set: The Ultimate Furniture Protector
Tips
- Use gauge blocks for accurate blade height settings on the table saw.
- Slightly undersizing the plywood base ensures a snug fit within the frame.
- Tape is a convenient clamping method for this project, providing sufficient pressure.
- Splines significantly reinforce the mitered corner joints, creating a stronger, more durable tray.
- Fill any gaps with wood glue and sawdust from the same wood type for a seamless finish.