Step into the world of ancient Egypt and craft your own breathtaking statement necklace! This isn't your average jewelry project; we're diving deep into the rich symbolism and iconic aesthetics of pharaonic Egypt to create a piece that’s both strikingly beautiful and uniquely yours. Imagine adorning yourself with a necklace that whispers of powerful queens and majestic gods, a tangible link to a civilization that continues to captivate us millennia later. Forget mass-produced jewelry; this guide empowers you to create a truly bespoke piece, reflecting your personal style while showcasing the artistry of ancient Egypt.
Using readily available materials and simple techniques, you’ll be surprised at how easily you can transform basic components into a stunning, eye-catching necklace. This DIY project is perfect for both beginners and experienced crafters, offering a rewarding creative outlet and a unique piece to cherish. Get ready to unleash your inner artisan – let’s begin with the step-by-step guide to creating your own Egyptian-themed statement necklace.
Preparation and Safety Guidelines
- Gilded pins
- Coral beads
- Large oval crystal beads
- Metal parts
- Round-nose pliers
- Memory wire
- Colored beads of various sizes
- Bronze cap beads
- Carabiner clasp
- Connecting rings
- Always supervise children when using sharp tools like wire cutters or jewelry pliers.
- Be mindful of potential allergies. Test any new materials, like beads or wires, on a small area of skin before extensive use.
- Avoid wearing your necklace while sleeping or showering to prevent damage or accidental injury.
Step-by-Step Instructions
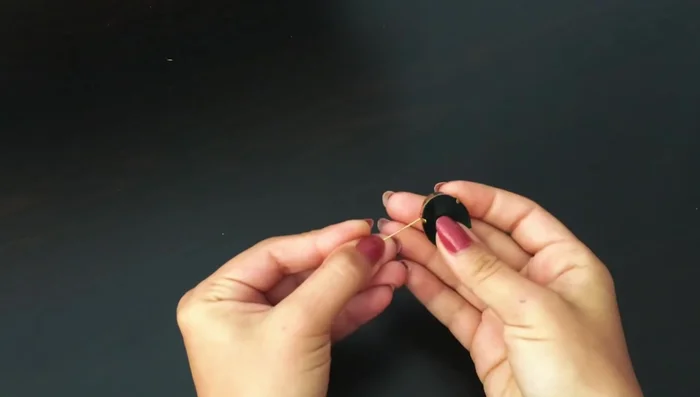
Create the Central Pendant
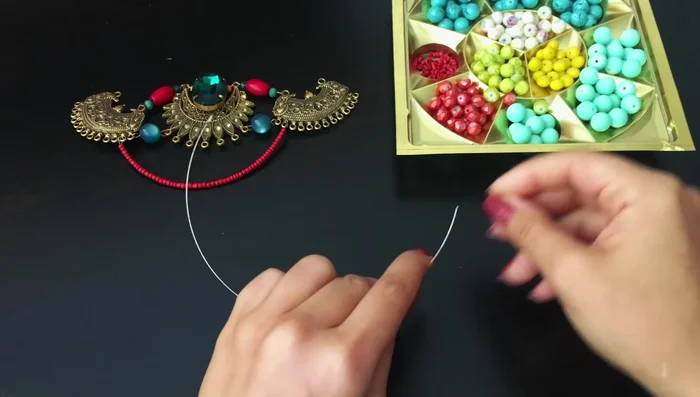
- Attach a gilded pin with a loop to a metal piece. String coral beads, a large oval crystal, and another bead onto the pin. Secure the pin to the central metal part.

Create the Central Pendant Create the Side Pendants
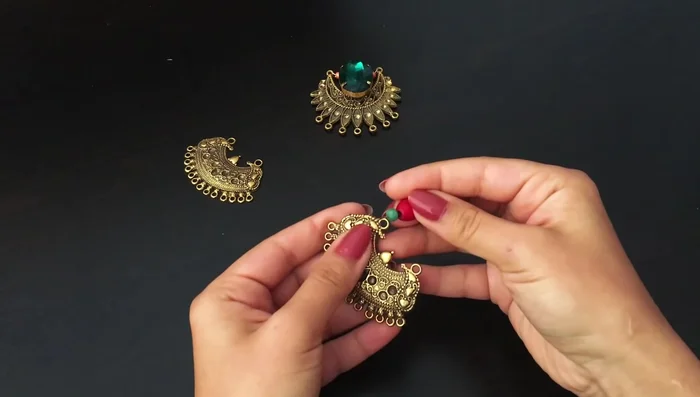
- Attach one pin with three contrasting beads to each side of the metal piece, using the extreme holes.
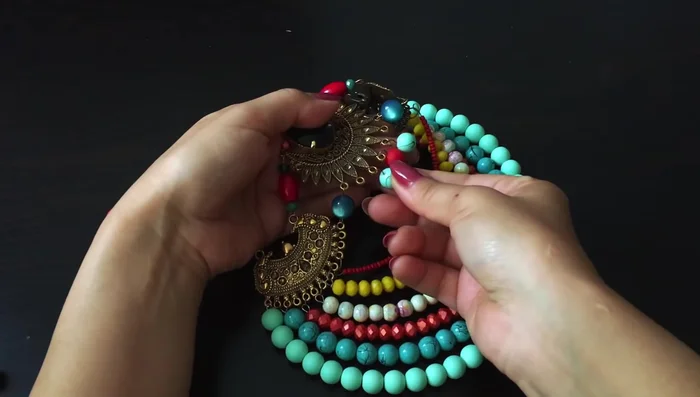
Create the Side Pendants Assemble the Main Structure
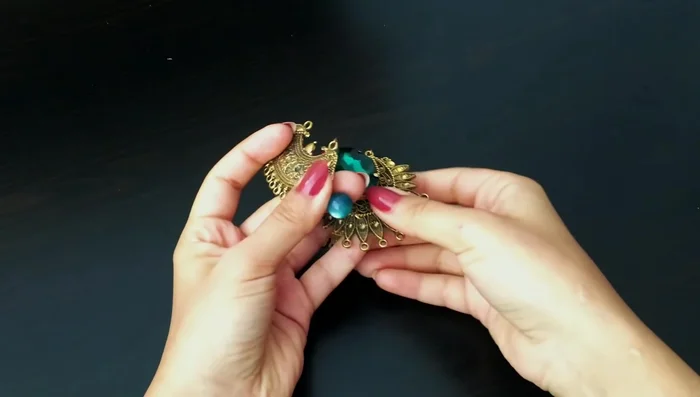
- Connect the central and side metal components using pins and beads. The length of the pins and bead sizes need to be adjusted to fit.
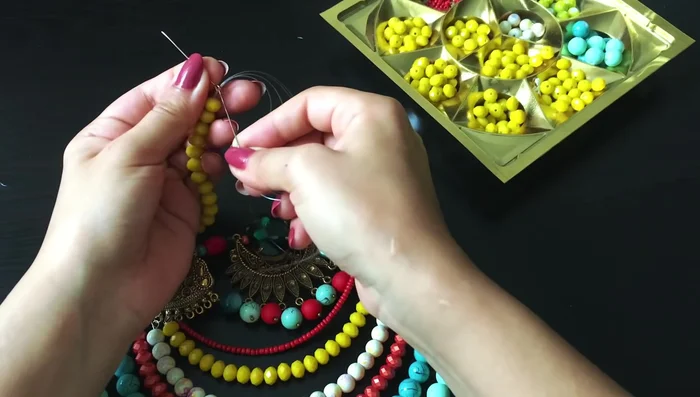
Assemble the Main Structure Create the Bottom Beaded Rows
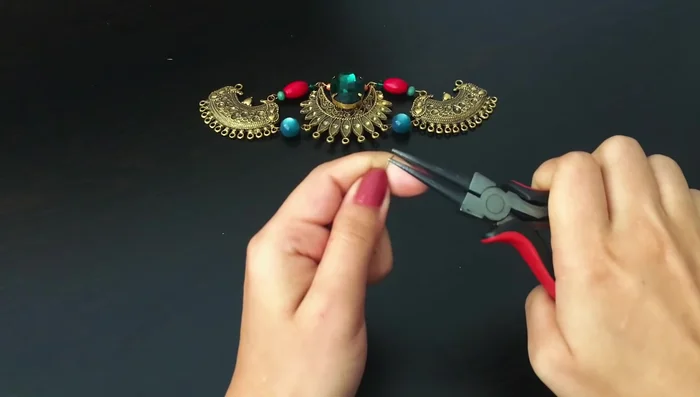
- Use memory wire to string rows of beads. Start with brick-colored beads, followed by yellow faceted beads, and continue adding rows of contrasting colored beads.
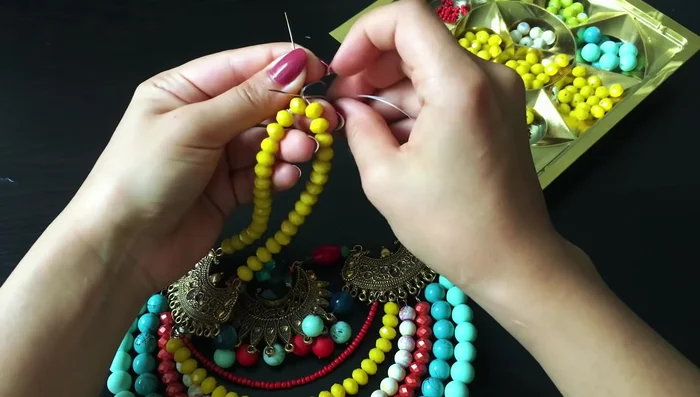
Create the Bottom Beaded Rows Attach the Bottom Rows
- Attach the completed beaded wire rows to the metal components of the necklace.
Attach the Bottom Rows Decorate the Center with Large Beads
- String seven large beads onto a pin with a ball at the end. Secure this to the center of the necklace.
Decorate the Center with Large Beads Secure the Center Decoration
- Use another pin with a loop to pass through the center beads twice, tightening the line and making knots to secure the beads.
Secure the Center Decoration Finish and Attach Clasp
- Add more beads to the sides and attach a clasp to complete the necklace.
Finish and Attach Clasp
Read more: DIY Tiered Tassel Earrings: A Quick & Easy Jewelry Tutorial
Tips
- Use memory wire for the bottom portion because it holds its shape well.
- Adjust the length of the pins and the size of the beads to ensure a proper fit as you assemble.