Tired of flimsy friendship bracelets that snap after a week? Yearning for a personalized piece of jewelry that truly stands the test of time? Then you've come to the right place! This ultimate guide will teach you how to craft durable, stylish name bracelets using a variety of techniques and materials, ensuring your creation lasts as long as your cherished memories. Forget those flimsy, fleeting trends; we're diving into the world of lasting, handcrafted accessories. From choosing the perfect cord to mastering essential knotting skills, we'll cover everything you need to create a name bracelet that's both beautiful and built to endure.
We'll explore several robust materials, offering diverse aesthetic options to suit your personal style. Whether you prefer a minimalist look or something more ornate, this guide will empower you to design and construct a bracelet reflecting your unique taste. Ready to transform your crafting skills and create a truly special keepsake? Let's get started with our step-by-step instructions!
Preparation and Safety Guidelines
- Sharp Scissors
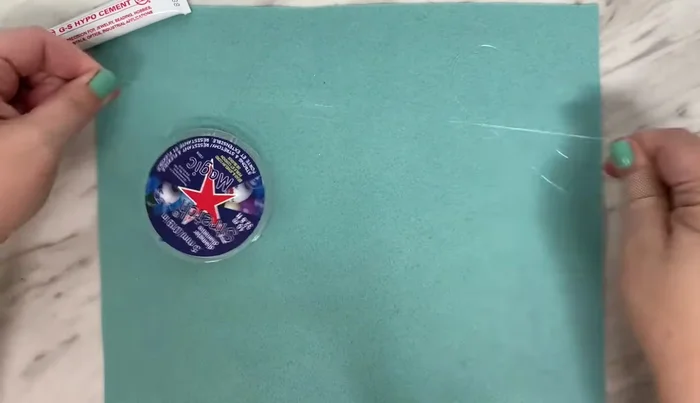
- 0.5 mm Stretch Magic
- GS Hypo Cement (precision glue for jewelry)
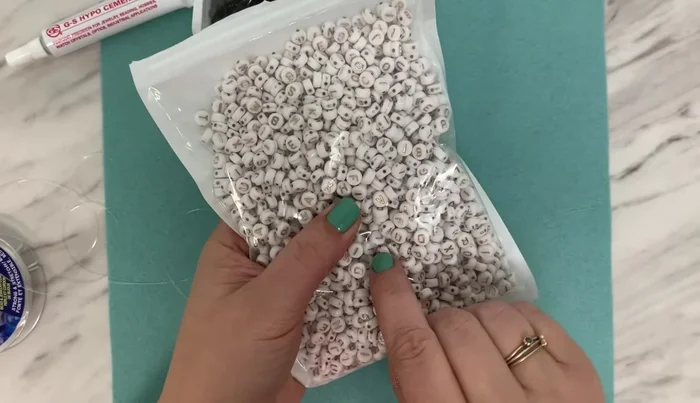
- 6mm & other size beads (black, white, rose gold, lava rock)
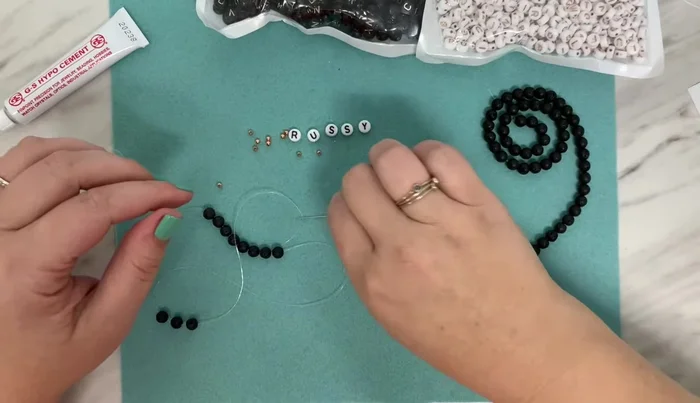
- 3mm Rose Gold Spacer Beads
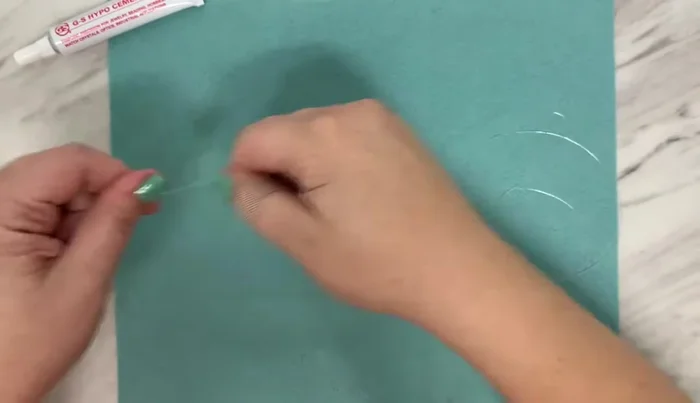
- Beadsmith Jewelry Needle (optional but recommended)
- Felt
- Always supervise children when using tools, especially sharp ones like scissors or pliers. Adult assistance is crucial for younger crafters.
- Avoid using materials that could be choking hazards, particularly for bracelets intended for young children. Opt for larger beads and securely fastened closures.
- Be mindful of potential allergies. Choose materials that are hypoallergenic or test a small area of skin before creating a full bracelet, especially if using metal or certain types of string.
Step-by-Step Instructions
Prepare Materials
- Give the stretch magic a good, solid stretch before starting to bead.

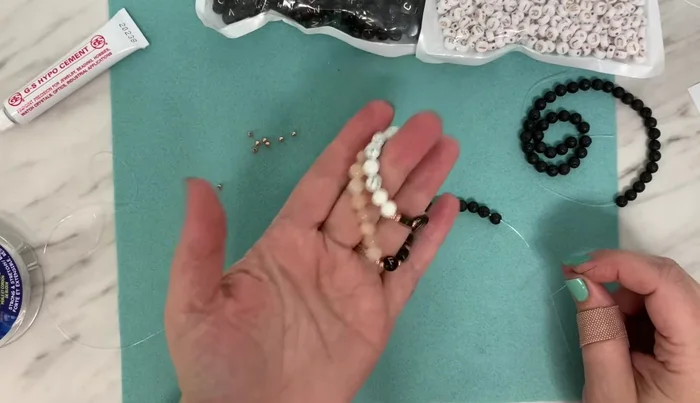
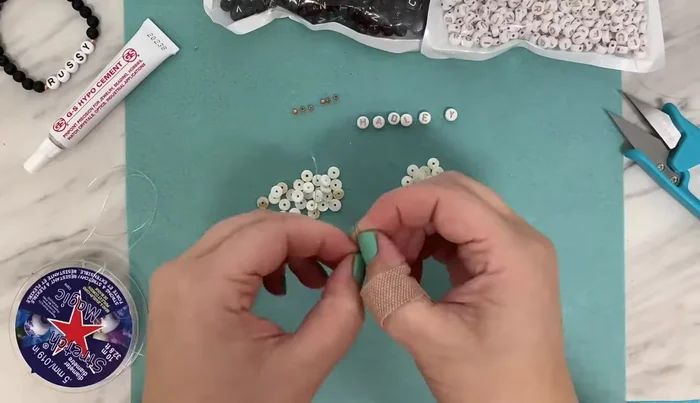
Prepare Materials String the Beads
- Thread beads onto the stretch magic directly from the spool, working from the spool to avoid cutting before beading, it's easier to work with.
- Inspect each bead for imperfections before using it on the bracelet.
- Use the beading needle to thread multiple beads at once for faster progress.
- Incorporate spacer beads according to your design preference.
String the Beads Double the String
- After the first stringing, repeat the process to create a double-string bracelet for increased strength and longevity.
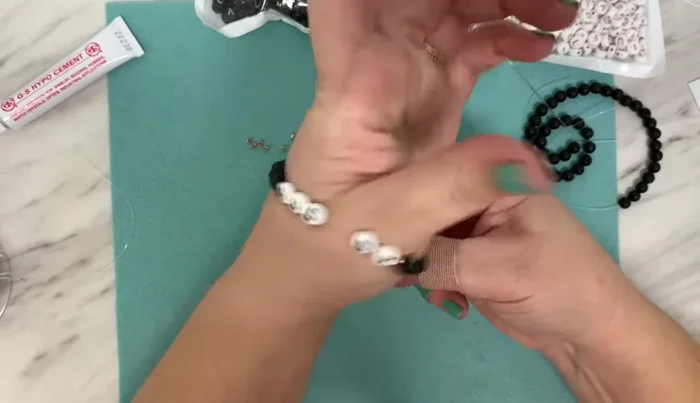
Double the String Size and Adjust
- Try the bracelet on to ensure the correct fit and adjust accordingly before tying the knot.
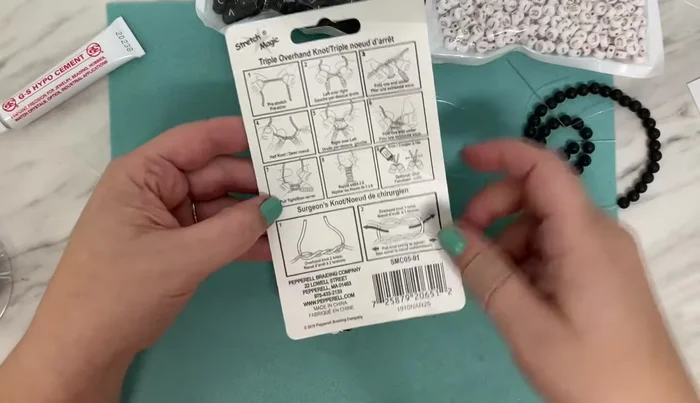
Size and Adjust Secure the Bracelet
- Tie a surgeon's knot (double loop knot) at the end of the bracelet.
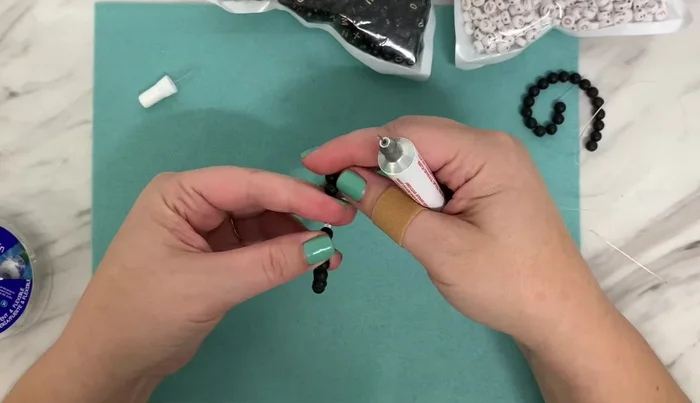
- Apply GS Hypo Cement to the knot and carefully push a bead over the knot to hide it.
- Allow the glue to dry completely to secure the knot.
Secure the Bracelet

Read more: DIY Tiered Tassel Earrings: A Quick & Easy Jewelry Tutorial
Tips
- Stretch the stretch magic thoroughly before beading to prevent breakage or stretching out.
- Use the beading needle to thread multiple beads at once for faster progress.
- Double stringing the bracelet significantly improves its durability.
- Hide the knot by pushing a bead over it after applying glue.