Druzy earrings, with their captivating sparkle and unique texture, have become a coveted accessory. Their ethereal beauty, however, often comes with a hefty price tag. But what if we told you that you could create these stunning pieces yourself, transforming ordinary materials into dazzling jewelry? This comprehensive guide will walk you through the entire process of crafting your own DIY druzy earrings, from selecting the perfect components to the final, satisfying polish. You'll discover that making these elegant earrings is easier than you might think, requiring only a few simple tools and readily available materials.
Forget expensive designer labels and embrace the rewarding experience of handmade jewelry. This detailed tutorial will provide clear instructions and helpful tips, ensuring a successful outcome even for beginners. Prepare to be amazed by the stunning results as you learn, step by step, how to create your own unique pair of druzy earrings. Let's dive into the process!
Preparation and Safety Guidelines
- Sculpey
- Plaster mold
- Empty takeout containers
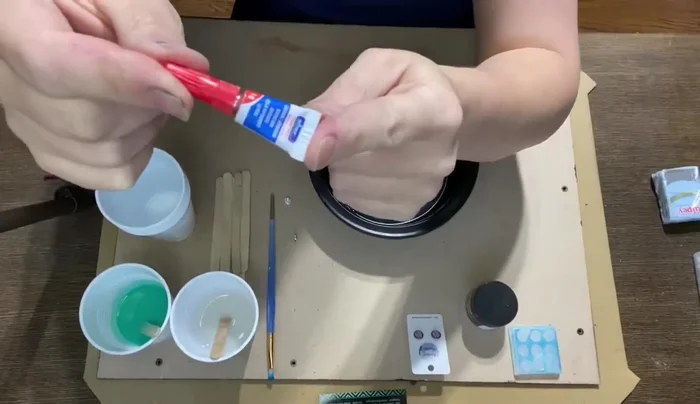
- Cheap glue
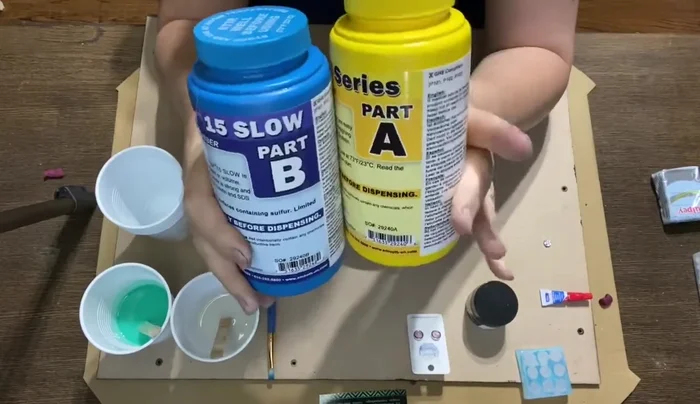
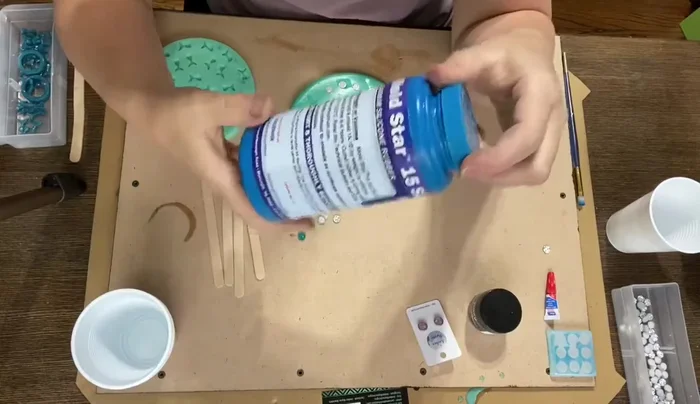
- Mold Star 15 Slow (silicone mold)
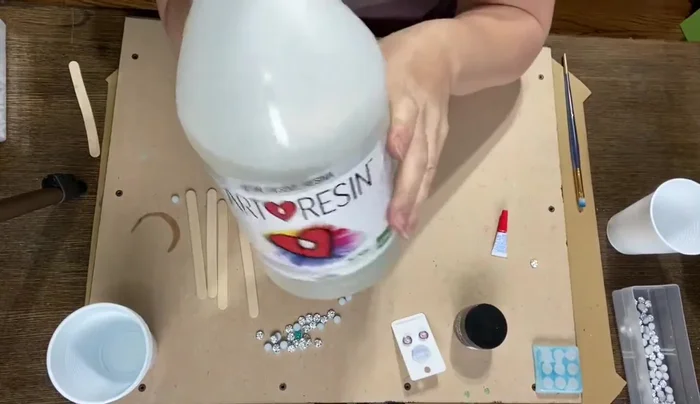
- Resin
- Color pigments
- Glitter
- Micro jet torch
- Fine scissors
- E6000 glue
- Earring posts
- Always wear safety glasses when working with tools like wire cutters, pliers, and drills to protect your eyes from flying debris.
- Druzy beads and findings can be delicate. Handle them gently to avoid chipping or breaking. Use appropriate-sized tools to prevent damage.
- If using any adhesives, ensure proper ventilation and follow the manufacturer's instructions carefully. Some adhesives can be toxic if inhaled or come into contact with skin.
Step-by-Step Instructions
Mold Creation
- Create a mold using Sculpey or a similar material. Shape it into your desired design (e.g., moon, star, heart).
- Secure the design to an empty takeout container using cheap glue to prevent it from floating during the mold-making process.

Mold Creation Silicone Mold Preparation and Pouring
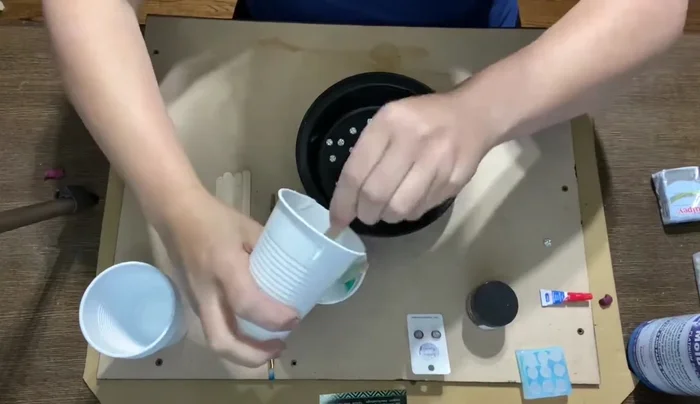
- Mix equal parts of Mold Star 15 Slow silicone mold (part A and B) in separate cups marked to ensure equal amounts for both components.
- Pour the mixed silicone mold into the container, ensuring even flow to avoid disturbing the central design.
- Allow the silicone mold to set for 24 hours. After curing, carefully remove the mold.
Silicone Mold Preparation and Pouring Resin Preparation and Coloring
- Mix equal parts of art resin epoxy (part A and B).
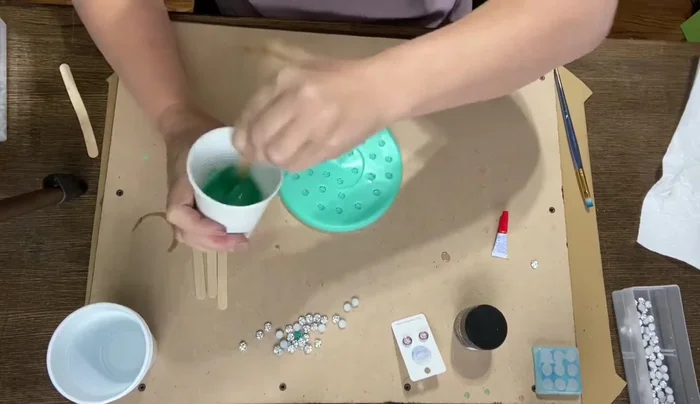
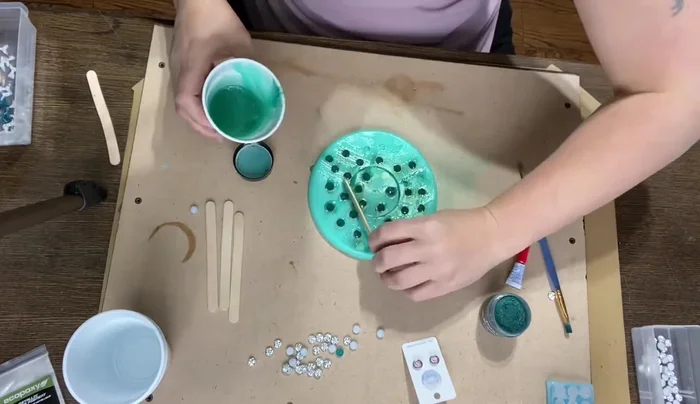
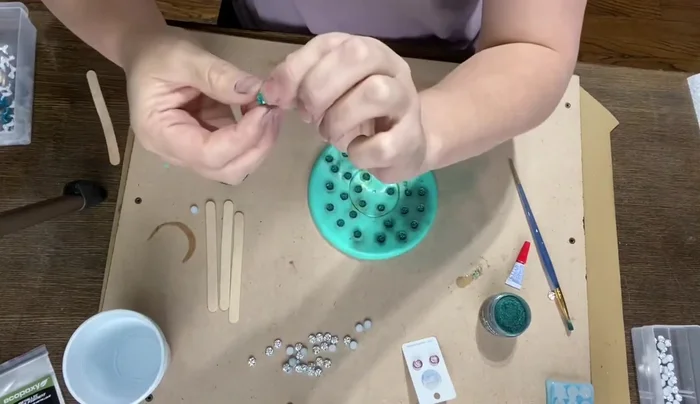
- Add color pigment to your resin using a paintbrush to achieve the desired color, applying it only to the inside of the mold to avoid wasting materials.
- Add glitter to the resin inside the mold.
Resin Preparation and Coloring Resin Pouring and Curing
- Use a micro jet torch to remove air bubbles.
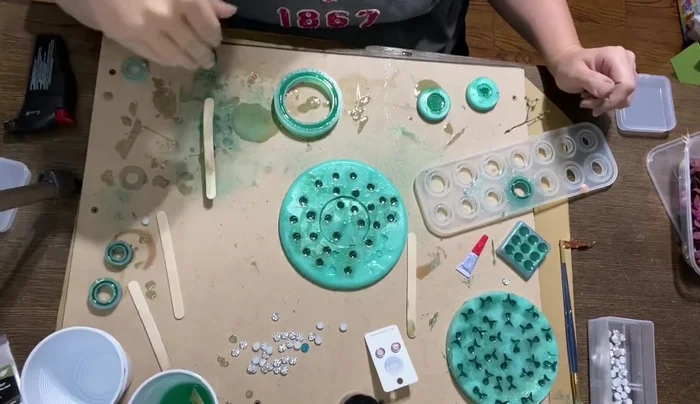
- Pour the resin into the mold, ensuring even distribution. Use a popsicle stick to smooth out the resin and prevent excess from overflowing.
- Allow the resin to cure for 24 hours.
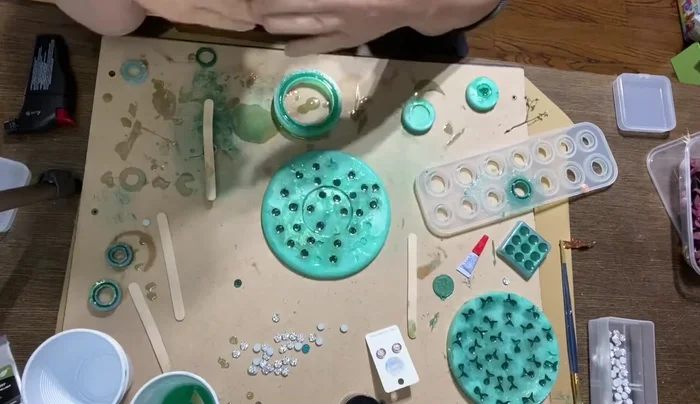
Resin Pouring and Curing Finishing and Attachment
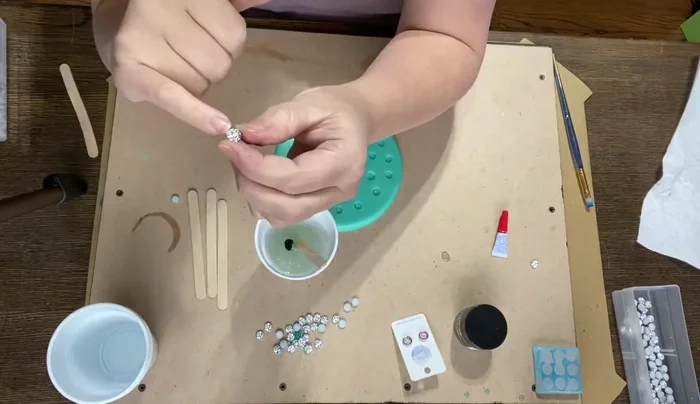
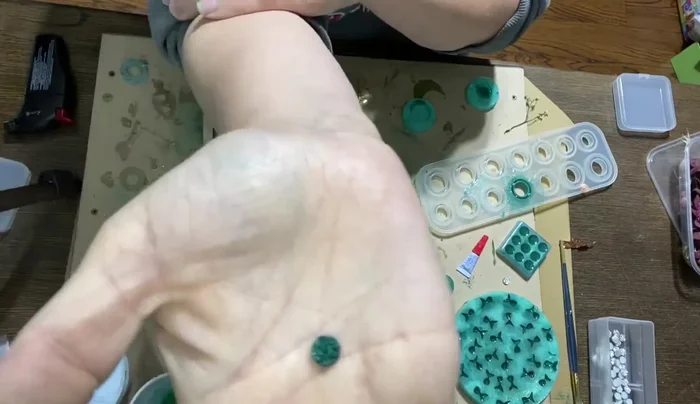
- Once cured, carefully remove the resin pieces from the mold. Trim any excess resin using fine scissors.
- Allow the finished resin pieces to cure for at least one week before attaching them to earring posts using a strong adhesive like E6000.
Finishing and Attachment

Read more: DIY Tiered Tassel Earrings: A Quick & Easy Jewelry Tutorial
Tips
- Mark your cups for equal measurements when mixing resin components.
- Tack down your mold design securely to prevent floating.
- Use a paintbrush to apply color pigment to only the inner mold surface to minimize waste.
- Keep extra molds on hand to use any leftover resin.
- Use a micro jet torch to eliminate air bubbles, particularly important for larger projects.