Ankle bracelets, delicate adornments that subtly accentuate the feminine form, have enjoyed a resurgence in popularity. From bohemian-inspired beaded designs to sleek, minimalist chains, the options are seemingly endless. But what if you could create your own unique piece, tailored perfectly to your style and reflecting your personal creativity? This isn't some esoteric craft reserved for experienced artisans; crafting a beautiful, double-stranded ankle bracelet is surprisingly accessible, even for beginners. The satisfaction of creating something beautiful with your own hands is unparalleled, and the cost savings are a welcome bonus.
This guide will walk you through a straightforward process, perfect for those new to jewelry making or anyone seeking a relaxing and rewarding DIY project. We'll cover everything from selecting the right materials to mastering the simple knotting techniques required to create a stunning, durable, double-stranded ankle bracelet. Ready to get started? Let's dive into the step-by-step instructions below!
Preparation and Safety Guidelines
- Clasp
- Jump Rings
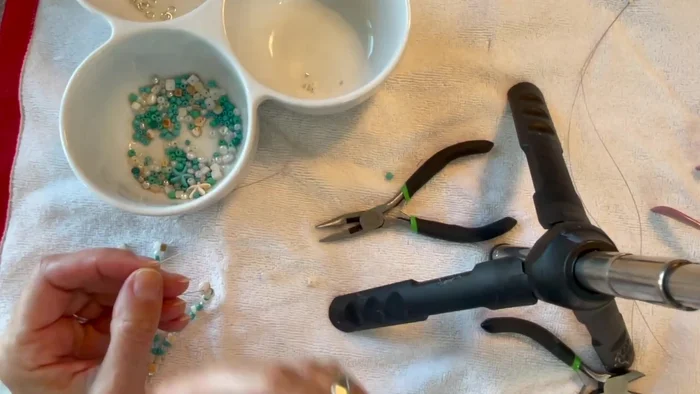
- Beads
- Crimp Tubes
- Jewelry Wire
- Flat Nose Pliers
- Wire Cutters
- Always supervise children when crafting to prevent choking hazards from small beads or cord ends.
- Avoid excessively tight bracelets to prevent restricted blood flow. Ensure comfortable fit.
- Use hypoallergenic materials if you have sensitive skin to avoid allergic reactions.
Step-by-Step Instructions
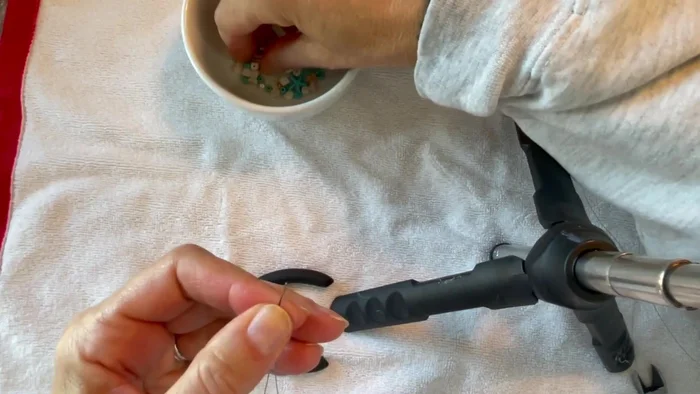
Prepare the Wire
- Measure and cut your wire. For a 9-inch anklet (double stranded), cut approximately 22 inches of wire (9 inches x 2 + 3-4 inches extra).
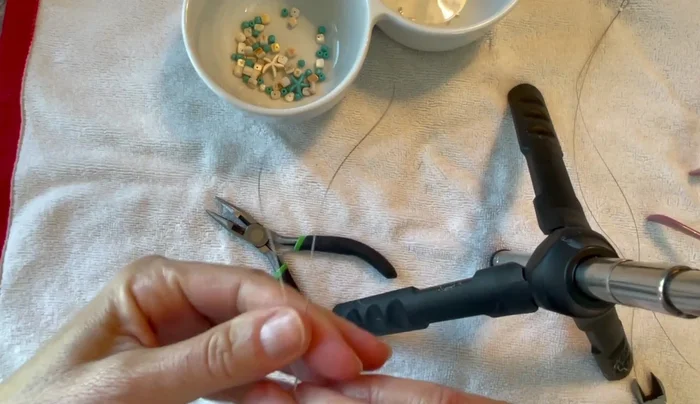
Create the First End Loop
- Create the first end loop. Squeeze the end of the wire to create a small loop, slide on a crimp tube, and crimp it tightly using flat nose pliers.

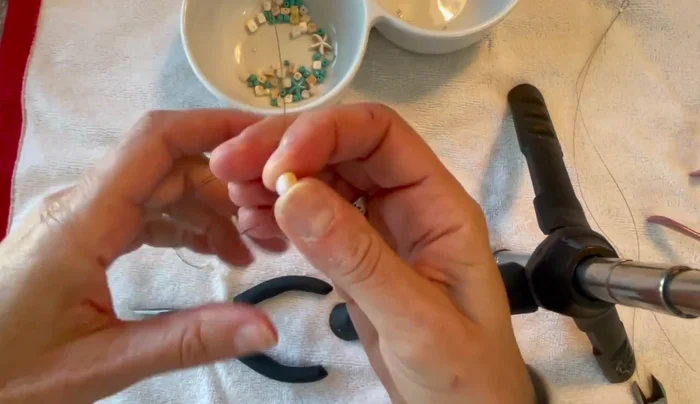
Create the First End Loop Add Initial Bead
- Add an initial bead to both strands. Thread one bead onto both wires and slide it down to the bottom.
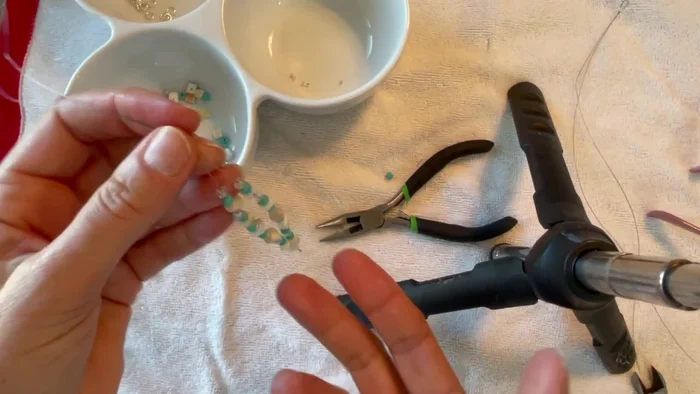
Add Initial Bead Bead the Strands
- Start beading each strand separately. Add beads one by one or a few at a time to each wire, maintaining an even distribution.
- Add accent beads. At certain points, you can add larger beads or charms to create visual interest.
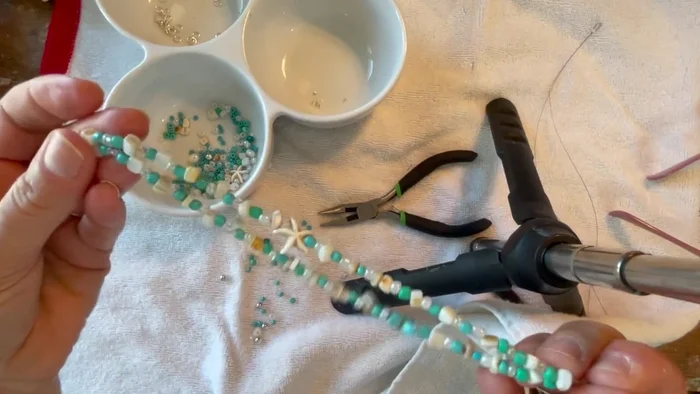
Bead the Strands Add Focal Bead
- Add a focal bead or charm. Place a larger bead (or charm) as a focal point.
Add Focal Bead Create the Second End Loop
- Create the second end loop. Bring the two wires together, add a bead to hold them, and crimp the end using a crimp tube and flat nose pliers.
Create the Second End Loop Attach Clasp
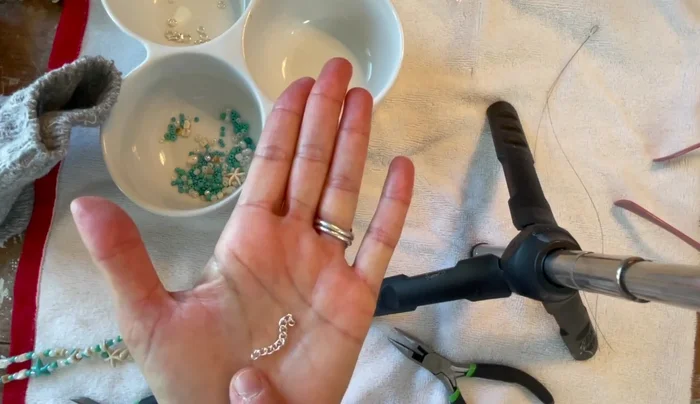
- Attach the clasp. Open a jump ring, attach it to the crimped end, and then attach your clasp.
Attach Clasp Add Extender (Optional)
- Add an extender. Attach a short chain to the clasp using a jump ring for added length.
Add Extender (Optional)
Read more: DIY Tiered Tassel Earrings: A Quick & Easy Jewelry Tutorial
Tips
- Ensure a comfortable fit. Measure your ankle before starting to determine the appropriate length. A loosely fitted anklet is recommended.
- Use high-quality materials. Choosing durable wire and beads will increase the longevity of your anklet.
- Keep the loops small when crimping. This will ensure a neat finish.
- Maintain even bead distribution. This helps to create a balanced and aesthetically pleasing look.
- Add a decorative element to the extender. A small charm can enhance the anklet’s overall appearance.