Double braided ribbon lays are a charming and surprisingly simple way to add a touch of elegance to almost any project, from hair accessories and gift wrapping to clothing embellishments and home décor. Their delicate, interwoven texture offers a sophisticated contrast to bolder materials, making them a versatile choice for crafters of all skill levels. Whether you’re a seasoned artisan looking for a new technique or a beginner eager to explore the world of ribbon crafting, this beautiful technique is well within your reach. The intricate look belies its ease of creation; trust us, it's far simpler than it appears!
This guide provides a clear and concise, step-by-step process for creating your own stunning double braided ribbon lay. We'll walk you through each stage, from choosing the right ribbons to securing the final braid, ensuring you achieve a professional finish every time. Ready to transform simple ribbons into a beautiful, handcrafted element? Let's get started!
Preparation and Safety Guidelines
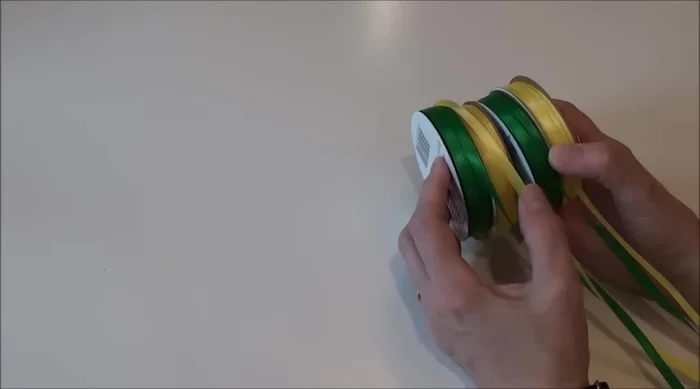
- Four rolls of ribbon (two of each color)
- Paper clips
- Use sharp scissors to prevent frayed edges and ensure clean cuts. Dull scissors can cause the ribbon to snag or fray, making it harder to braid.
- Be mindful of your fingers when braiding. The ribbon can be slippery, and sharp edges can cause accidental cuts. Take your time and work slowly to avoid injury.
- If using metallic or wired ribbons, handle with care. These ribbons can be more difficult to manipulate and may have sharp edges or wires that can prick your skin.
Step-by-Step Instructions
Prepare Materials
- Use paper clips to keep pairs of ribbons together.
- Decide which color ribbon will be on the outside of your lay.
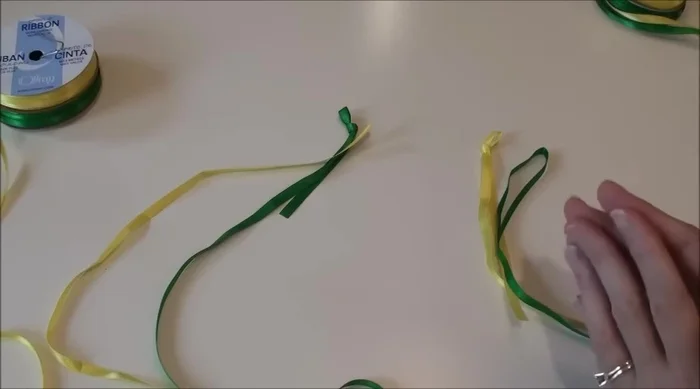
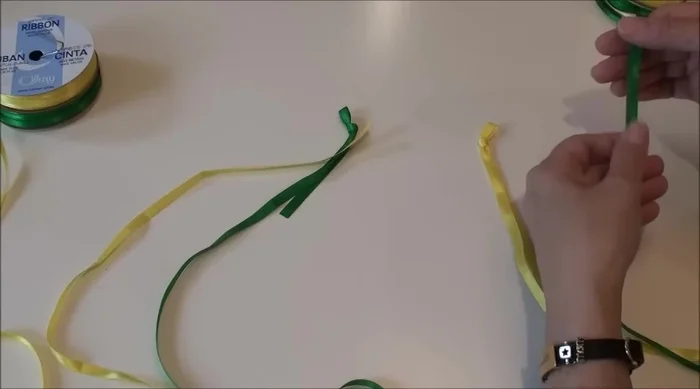
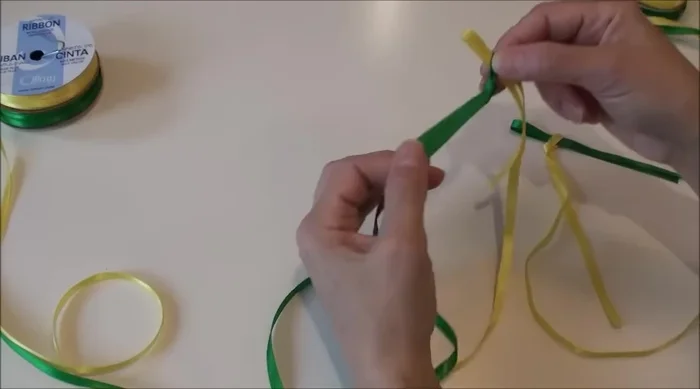
- Tie a knot in one ribbon of each pair (your inside color), and create a loop in the other (your outside color). Leave a few inches of tail on each.

Prepare Materials Initial Interlocking
- Place one loop (outside color) through the knotted loop of the other pair.
- Double-check that the tails are underneath the main ribbon in each pair.
- Lay your pairs in the correct order, ensuring your chosen outside color is on the outside.
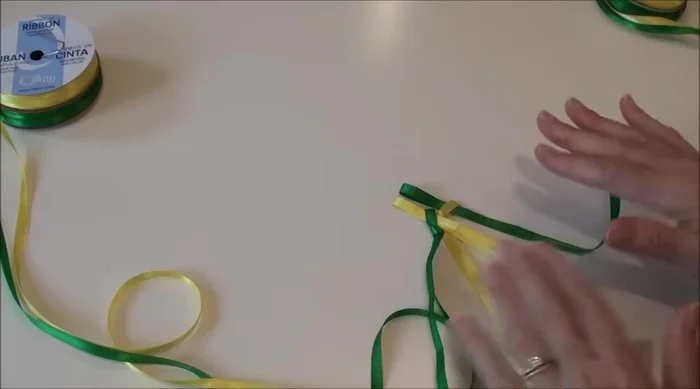
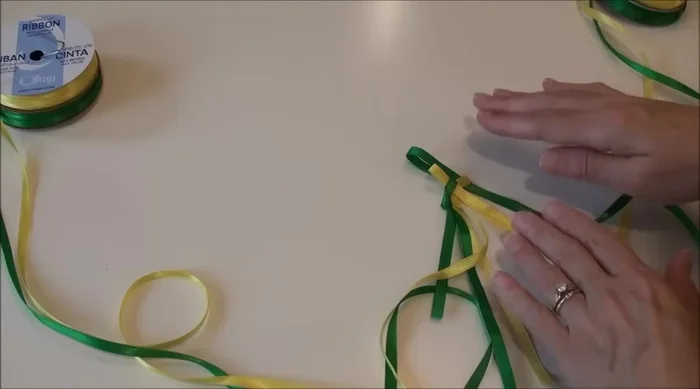
Initial Interlocking Begin Braiding
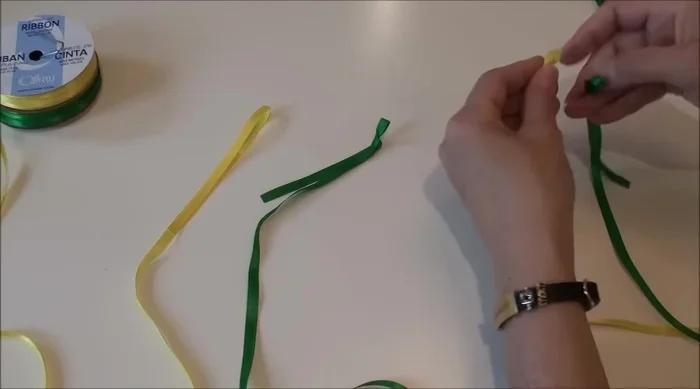
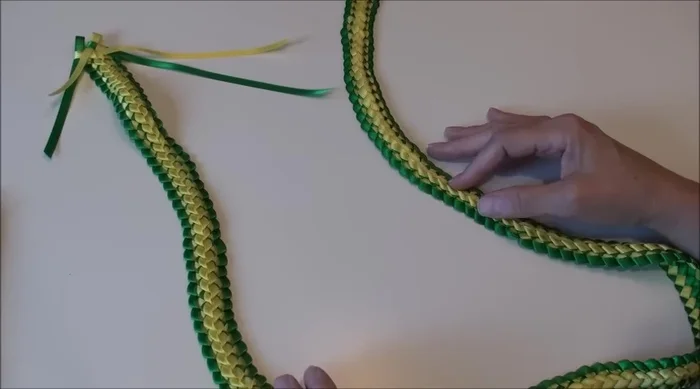
- Start by passing the yellow ribbon (paired with the top green loop) through the green loop.
- Repeat the process, alternating between the pairs. Pull each ribbon taut to keep the braid neat.
- Regularly check and adjust the braid to keep it even and tidy. Use your fingers to hold and guide the ribbons.
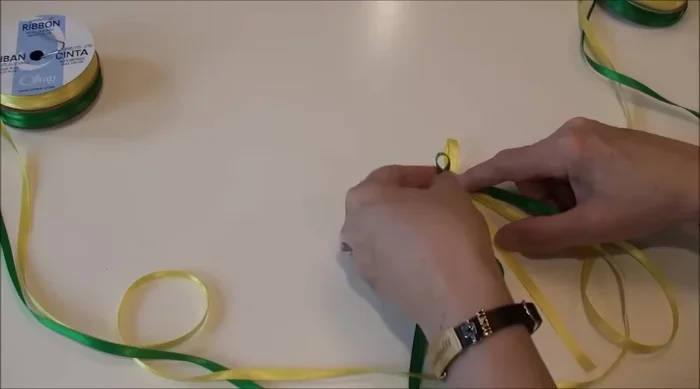
Begin Braiding Finishing and Embellishing
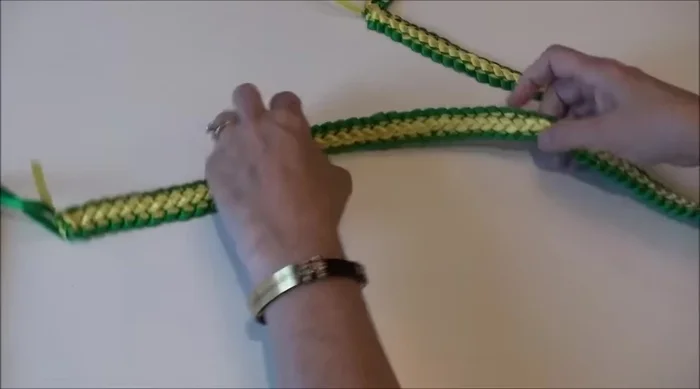
- Continue braiding until you reach your desired length (40-48 inches). When nearing the end, complete the final weaving steps and secure all ribbons together with a knot.
- Tie and optionally sew together the ends of the ribbons. Add a decorative bow to cover the ends and enhance the finished lay.
Finishing and Embellishing
Read more: DIY Tiered Tassel Earrings: A Quick & Easy Jewelry Tutorial
Tips
- Always stop braiding after completing two loops if you need to pause.
- Make loops larger for easier braiding.
- Regularly check and tighten the braid to maintain neatness.