In today's fast-paced world, staying organized is more crucial than ever. We're constantly juggling appointments, deadlines, and to-do lists, and a cluttered mind often leads to a cluttered life. A stylish and functional memo board can be the perfect solution, offering a central hub to keep your thoughts and reminders organized and visible. Forget expensive, impersonal store-bought options; this guide will show you how to create your own unique and personalized DIY decorative memo board, tailored to your style and needs. You'll be surprised at how easy it is to transform simple materials into a beautiful and practical addition to your home or office.
This step-by-step guide will walk you through the entire process, from choosing the perfect base material to adding your personal decorative touches. Whether you prefer a rustic, modern, or whimsical design, we’ll provide you with the inspiration and instructions to create a truly bespoke memo board that reflects your personality and keeps you organized. Let's get started and create your dream memo board!
Preparation and Safety Guidelines
- Wooden board (30x60cm)
- Empty notebook (Danai 5 format recommended)
- Piece of cork
- Sheet of balsa wood
- Wood glue
- Drill
- Twine
- Strip of cloth
- Masking tape
- Acrylic paint
- Brush
- Sheet of colored poster board
- Box cutter
- Scissors
- Always supervise children when using sharp objects like scissors, knives, or hot glue guns.
- Ensure adequate ventilation when using spray paint or other aerosol products. Wear a mask and work in a well-ventilated area.
- Use caution when handling hammers, nails, or other potentially dangerous tools. Wear safety glasses if necessary.
Step-by-Step Instructions
Gather Supplies
- wooden board, notebook, cork, balsa wood, glue, drill, twine, cloth, masking tape, acrylic paint, brush, colored poster board, box cutter, scissors.
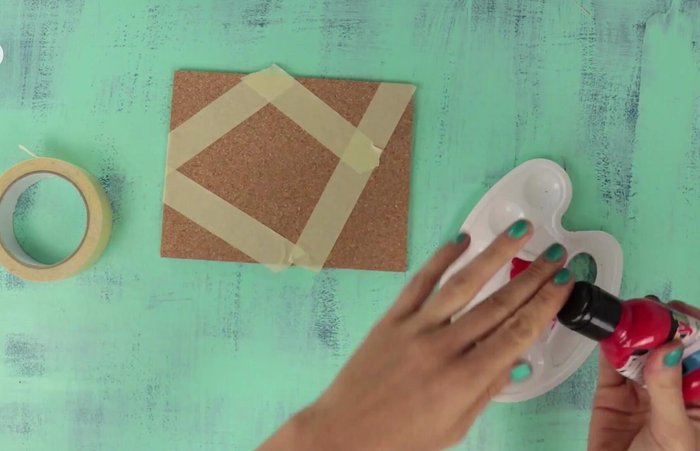
Prepare the Cork
- Paint triangles on cork using masking tape as a stencil.

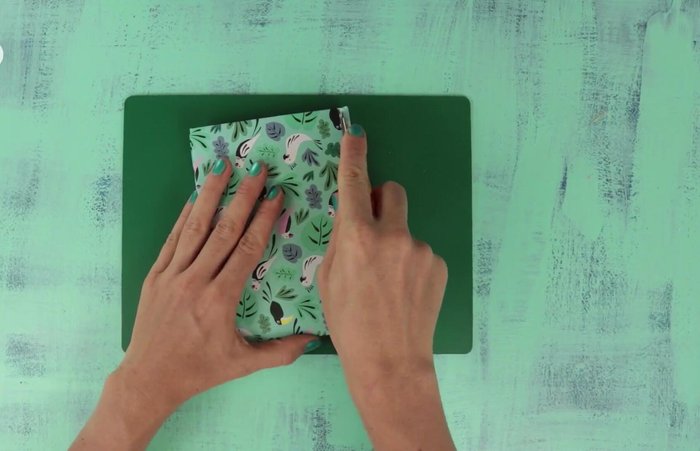
Prepare the Cork Prepare the Notebook Pouch
- Remove notebook cover and tear off pages to create a neat stack.
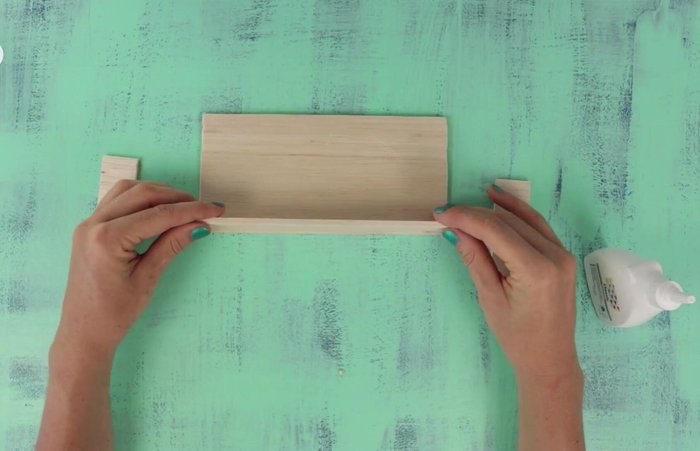
- Glue balsa wood sheets together to form a pouch.
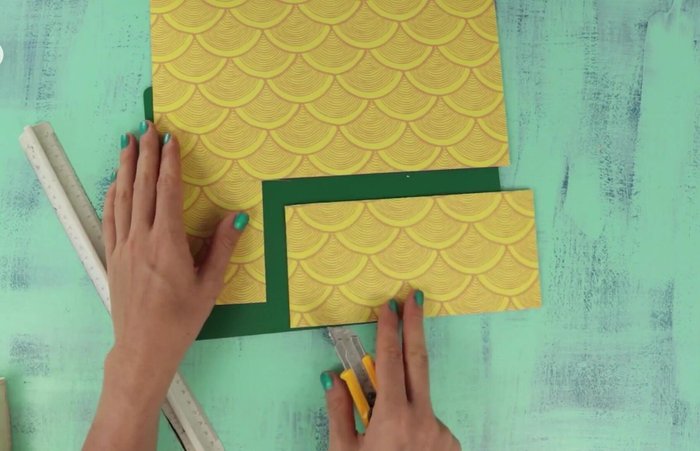
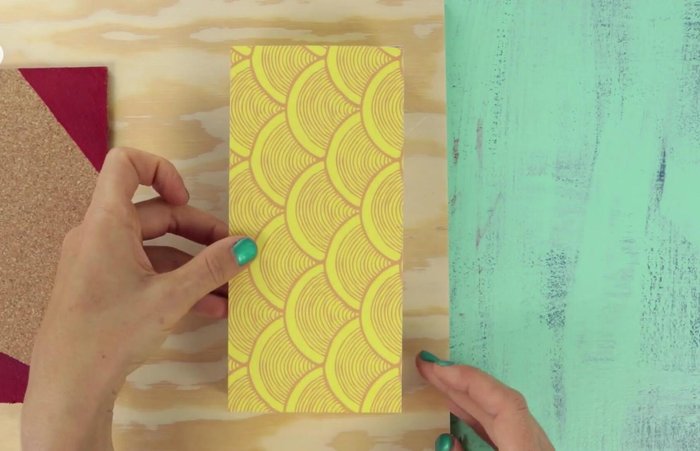
Prepare the Notebook Pouch Create Decorative Elements
- Cut and glue colored poster board pieces onto the wood to create decorative elements.
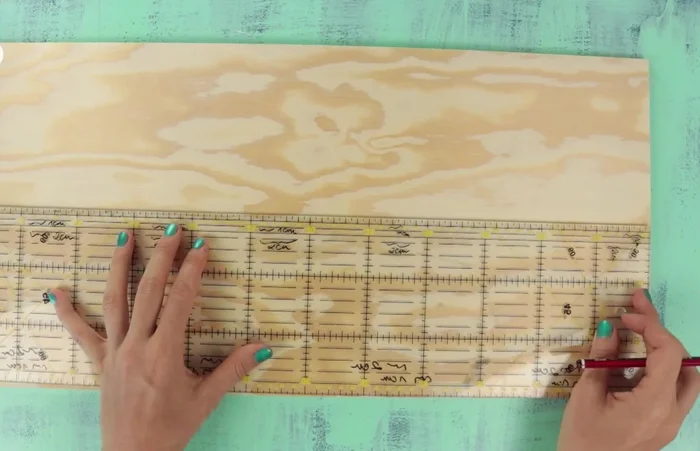
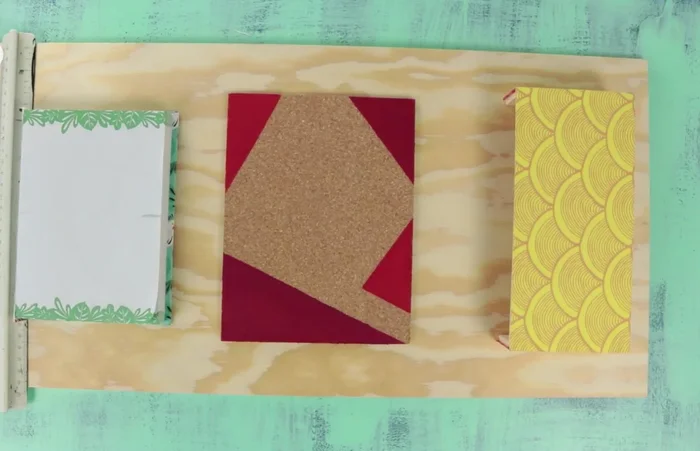
Create Decorative Elements Arrange and Plan Layout
- Position the cork, notebook pouch, and decorative elements on the wooden board. Mark the center and ensure proper spacing.
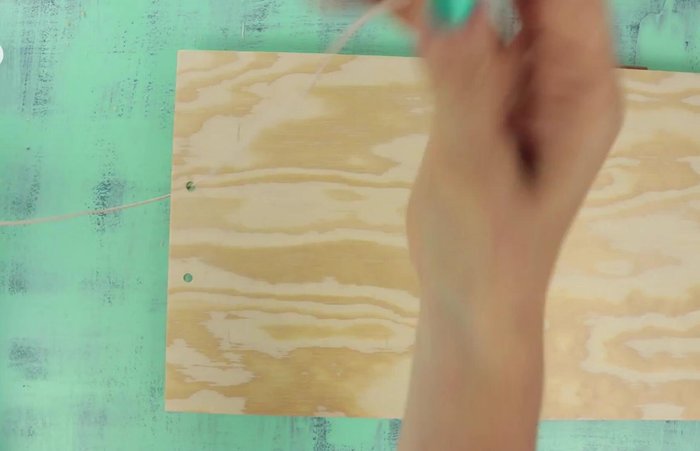
Arrange and Plan Layout Prepare for Hanging
- Drill holes in the upper part of the board.
- Thread twine through the holes and tie a knot.
Prepare for Hanging Assemble and Finish
- Glue the three elements onto the board and let it dry.
Assemble and Finish
Read more: Build a Stunning Black Walnut Coaster Set: The Ultimate Furniture Protector
Tips
- Choose a notebook with a binding that allows easy page removal.
- Peel off masking tape before paint dries completely.
- Use blocks of wood to protect your work surface when drilling.
- Customize the design to your liking; minimalistic or colorful options are possible.