Are you a wine enthusiast with a limited budget and a desire for a personalized wine storage solution? Look no further! This guide will walk you through creating your own customizable wine rack, a project that's both surprisingly affordable and remarkably easy to complete, even for novice DIYers. Forget overpriced, mass-produced options; you can craft a beautiful and functional wine rack tailored precisely to your space and taste, all while saving a significant amount of money.
This DIY project requires minimal tools and readily available materials, allowing you to build a unique wine rack that reflects your personal style. Whether you envision a rustic, minimalist, or modern design, the possibilities are endless. Ready to transform your wine storage and unleash your inner craftsman? Let's dive into the step-by-step instructions and start building your dream wine rack!
Preparation and Safety Guidelines
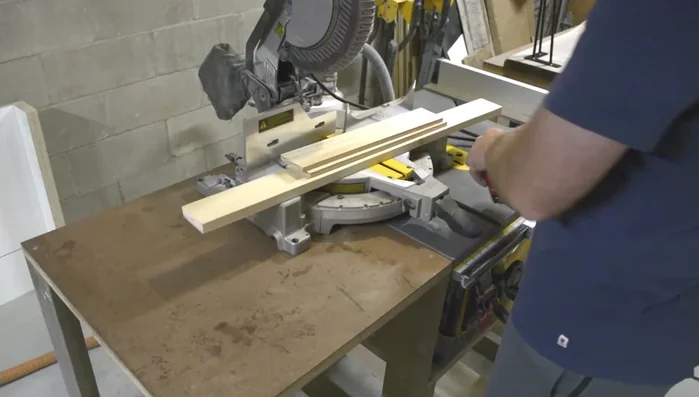
- Miter saw
- Table saw (optional, for ripping)
- Planer (optional, for planing)
- Sandpaper (120-220 grit)
- Pre-stain
- Stain
- Wood glue
- Finish nails (16 gauge, 1 1/4 inch)
- Clamps
- Polyurethane (spray or wipe-on)
- Measuring tape
- Ruler
- Nail gun (optional)
- Featherboard (optional)
- Always ensure the wine rack is sturdy and stable before placing heavy bottles on it. Improper construction could lead to collapse and broken bottles.
- Use appropriate safety glasses and gloves when working with tools and materials. Some wood types can splinter, and tools can be sharp.
- If staining or sealing your wood, work in a well-ventilated area and follow the manufacturer's instructions carefully. Proper ventilation reduces exposure to harmful fumes.
Step-by-Step Instructions
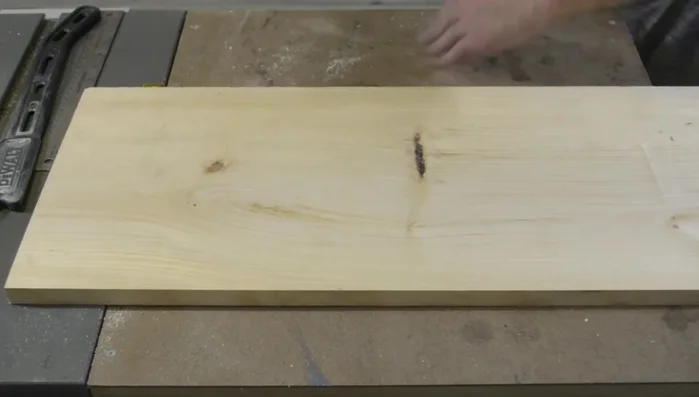
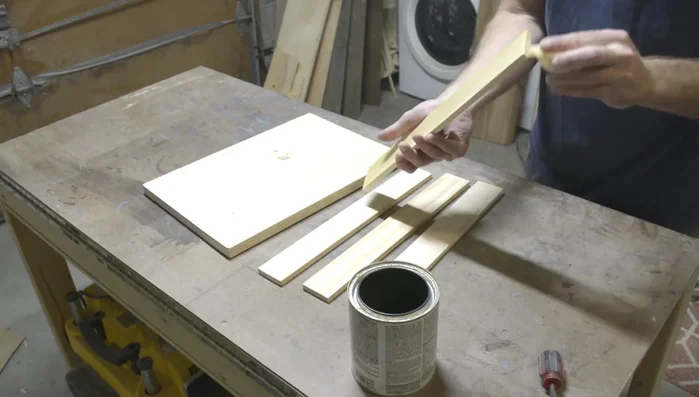
Cut the Wood
- Source and cut the wood for slats (10 inches long, 3/4 inch wide). Total 36 slats.
- Cut the top piece (16 1/8 inches long).
- Cut the legs (25 inches long).
- Cut the front pieces (2 inches wide, 1/2 inch thick).

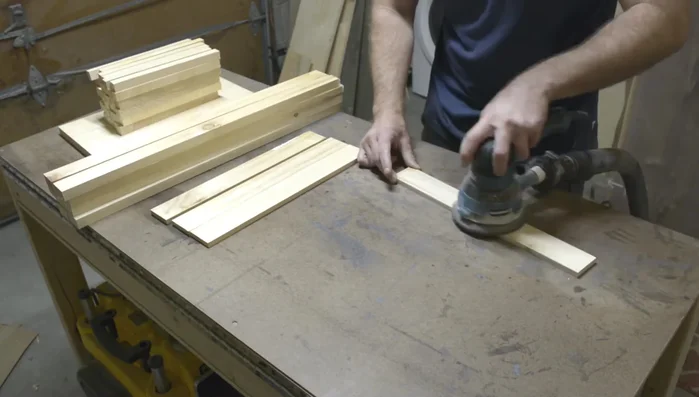
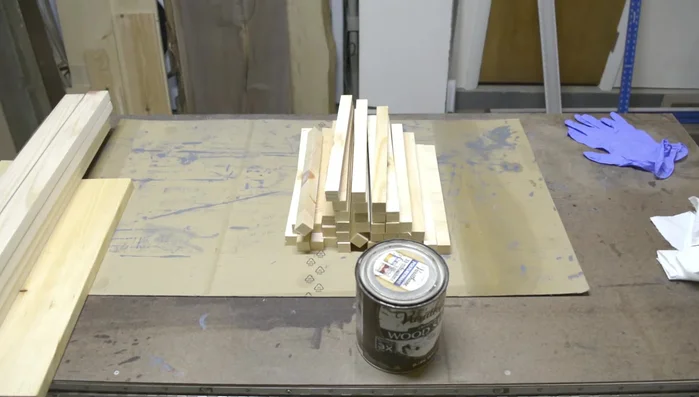
Cut the Wood Sand and Prepare Wood
- Sand all pieces thoroughly (120-220 grit).
- Apply pre-stain to prevent splotchiness on pine/softwood.
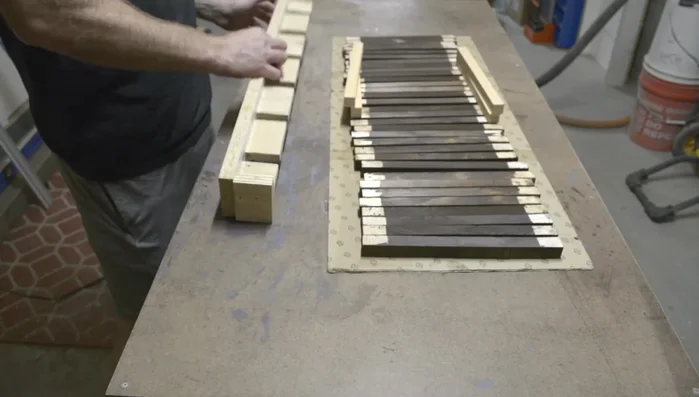
Sand and Prepare Wood Stain the Wood
- Apply stain, using tape to mask off 1.5 inches on either end of slats to allow for glue penetration during assembly.
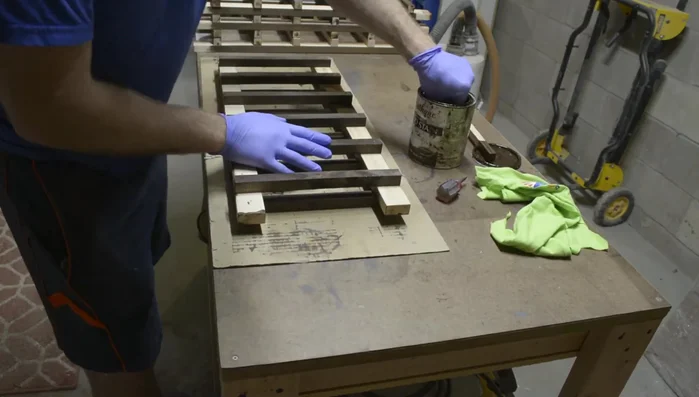
Stain the Wood Assemble the Towers
- Attach slats to legs using glue and finish nails, using a jig for consistency (optional).
Assemble the Towers Touch Up Stain
- Touch up stain on bare sections after glue is cured.
Touch Up Stain Assemble the Wine Rack
- Attach the fronts to the towers using glue and clamps, ensuring vertical and horizontal alignment.
- Attach the top using glue and clamps, allowing 3/8 inch overhang on sides.
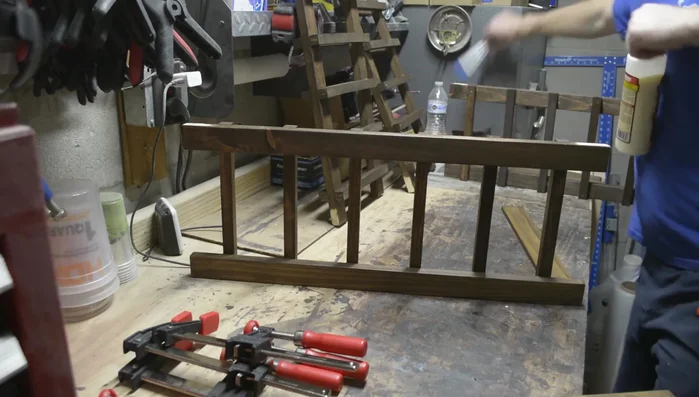
Assemble the Wine Rack Seal and Finish
- Apply a coat of polyurethane sealant.
Read more: Build a Stunning Black Walnut Coaster Set: The Ultimate Furniture Protector
Tips
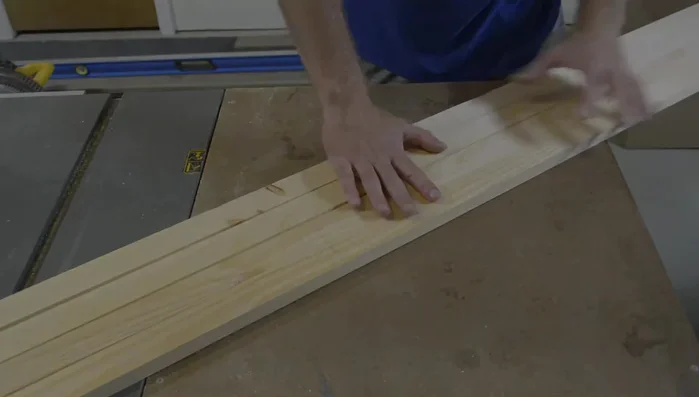
- Clamp pieces together before cutting to ensure consistent cuts.
- Avoid cupped, bowed, or twisted lumber.
- Pre-staining prevents splotchiness on softwoods.
- Tape slat ends before staining to allow for glue penetration during assembly.
- Use a jig (if made) for consistent tower assembly.