Jewelry holds a unique power; it can be a cherished heirloom, a bold statement, or a subtle reflection of personality. But what if you could create personalized pieces that truly capture your individual style, without the hefty price tag of custom design? Enter the world of DIY custom stamped jewelry! This exciting craft allows you to transform plain metal blanks into stunning, one-of-a-kind necklaces, bracelets, and earrings, imprinted with meaningful words, initials, or even tiny symbols. Imagine the possibilities: a delicate necklace bearing your child's name, a bracelet engraved with a cherished date, or earrings subtly stamped with your favorite quote.
The beauty of this technique lies in its simplicity and accessibility; with just a few basic tools and materials, you can unlock your creativity and craft truly personalized treasures. This step-by-step guide will walk you through the entire process, from selecting your materials and prepping your metal blanks to mastering the stamping technique and adding a professional finish. Get ready to unleash your inner artisan and create beautiful, meaningful jewelry that you’ll cherish for years to come.
Preparation and Safety Guidelines
- stamping block
- 1.5 inch circle blank
- copper
- 6 millimeter multi-heart design stamp
- hammer
- tap and tilt technique
- 3.25 inch circle blank
- stamp guidebook
- small circle stamp guide
- stamp tape
- pen
- medium circle stamp guide
- chain nose pliers
- jump ring
- chain
- enamel marker
- paper towel
- rubbing alcohol
- Always use proper ventilation when working with metal stamps and any potential chemicals like cleaning solutions or metal polishes. Metal stamping can produce fine metal dust which is harmful if inhaled.
- Wear safety glasses to protect your eyes from flying metal fragments or debris during the stamping process.
- Handle metal blanks and tools with care to avoid cuts. Sharp edges and forceful hammering can cause injury.
Step-by-Step Instructions
Prepare the First Blank
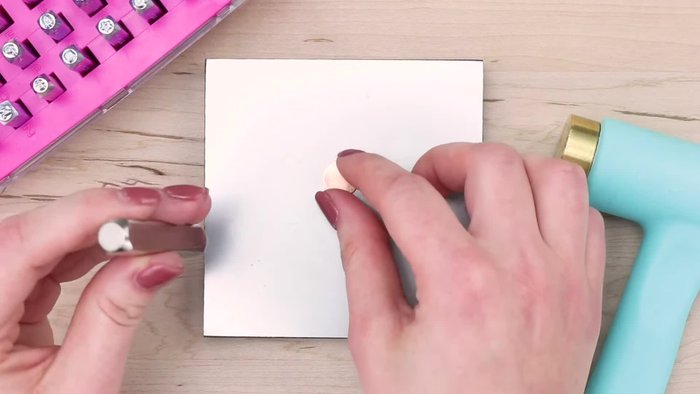
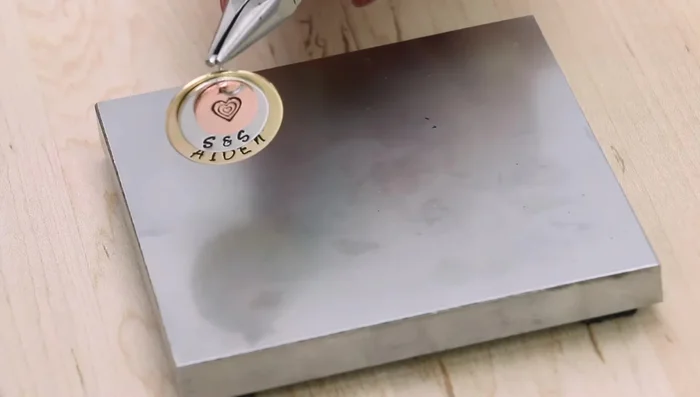
- Place a 1.5-inch circle blank on your stamping block and use copper to stamp a 6mm multi-heart design using a tap and tilt technique.

Prepare the First Blank Prepare the Second Blank
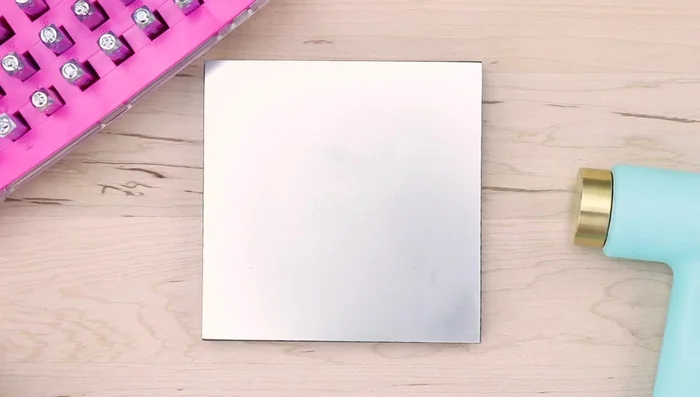
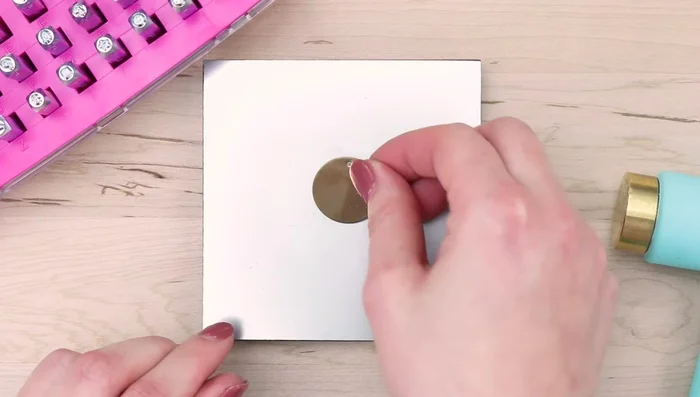
- Place a 3.25-inch circle blank on your stamping block. Adhere a small circle stamp guide to the top, centering it using stamp tape.
Prepare the Second Blank Stamp the Second Blank
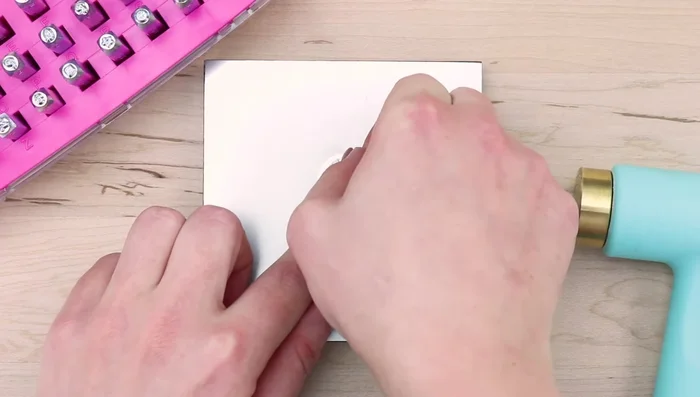
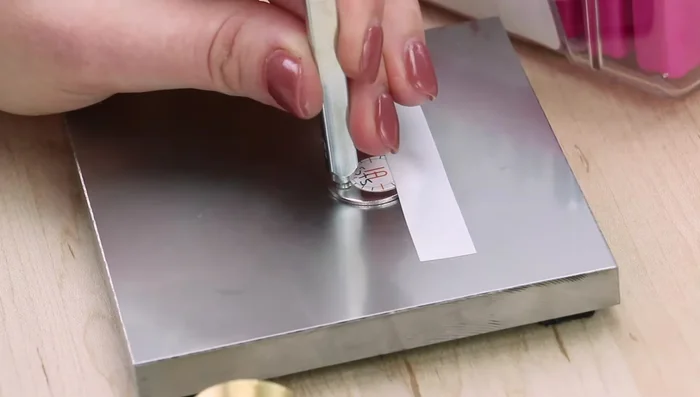
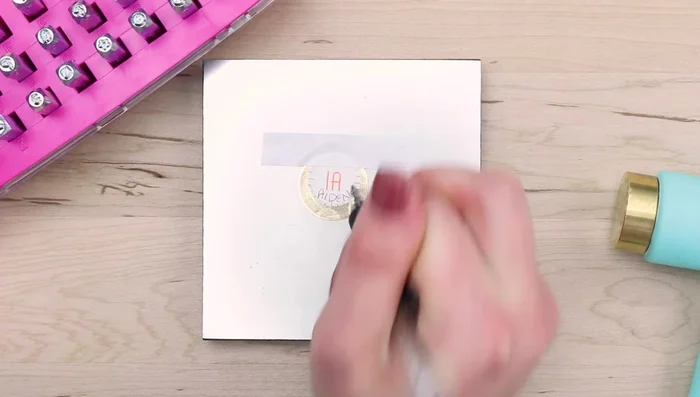
- Write your message (e.g., parents' initials) on the stamp guide using a pen. Hold the stamp lightly, drag it up towards the guide until you feel resistance, hold firmly, and hit with the hammer once.
- Repeat step 3 as needed for multiple impressions. Remove the stamp tape and stamp guide.
Stamp the Second Blank Prepare the Third Blank
- Place a large circle blank on the block. Adhere a medium circle stamp guide, securing it with tape. Write your message (e.g., child's name) on the guide.
Prepare the Third Blank Stamp the Third Blank
- Repeat the stamping process from step 3, using the medium circle stamp guide.
Stamp the Third Blank Finish Stamping and Clean
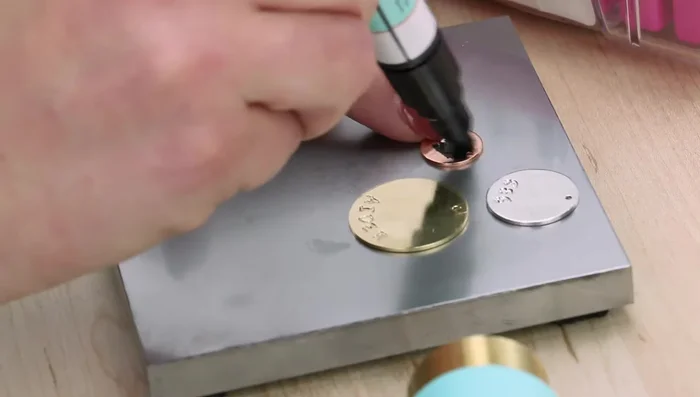
- Remove the tape and guide. Highlight all three stamped impressions with enamel marker, wait three minutes to dry, then wipe off the excess enamel with a paper towel. (Rubbing alcohol can assist).
Finish Stamping and Clean Assemble the Jewelry
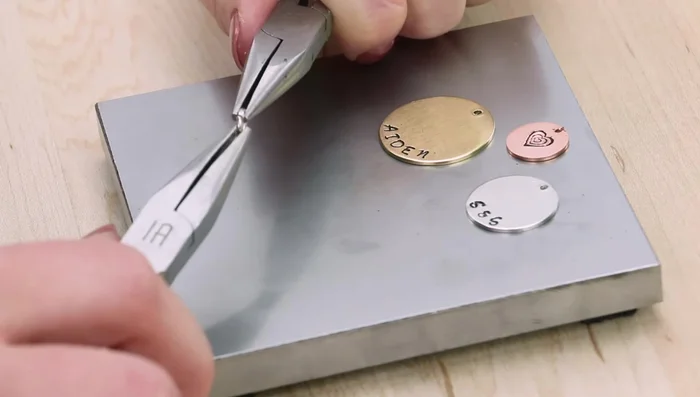
- Open the jump ring with chain nose pliers. Slide the blanks (size order, impressions facing same direction) onto the jump ring.
- Drape the chain over the open jump ring. Close the jump ring using chain nose pliers, twisting laterally with tension until you hear a click.
Assemble the Jewelry
Read more: DIY Tiered Tassel Earrings: A Quick & Easy Jewelry Tutorial
Tips
- Use a tap and tilt technique for a full impression on your first stamping step.
- Use stamp tape to secure blanks and prevent movement during stamping.
- Lightly hold the stamp and drag it up towards the guide to feel resistance before hitting with the hammer.
- Ensure the impressions are facing the same direction when assembling the jewelry pieces.