Are you tired of that chaotic jumble in your kitchen drawers? Spatulas clashing with whisks, utensils tumbling out every time you open a drawer? It's a common kitchen frustration, but one with a surprisingly simple solution: DIY custom drawer organizers! Investing in pre-made organizers can be expensive, but with a little creativity and readily available materials, you can craft perfectly tailored storage solutions to fit your specific needs and maximize your kitchen's space. This means no more wasted space, easily accessible items, and a significantly more organized kitchen overall.
Forget generic organizers that don't quite fit or leave you with awkwardly wasted space. This guide will show you how to conquer kitchen drawer chaos with easy-to-follow instructions, transforming frustrating storage into a streamlined system. Ready to ditch the drawer disaster and create a perfectly organized kitchen? Let's dive into the step-by-step process of building your own custom drawer organizers!
Preparation and Safety Guidelines
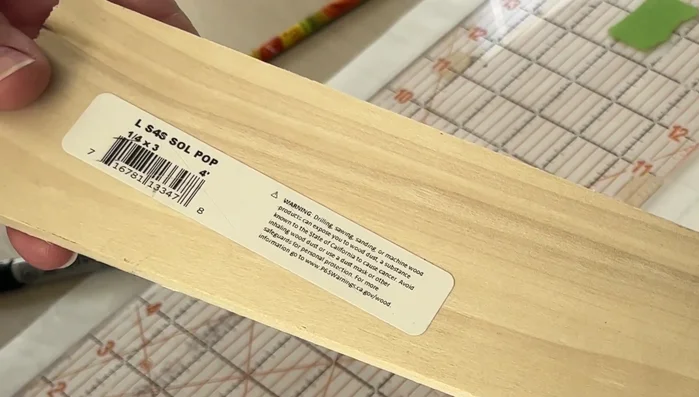
- Wood (1/4 inch thick, 3 inches high, Poplar recommended)
- Wood glue
- Sandpaper
- Measuring tape
- Pencil
- Sharpie
- Ruler
- Painter's tape (optional)
- Clamps (optional)
- Saw (hand saw or power saw)
- New spice jars (optional)
- Always measure your drawers precisely before building or purchasing materials. Inaccurate measurements will result in organizers that don't fit.
- Prioritize using non-toxic materials, especially if the organizers will come into contact with food. Avoid using materials that can warp or degrade with moisture.
- Ensure the organizers are stable and secure within the drawers. Loose or unstable organizers can shift and cause damage to your drawers or contents.
Step-by-Step Instructions
Prepare the Drawer
- Empty and clean the drawer.
- Take inventory of drawer contents; remove unnecessary items.
Plan the Organizers
- Measure the drawer and existing containers to determine optimal dimensions for new organizers.
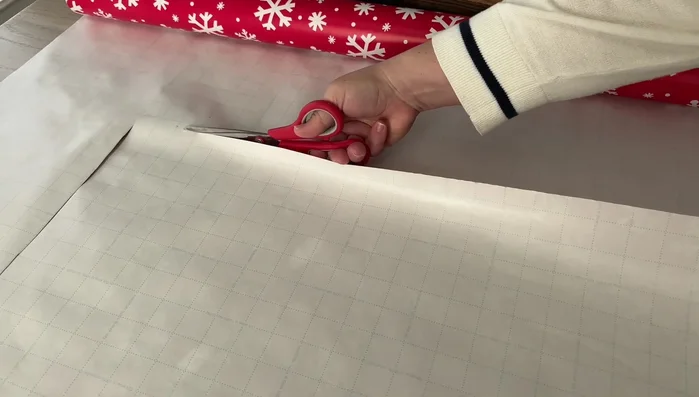
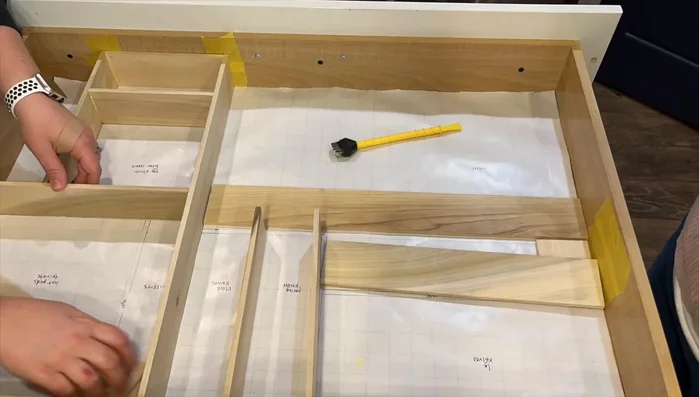
- Create a paper template of the drawer, marking sections for dividers based on item sizes and desired layout. Use graph paper or tape together pieces of paper to create a template.

Plan the Organizers Cut and Prepare Wood
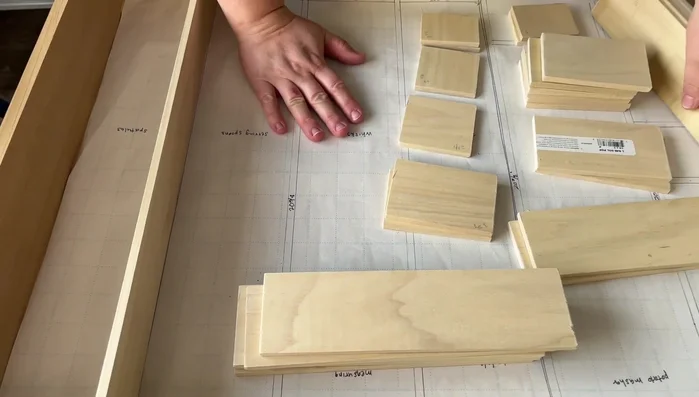
- Cut poplar wood strips according to the measurements from your template.
- Sand the edges of the wood for smoothness.
Cut and Prepare Wood Assemble the Organizers
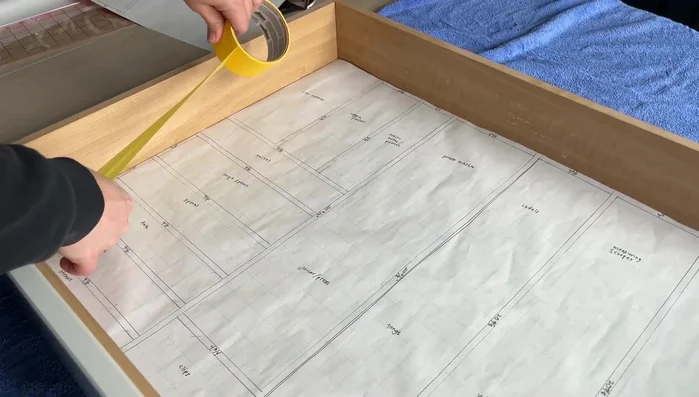
- Protect the drawer interior with painter's tape.
- Glue and assemble the wood dividers, using the paper template as a guide. Ensure a tight fit and use clamps or painter's tape to hold pieces in place while the glue dries.
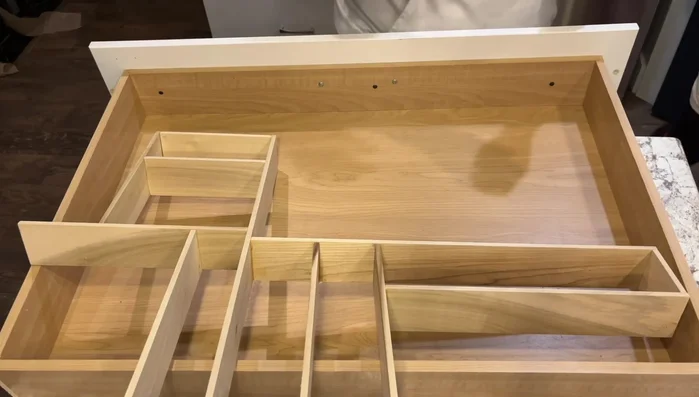
Assemble the Organizers Dry and Install
- Allow the glue to dry completely (24 hours).
- Remove the paper template and painter's tape. Place the finished organizers in the drawer and arrange your items.
Dry and Install
Read more: Build a Stunning Black Walnut Coaster Set: The Ultimate Furniture Protector
Tips
- Consider using taller, narrower jars for spices to maximize vertical space.
- Measure your largest measuring spoon to ensure it fits in your new containers.
- Use brace pieces to connect vertical dividers and ensure stability.
- Label everything for easy identification and organization.