Crystals, with their captivating beauty and purported healing properties, have captivated humans for centuries. From ancient amulets to modern jewelry, these shimmering stones hold a unique allure. Today, we're elevating the crystal trend with a stylish and surprisingly simple project: crafting your own elegant crystal bar necklace. This dazzling piece will not only add a touch of sparkle to your wardrobe but also offers a therapeutic connection to the chosen crystal's energy. Whether you're a seasoned crafter or a complete beginner, this project is perfectly accessible and incredibly rewarding.
This DIY project empowers you to personalize your jewelry, selecting crystals that resonate with your style and intentions. Ready to unleash your inner artisan and create a truly unique accessory? Let's dive into the detailed, step-by-step guide that will walk you through creating your stunning crystal bar necklace.
Preparation and Safety Guidelines
- Crystals (faceted rondal, approx. 2mm x 3mm)
- 26 gauge silver wire
- Fine chain (2 x 7in lengths)
- Silver clasp
- Two silver jump rings
- Chain nose pliers
- Wire cutters
- Round nose pliers
- Always wash your hands thoroughly before and after handling crystals to prevent the transfer of oils and dirt that could dull their shine or damage the surface.
- Avoid using excessively strong adhesives or harsh chemicals that could damage the crystals or the metal components of your necklace.
- If you have any allergies to metals or specific crystals, be sure to check the materials you are using and consider wearing gloves during the crafting process to avoid skin irritation.
Step-by-Step Instructions
Prepare the Wire and Chain
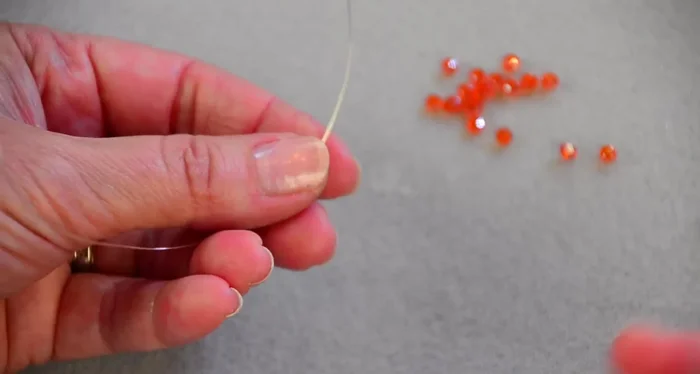
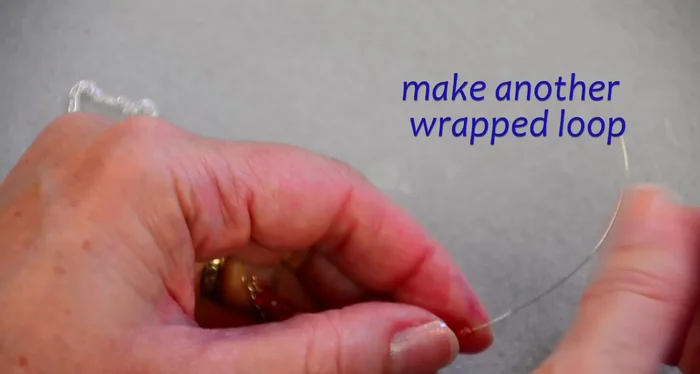
- Cut a 4-inch length of 26 gauge wire and create a loop at one end using round nose pliers.
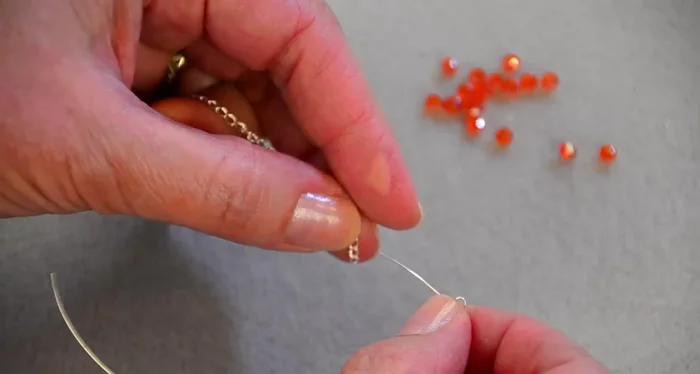
- Feed one end of a 7-inch chain through the wire loop.
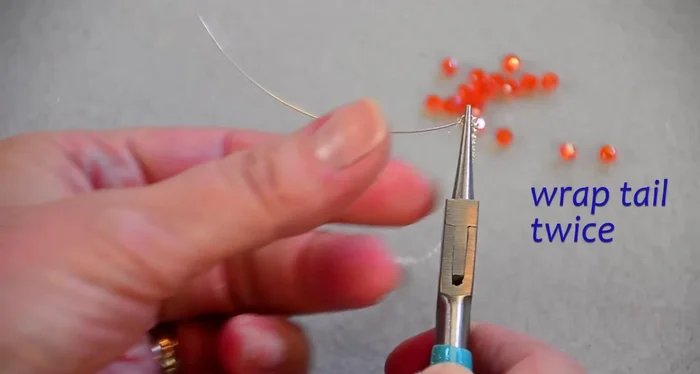
- Wrap the wire tail twice around the loop to secure the chain (wrapped loop).
- Cut off the excess wire.

Prepare the Wire and Chain String the Crystals
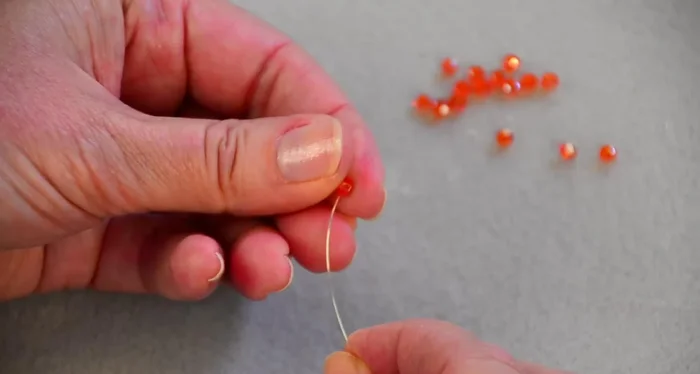
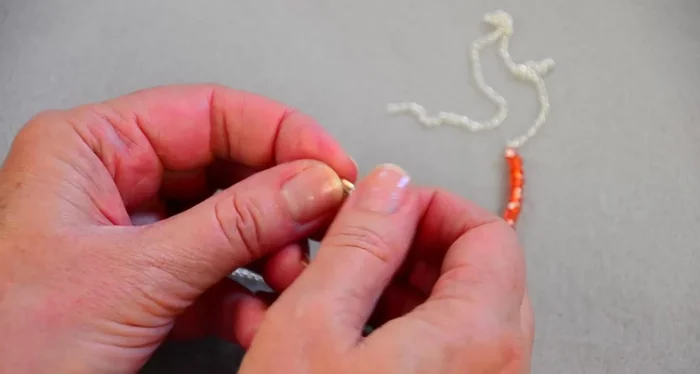
- String 16 crystals onto the wire.
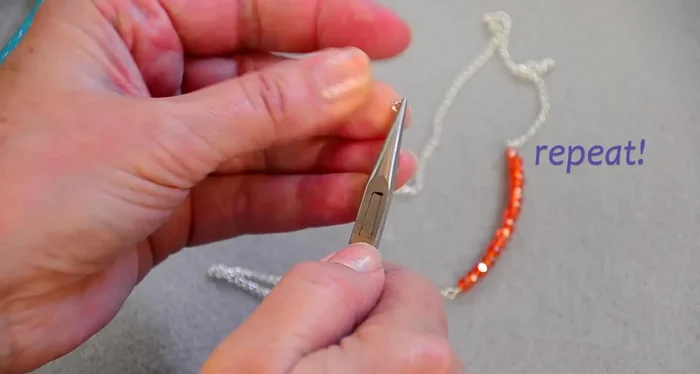
String the Crystals Attach the Second End
- Repeat steps 1-4 on the other end of the chain, ensuring the crystals are pushed down tightly to avoid gaps.
Attach the Second End Attach the Clasp
- Attach the clasp using two jump rings. Open the jump rings carefully using two pairs of pliers, avoiding distortion.
- Close the jump rings securely.
Attach the Clasp

Read more: DIY Tiered Tassel Earrings: A Quick & Easy Jewelry Tutorial
Tips
- Use different colored crystals or beads to create unique necklaces.
- Ensure that beads have holes large enough to accommodate the wire.
- Create sets of necklaces with varying lengths for a layered look.
- Choose a clasp appropriate to the necklace's delicacy.