Corner shelves offer a fantastic way to maximize space and add a touch of stylish storage to any room, but pre-made options can be expensive and lack personalization. This is where the power of DIY shines! Building your own corner shelves not only saves you money but also allows you to tailor the size, style, and finish to perfectly complement your existing décor. The 45-degree angle method, in particular, offers a clean, modern aesthetic that's surprisingly simple to achieve, even for beginners. Forget flimsy, wobbly shelves; this technique creates a robust and visually appealing solution.
This guide will walk you through the process of constructing sturdy and attractive corner shelves using the efficient 45-degree angle method. We'll cover everything from material selection and cutting to assembly and finishing, ensuring you have all the information needed to create stunning shelves for your home. Let's dive into the step-by-step instructions and transform your empty corner into a functional and fashionable feature.
Preparation and Safety Guidelines
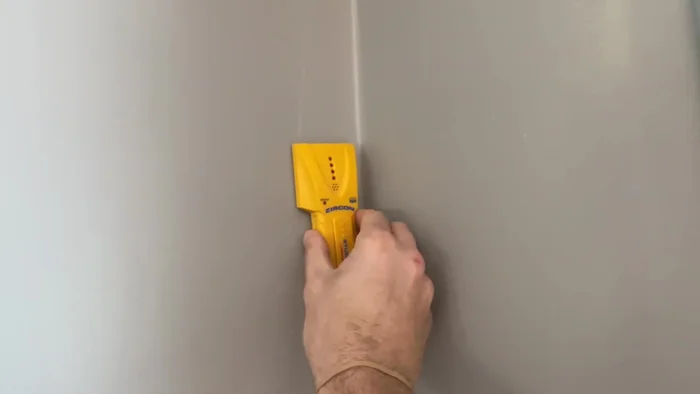
- Stud finder
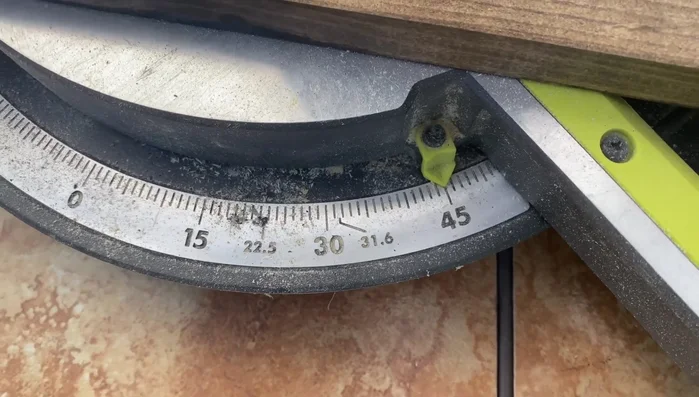
- Miter saw
- Drill
- Screws
- Brad nailer
- 1x4 lumber
- Stain (optional)
- Wood glue (optional)
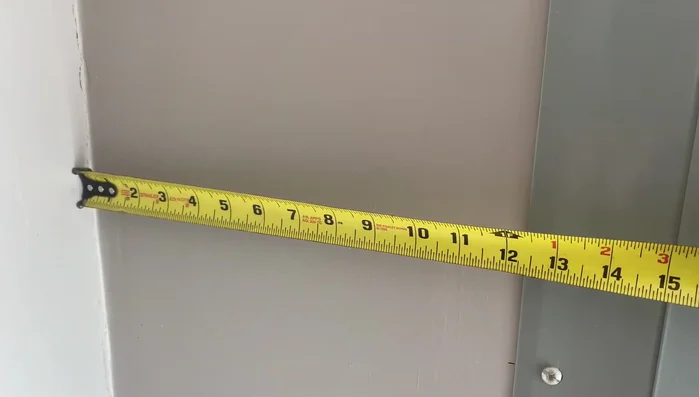
- Measuring tape
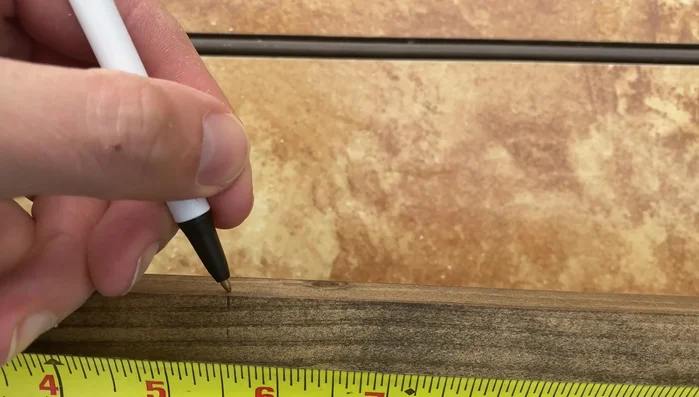
- Pencil
- Always use appropriate safety gear, including safety glasses and a dust mask, when cutting and sanding wood.
- Ensure your wall studs are located and securely fastened to before installing the shelves. Incorrect placement can lead to the shelves collapsing.
- Use a level to ensure your shelves are perfectly aligned and stable before securing them to the wall. Uneven shelves are both unsightly and unsafe.
Step-by-Step Instructions
Prepare the Wall
- Locate studs in the corner using a stud finder and mark their positions.
- Determine shelf placement and measure the diagonal distance across the corner to find the shelf length. Mark your desired shelf heights.

Prepare the Wall Cut Shelf Pieces
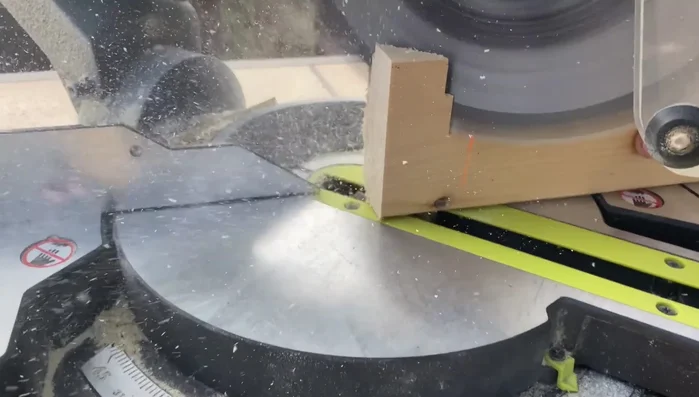
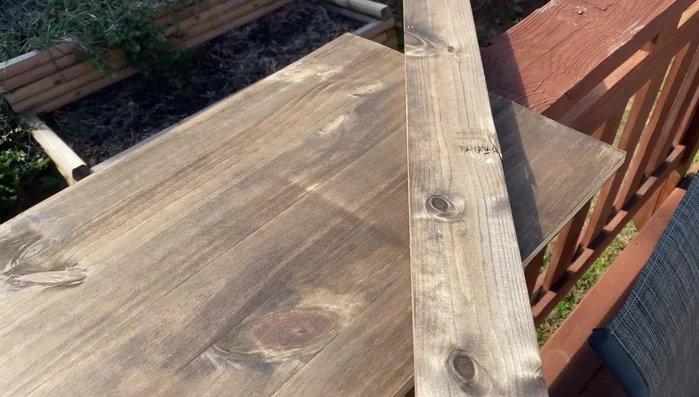
- Cut 1x4 lumber at a 45-degree angle on one end. This creates the angled corner of your shelf.
- Measure and cut the other end of the 1x4 lumber at a 45-degree angle, using the previously measured diagonal distance. This ensures a snug fit against the corner wall.
- Repeat steps 3 and 4 to create multiple shelves of the same size.
Cut Shelf Pieces Prepare Wall Mounts
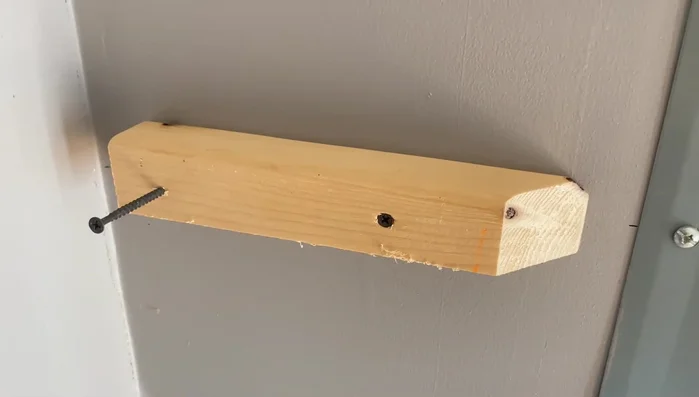
- Cut short 2x4 pieces at a 45-degree angle. These will serve as wall mounts for each shelf.
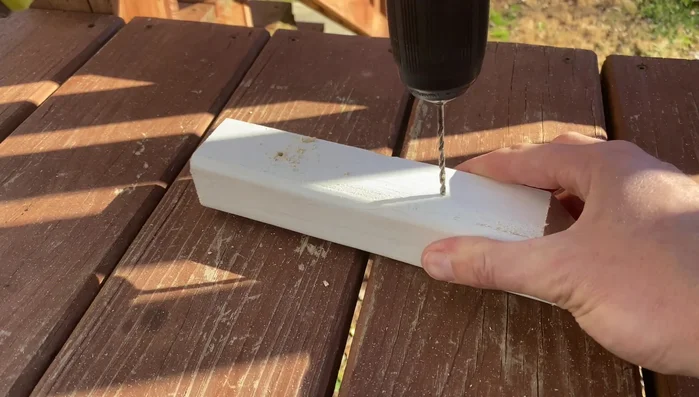
- Pre-drill pilot holes in the wall mounts to prevent splitting when attaching them to the wall.
Prepare Wall Mounts Install Wall Mounts
- Attach the wall mounts to the studs, ensuring they are level and leaving enough space for the shelf's face piece.
Install Wall Mounts Create and Install Top Trim
- Create a top trim piece by measuring the inside corner and cutting a piece to fit snugly. Add support brackets to the underside of the trim for extra stability.
- Carefully tap the top trim piece into place between the shelves and wall mounts using a scrap block of wood to protect the trim.
- Secure the top trim piece with brad nails, ensuring they go into the wall mounts.
Create and Install Top Trim

Read more: Build a Stunning Black Walnut Coaster Set: The Ultimate Furniture Protector
Tips
- Use a level to ensure your shelves and wall mounts are perfectly level.
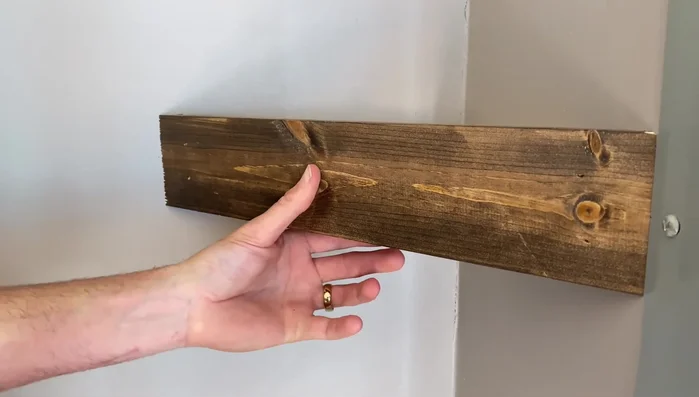
- Pre-stain your lumber for a more professional finish.
- Have some paint on hand to touch up any wall imperfections after installation.
- Consider adding a support piece to the underside of the top trim for extra strength and a cleaner look.