Tired of coats and bags strewn across chairs and floors? Wish you had a stylish and practical coat rack but balk at the price tags in furniture stores? Then this DIY project is for you! We'll show you how to build a sturdy and attractive coat tree using just three 2x4s – a surprisingly affordable and achievable project even for novice DIY enthusiasts. Forget expensive, mass-produced coat racks; you can create a personalized piece that perfectly complements your home’s style, all while saving a significant amount of money.
This budget-friendly guide provides a simple, step-by-step process to construct your own unique coat tree. With basic woodworking tools and a little bit of time, you’ll be transforming those three 2x4s into a functional and stylish addition to your entryway or hallway. So, grab your tools, and let's get started on building your own custom coat tree!
Preparation and Safety Guidelines
- 2x4s
- Circular Saw
- Circular Saw Guide (optional, homemade guide shown)
- Wood Glue
- Clamps
- Sandpaper
- Hand Plane (optional)
- Wood Conditioner
- Stain (Red Mahogany used)
- Foam Brush
- Verithane Diamond Wood Finish
- Screws
- Hooks
- Always wear safety glasses when using power tools like saws and drills. Wood splinters and flying debris can cause serious eye injuries.
- Ensure the 2x4s are properly secured to the wall using appropriate wall anchors that are suitable for the weight of the coat tree and the type of wall material. Improper anchoring could result in the coat tree falling and causing injury or damage.
- Use caution when handling sharp tools like saws and drills. Keep your fingers clear of the blade or drill bit to prevent cuts or other injuries.
Step-by-Step Instructions
Prepare the 2x4s
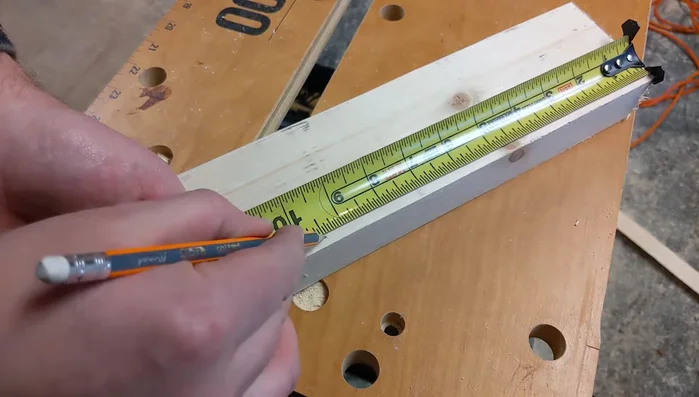
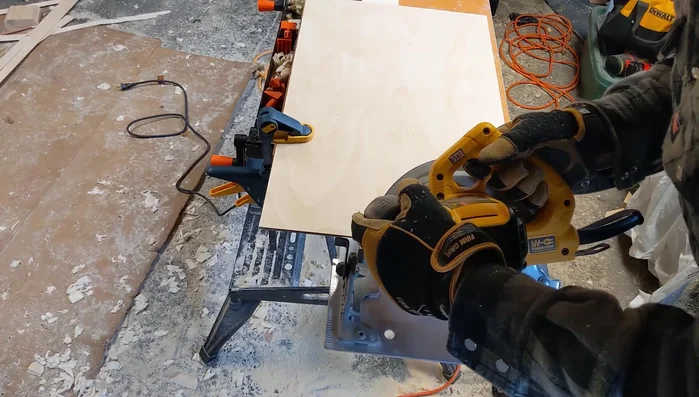
- Square off the edges of the 2x4s. Use a circular saw and a guide to remove the rounded edges for a cleaner look.

Prepare the 2x4s Cut and Shape the Feet
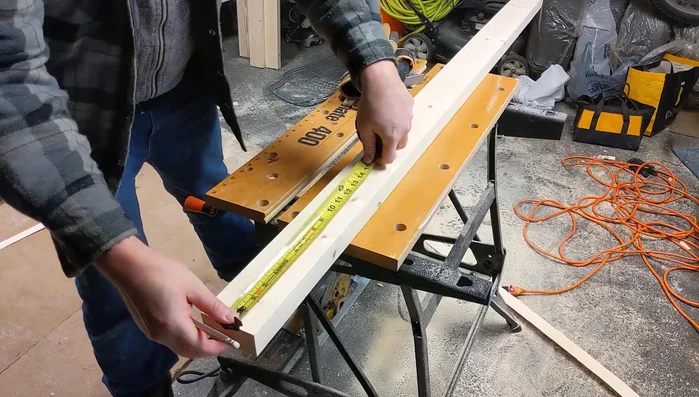
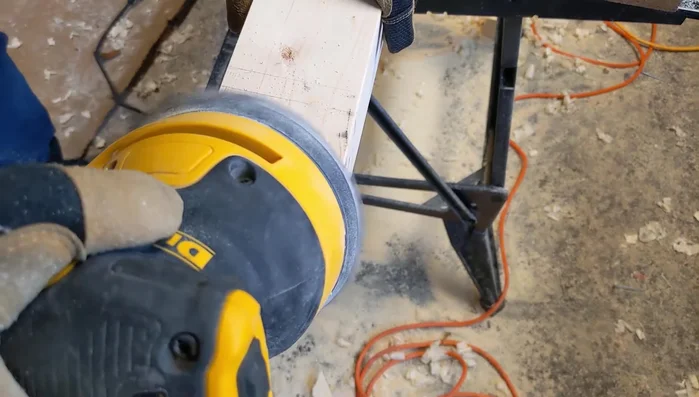
- Cut four 12-inch pieces for the feet.
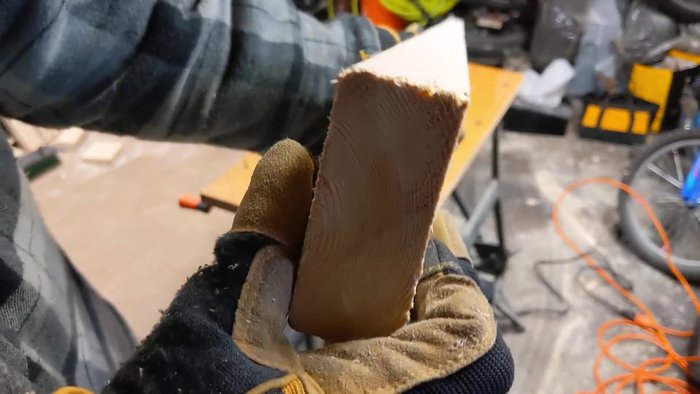
- Add a 45-degree angle to the ends of the feet (optional, but adds style).
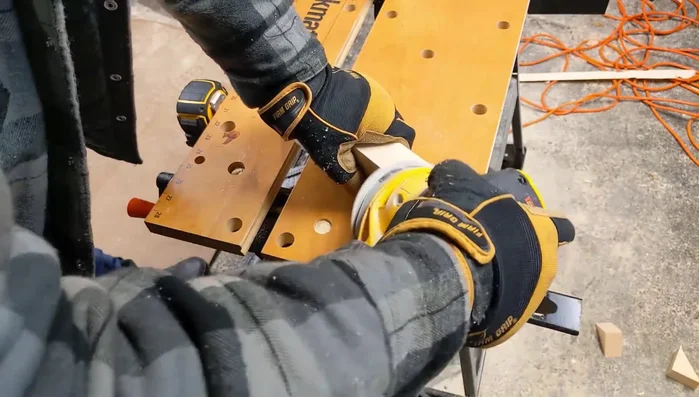
- Sand the feet smooth.
Cut and Shape the Feet Construct the Post
- Glue and clamp two 2x4s together to form a solid beam. Add screws for extra strength.
- Use a hand plane to even out any uneven areas where the 2x4s meet in the post (optional, for a smoother finish).
- Add a bevel to the top of the post for style.
- Sand the post smooth.
Construct the Post Prepare for Finishing
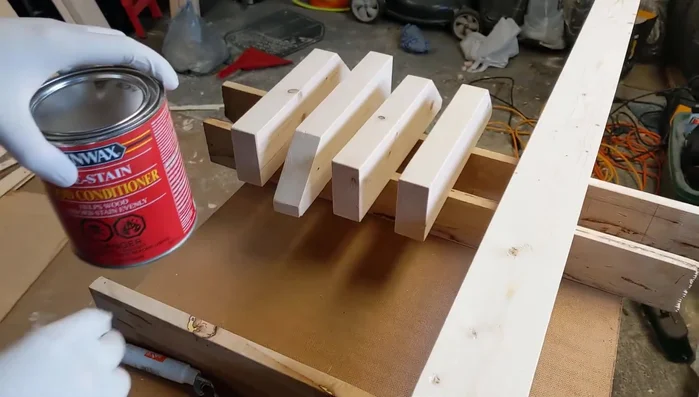
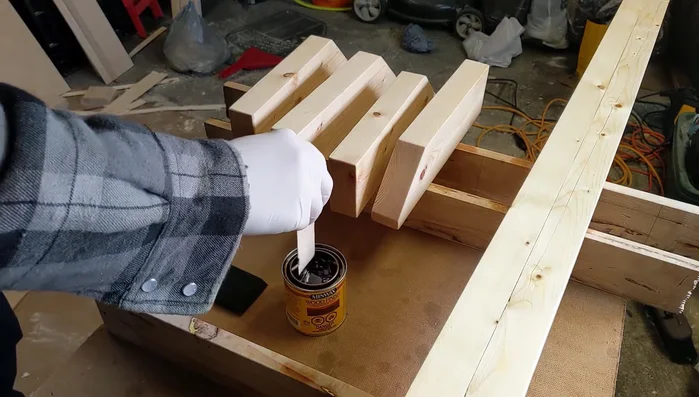
- Apply wood conditioner to all surfaces to prevent blotchy staining.
Prepare for Finishing Stain the Wood
- Apply stain (Red Mahogany used) before the conditioner dries.
- Wipe off excess stain.
Stain the Wood Assemble the Coat Tree
- Attach the feet to the post using pre-drilled holes and screws. Ensure the feet are square to the post.
Assemble the Coat Tree Finish and Protect
- Apply several coats of Verithane Diamond wood finish, allowing each coat to dry completely.
Finish and Protect Install Hooks
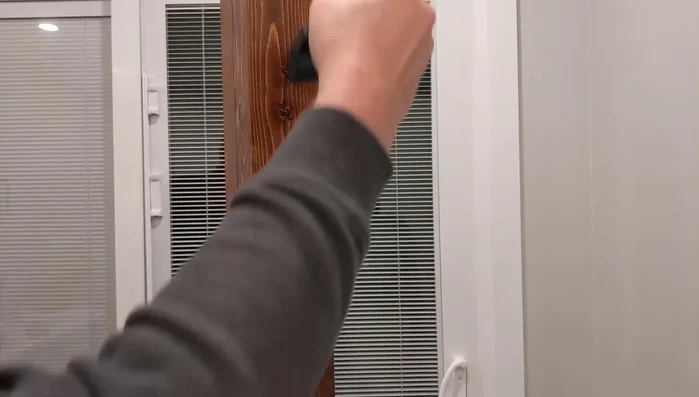
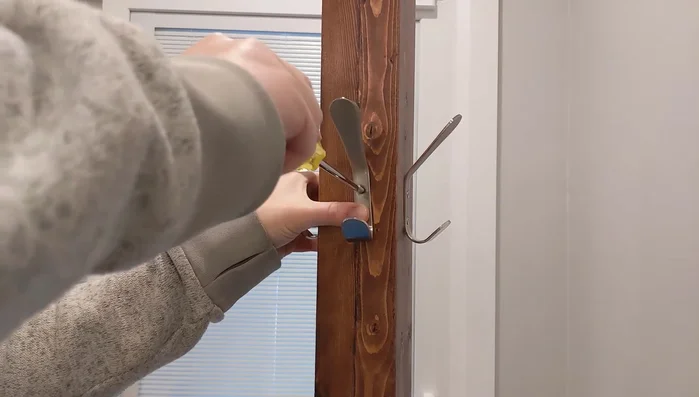
- Attach the hooks using pre-drilled holes and screws.
Install Hooks


Read more: Build a Stunning Black Walnut Coaster Set: The Ultimate Furniture Protector
Tips
- Using a circular saw guide, even a homemade one, ensures clean, straight cuts.
- Pre-drilling holes before screwing makes the process easier and prevents wood splitting.
- Apply wood conditioner to ensure even stain absorption and prevent a blotchy finish.