Tired of flimsy, mass-produced drawer pulls that feel cheap and lack character? Upgrade your furniture and inject some personality into your home with these stylish, chunky wooden drawer pulls! This DIY project is surprisingly simple and incredibly rewarding, allowing you to personalize your cabinets, dressers, and more with unique handcrafted hardware. Forget the endless scrolling through online stores searching for the perfect knob – you'll be amazed at how easily you can create stunning, custom drawer pulls that perfectly match your aesthetic.
This step-by-step guide will walk you through the process of crafting your own chunky wooden drawer pulls, from selecting the right wood to finishing the final product with a beautiful protective layer. Get ready to transform your furniture and add a touch of handmade charm to your space; let’s get started!
Preparation and Safety Guidelines
- Select Pine
- Poplar Dowel
- Ruler
- Pencil
- Spade Drill Bit
- Drill
- Painter's Tape
- Wood Glue
- Sanding Block (120 grit)
- Fine Grit Sanding Block
- Chalk Paint
- Nylon Brush/Foam Brush
- Self-Tapping Screws
- Flat Board
- Jig (11-inch wide board)
- Always wear safety glasses to protect your eyes from flying wood chips and dust.
- Use caution when working with sharp tools like chisels and saws. Ensure proper grip and control to avoid injury.
- Sand all surfaces thoroughly before applying any finish to prevent splinters and ensure a smooth, even coat.
Step-by-Step Instructions
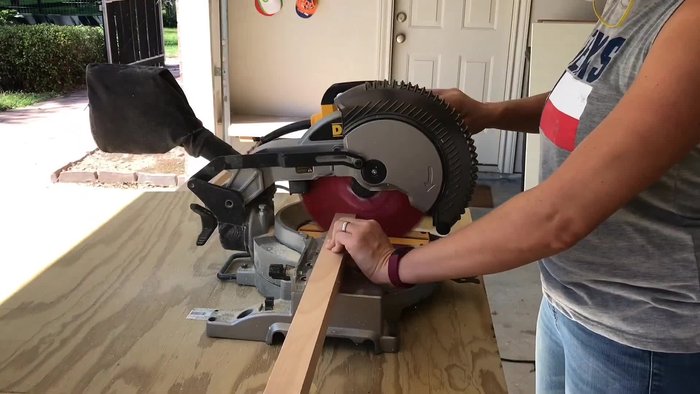
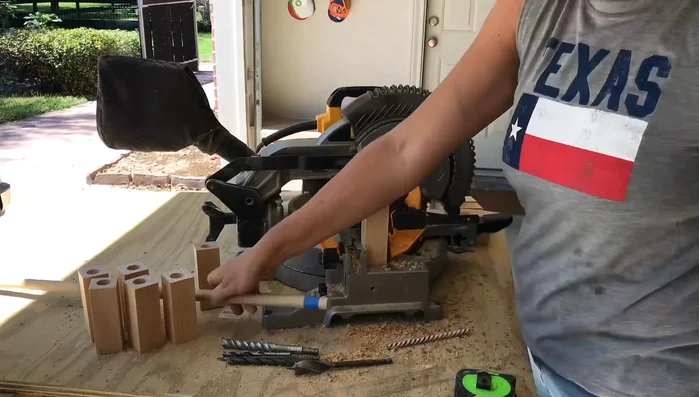
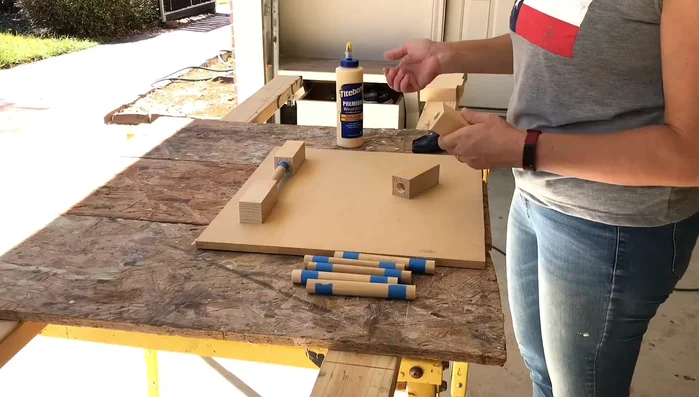
Prepare the Wooden Blocks
- Cut four-inch long pieces of select pine for each side of the drawer pulls.
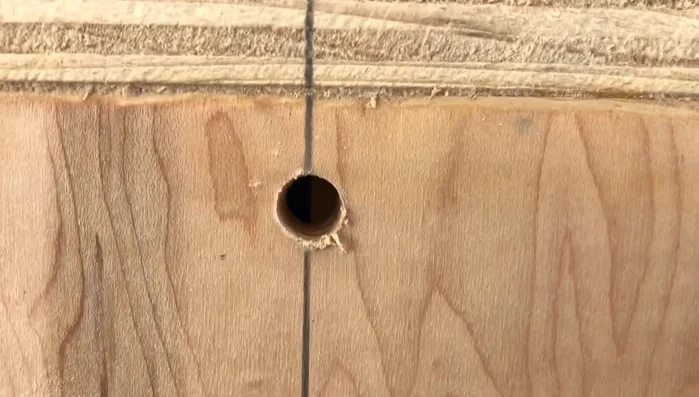
- Drill three-quarter inch deep holes in the pine blocks. Use painter's tape to measure the depth of the hole to ensure consistency.

Prepare the Wooden Blocks Prepare the Dowels
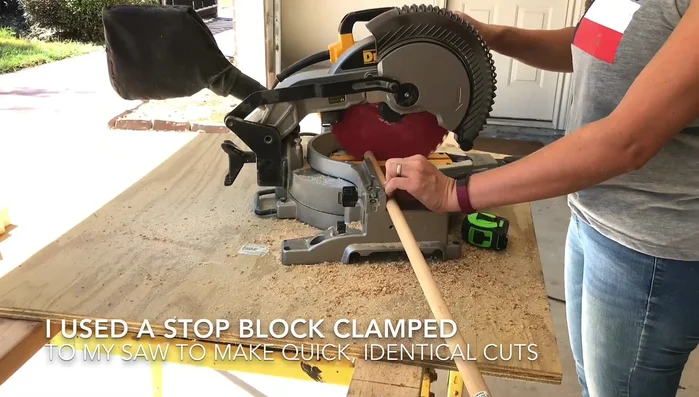
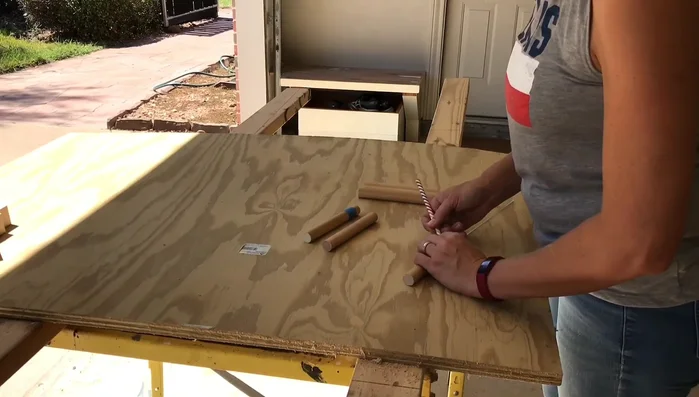
- Cut six-and-a-half-inch long three-quarter inch poplar dowels for each drawer pull.
- Mark three-quarter inches up on each side of the dowels with painter's tape for gluing.
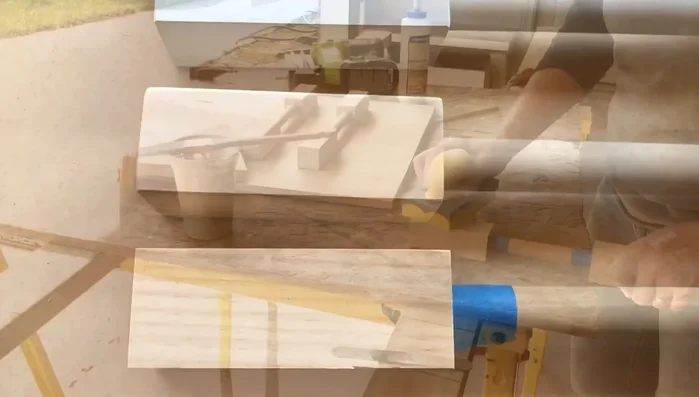
Prepare the Dowels Assemble the Pulls
- Apply wood glue to the inside of the holes in the pine blocks.
- Insert the dowels into two of the blocks, ensuring even depth and using a flat board to keep them level while the glue dries.
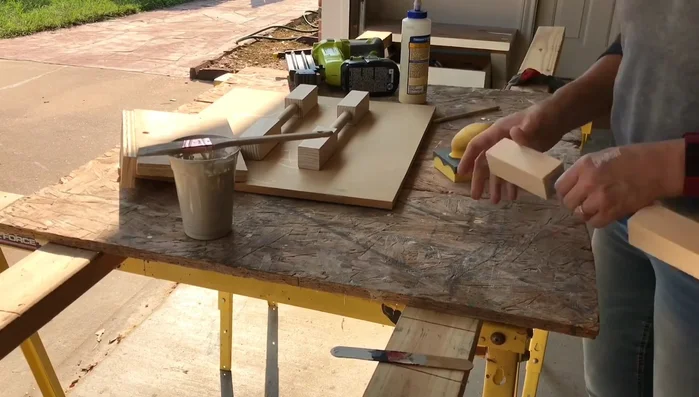
Assemble the Pulls Sand and Finish
- Sand all hard edges and corners to achieve a smooth, polished look. Use a 120 grit sanding block, paying attention to all four edges of the two-by-twos and the dowel.
- Apply multiple coats of chalk paint, sanding lightly between each coat for a super smooth finish.
Sand and Finish Prepare for Installation
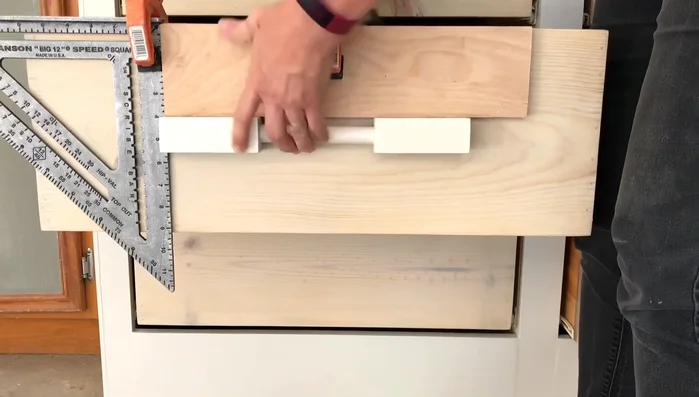
- Create a jig using an 11-inch wide board, marking and drilling holes for screw placement to match the drawer.
Prepare for Installation Install the Drawer Pulls
- Use the jig to help center and drill holes for the screws in the drawers.
- Install the drawer pulls using self-tapping screws to avoid splitting the wood.
Install the Drawer Pulls


Read more: Build a Stunning Black Walnut Coaster Set: The Ultimate Furniture Protector
Tips
- Use a sharp spade bit for easier drilling.
- Hold the drill straight up and down for centered holes.
- Use a high-quality nylon brush or foam brush for applying chalk paint to avoid brush strokes.
- Use self-tapping screws for easy installation and to prevent splitting the wood.
- Use a square and a block of wood to ensure the drawer pulls are aligned exactly the same on each drawer.