Are you ready to add a pop of personality to your wrist? Forget expensive jewelry stores – creating your own stunning charm stack bracelets is easier and more fun than you think! This vibrant trend allows for endless customization, reflecting your unique style and mood with a simple, yet impactful accessory. From delicate beads to bold pendants, the possibilities are truly limitless, letting you showcase your creativity and express yourself through wearable art. Imagine the compliments you'll receive sporting a one-of-a-kind bracelet crafted entirely by your own hands!
This DIY tutorial will guide you through the simple steps to making your own colorful charm stack bracelets, regardless of your crafting experience. We’ll cover everything from choosing your materials to securing your charms, ensuring a beautiful and long-lasting result. Ready to get started? Let's dive into the step-by-step process!
Preparation and Safety Guidelines
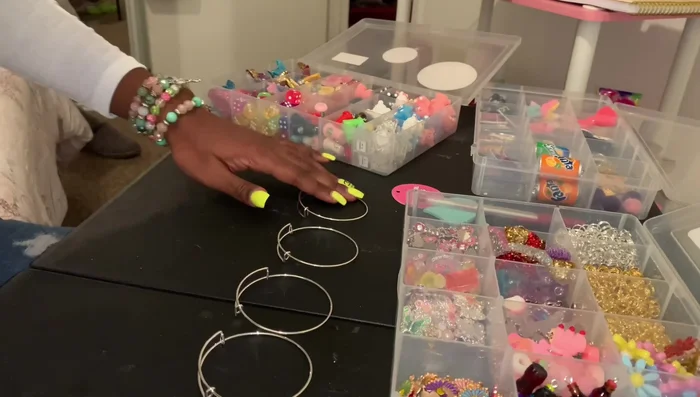
- bangles
- charms
- split rings
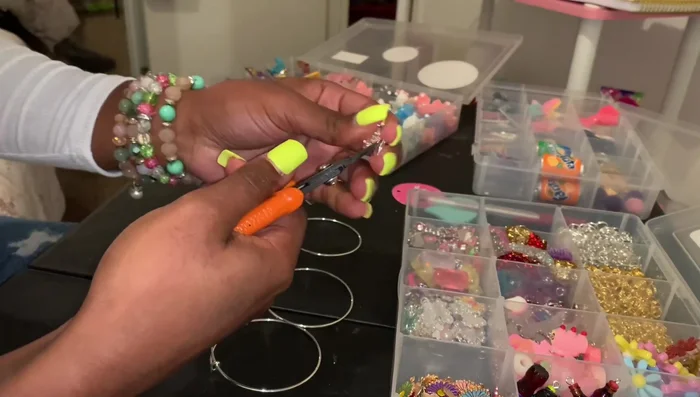
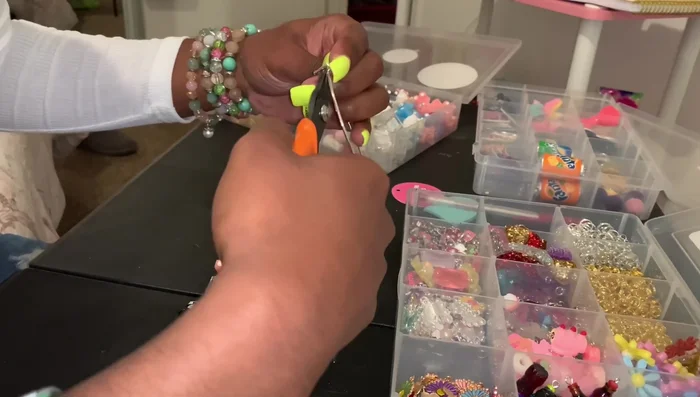
- split ring pliers
- Always supervise children when working with small crafting materials to prevent choking hazards.
- Avoid using sharp tools or excessive force when working with charms and wire to prevent injury.
- If using jewelry wire, be mindful of sharp edges and wear appropriate safety glasses if necessary.
Step-by-Step Instructions
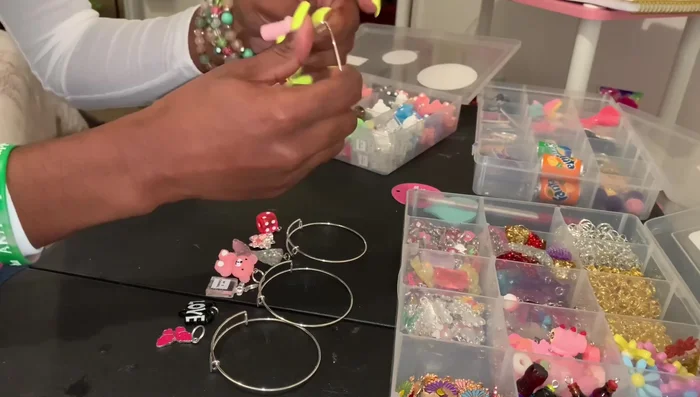
Gather Supplies
- bangles, charms (at least 8-11), split rings.

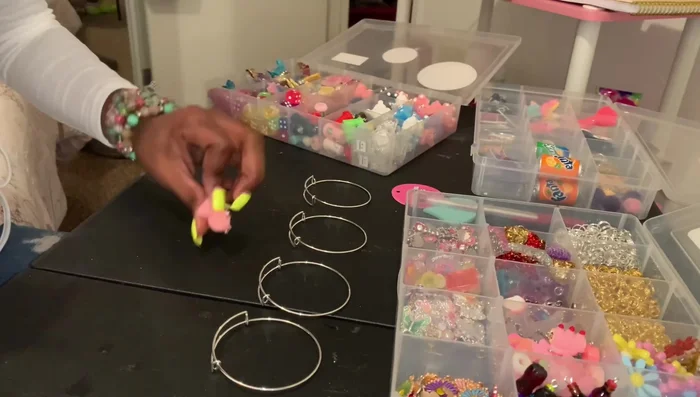
Gather Supplies Charm Selection
- Select charms based on color coordination and personal preference. The creator uses mostly pink charms with a few others to add variety.
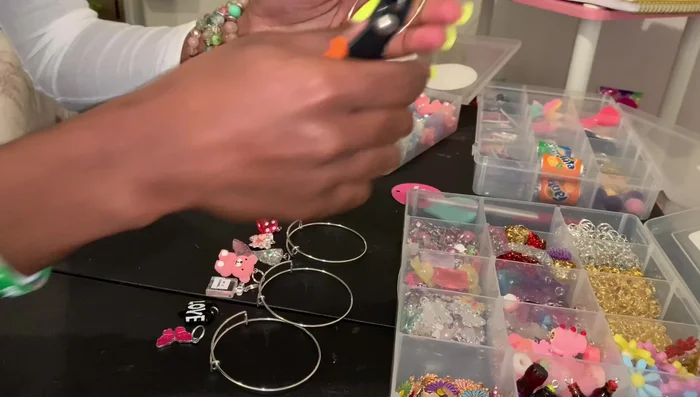
Charm Selection Attach Split Rings to Charms
- Attach split rings to each charm.
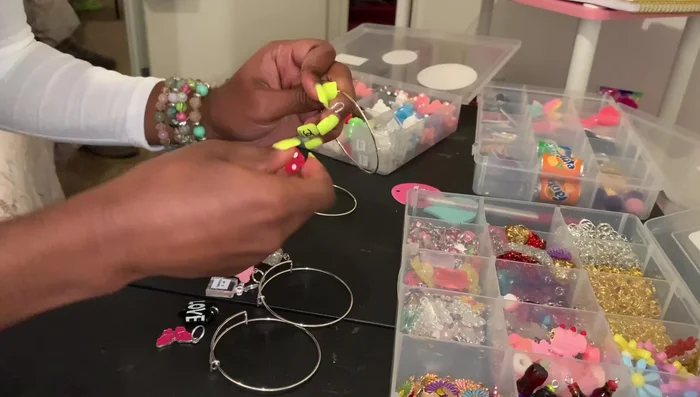
Attach Split Rings to Charms Assemble First Bracelet
- Open the bangle.
- Attach the charms to the bangle using the split rings.
- Close the bangle using the split ring pliers.
Assemble First Bracelet Create Additional Bracelets
- Repeat steps 4-6 to create additional charm stacks.
Create Additional Bracelets
Read more: DIY Tiered Tassel Earrings: A Quick & Easy Jewelry Tutorial
Tips
- Open the bangles wide enough to easily attach the charms.
- Consider charm size and placement to avoid a chunky look.
- Experiment with different color combinations.