Unleash your inner artisan and create dazzling, personalized jewelry with our ultimate guide to DIY charm bracelet and anklet making! Forget mass-produced pieces; this guide empowers you to craft unique accessories reflecting your style and personality. Whether you're a seasoned crafter or a complete beginner, we'll equip you with the knowledge and inspiration to transform simple beads, charms, and cords into stunning wearable art. Imagine the possibilities: a delicate anklet shimmering on your bare skin, or a statement bracelet showcasing your favorite memories captured in miniature charms.
This comprehensive guide covers everything from selecting the perfect materials and tools to mastering essential techniques like knotting, wire wrapping, and using jump rings. We'll explore various design styles, offering creative inspiration for both bracelets and anklets, and walk you through each step of the process, ensuring you create beautiful, long-lasting pieces. Ready to get started? Let's dive into our step-by-step instructions!
Preparation and Safety Guidelines
- Cutters
- File
- Jump rings
- Split rings
- Nose pliers
- Lobster clasp
- Chain
- Charms
- Measuring Tape
- Always supervise children when they are using small crafting items like beads and jump rings to prevent choking hazards or accidental ingestion.
- Be cautious when using tools like wire cutters or pliers. Keep fingers clear of the cutting edges and blades to avoid injuries.
- If using jewelry wire, be mindful of sharp ends and always handle carefully to prevent cuts or scratches.
Step-by-Step Instructions
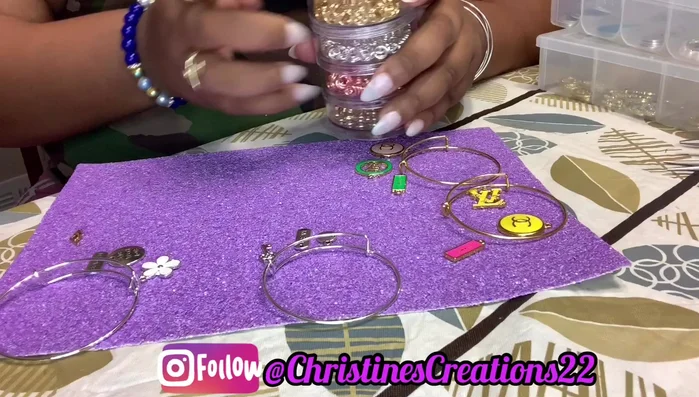
Prepare Materials
- Choose your charms and jump rings or split rings. Split rings are recommended for heavier-duty bracelets.

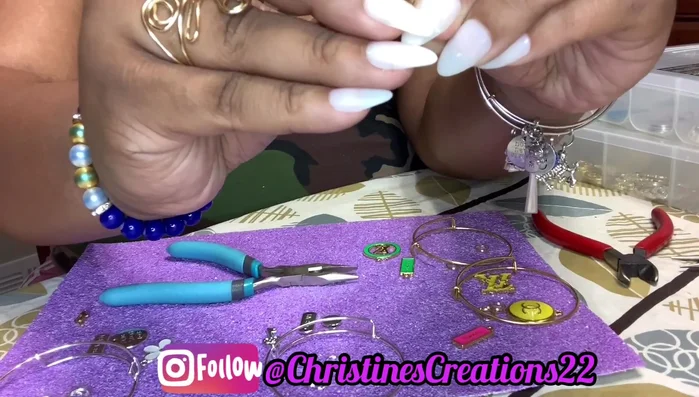
Prepare Materials Attach Charms to Rings
- Attach the charm to the jump ring or split ring using the techniques shown in the video (around 273.18).
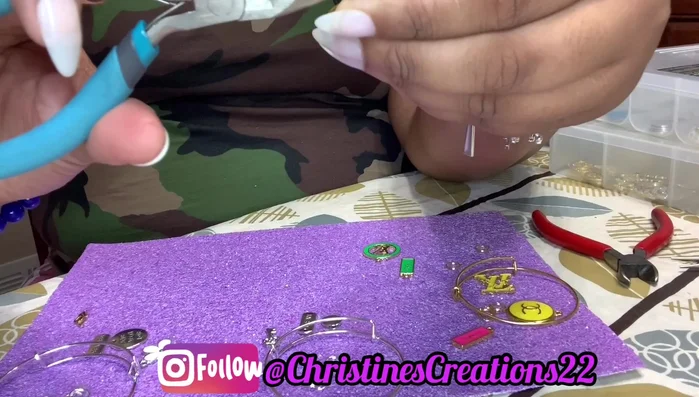
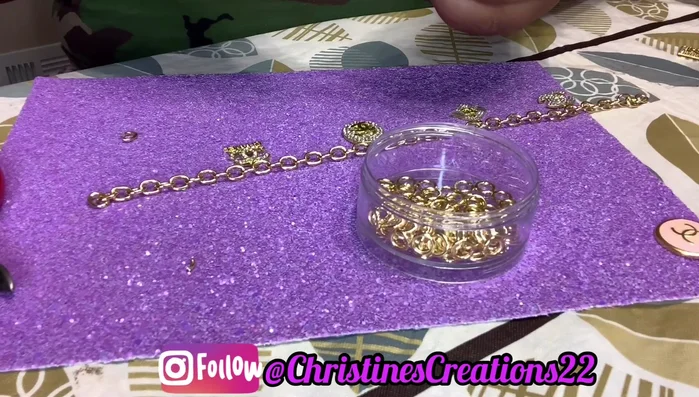
Attach Charms to Rings Assemble Bracelet
- Attach the charm and jump ring/split ring to your bracelet or anklet base.
Assemble Bracelet Prepare Anklet
- For anklets, measure your ankle and cut the anklet base to the appropriate size.
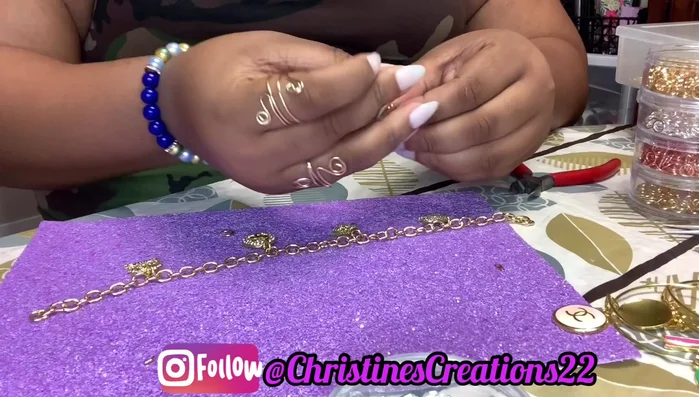
Prepare Anklet Assemble Anklet
- Attach charms evenly spaced along the anklet using jump rings.
Assemble Anklet Attach Clasp
- Attach a lobster clasp using a split ring.
Attach Clasp
Read more: DIY Tiered Tassel Earrings: A Quick & Easy Jewelry Tutorial
Tips
- Use split rings for heavier charms or bracelets for a more secure hold.
- Ensure your charms are facing the correct way before attaching them.
- For anklets, consider using jump rings for a more aesthetically pleasing look.
- If making anklets for clients, measure and create an average size to ensure a good fit.