The warm, inviting glow of a lantern can transform any outdoor space, adding a touch of rustic charm and ambiance. And what better material to craft your own unique lantern than fragrant, durable cedar wood? This naturally beautiful wood offers a pleasing aroma and inherent weather resistance, making it the perfect choice for a DIY project that will last. Creating your own cedar wood lantern isn't as daunting as you might think; with a few simple tools and some readily available materials, you can craft a stunning piece to enhance your patio, garden, or even indoor décor.
This guide provides a comprehensive, step-by-step approach, perfect for even the most novice DIY enthusiast. Forget expensive store-bought options and embrace the satisfying process of building something beautiful with your own hands. Let's get started with our detailed instructions, leading you through each stage of creating your own beautiful and functional cedar wood lantern.
Preparation and Safety Guidelines
- Cedar fence boards or Pine 1X6s
- Planer
- 1 1/4" plunge router
- 5/16" guide bushing
- Extra long 1/8" upcut spiral bit
- Double-sided tape
- Utility knife
- Small pry bar
- Templates (6mm clearcast acrylic)
- Brad nails (optional)
- Glue (optional)
- Clamps (optional)
- 220 grit sandpaper (optional)
- Orbital sander (optional)
- Battery-operated flickering tealights
- Always use caution when working with sharp tools like saws and knives. Wear appropriate safety glasses and gloves.
- Ensure adequate ventilation when working with wood and finishing products. Fumes can be harmful.
- Never leave lit candles unattended inside the lanterns. Keep away from flammable materials.
Step-by-Step Instructions
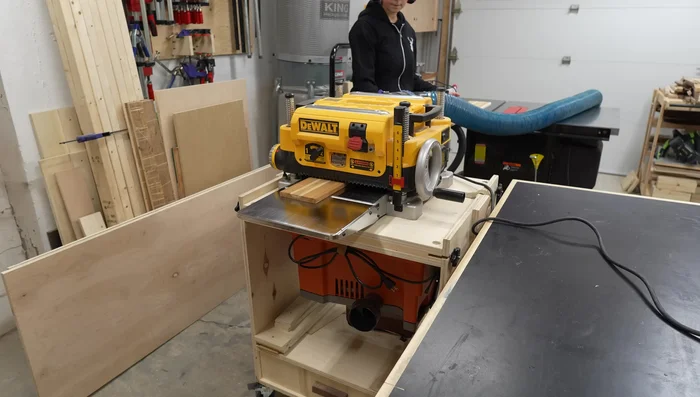
Prepare the Wood
- Prepare the lumber by planing down the boards about an inch on each side to remove cupping and create a smooth surface.

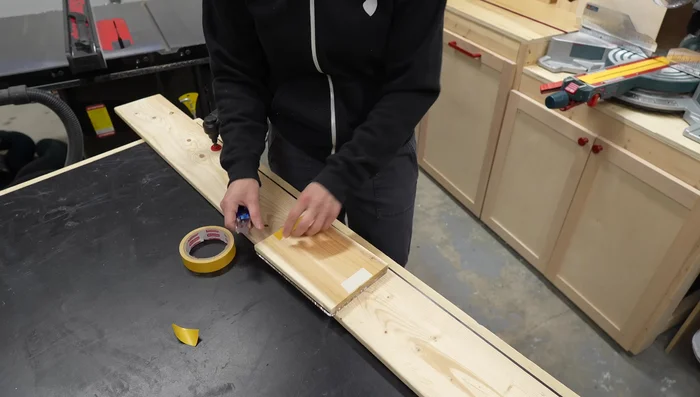
Prepare the Wood Prepare for Routing
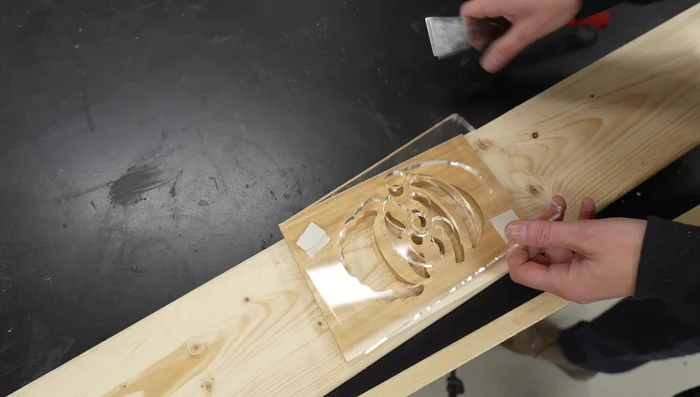
- Secure the template to the lantern face using double-sided tape.
- Attach the template and wood piece to a sacrificial backer board using double-sided tape.
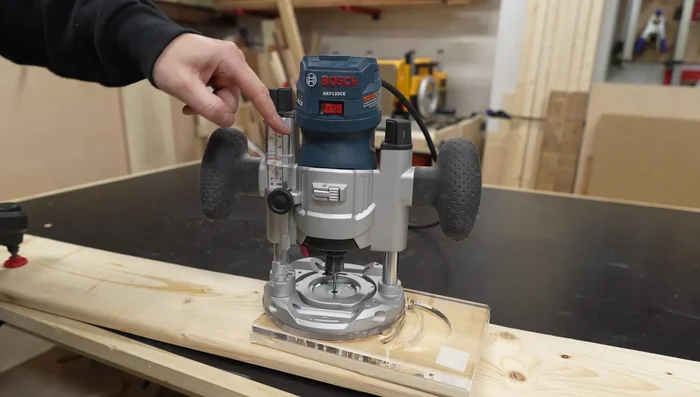
Prepare for Routing Route the Lantern Face
- Set the router depth to just over half an inch, ensuring the bit goes all the way through the wood.
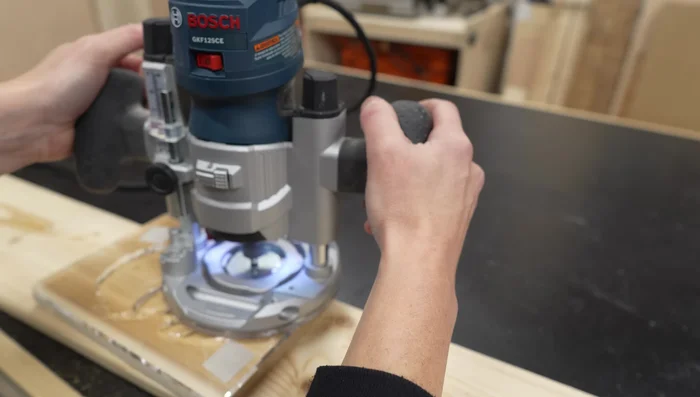
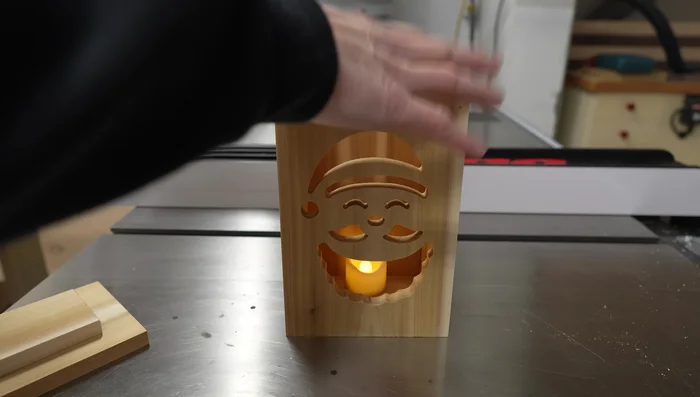
- Using the router, carefully carve the lantern face design, moving clockwise.
Route the Lantern Face Remove from Backer Board
- Gently remove the template and the carved lantern face from the backer board.
Remove from Backer Board Clean Up the Cut
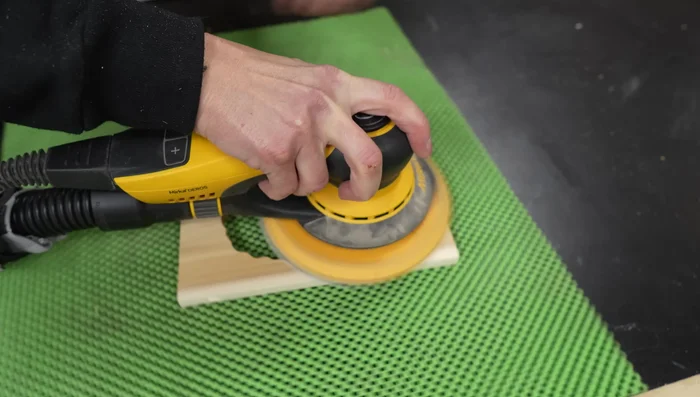
- Sand away any fuzzies for a clean finish.
Clean Up the Cut Assemble the Lantern
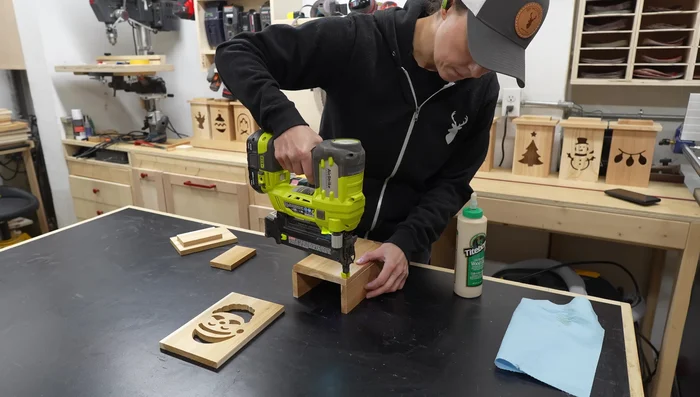
- Assemble the lantern using glue and/or brads nails; press-fit the bottom, glue the lid and visually center it.
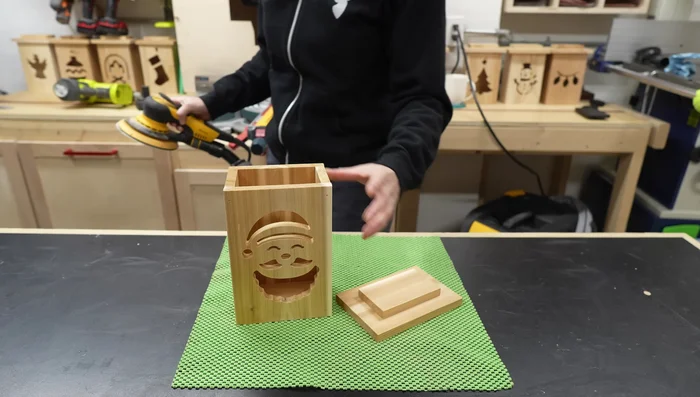
Assemble the Lantern Finish and Decorate
- Sand any uneven edges, and apply a finish as desired.
- Add a battery-operated flickering tealight.
Finish and Decorate

Read more: Build a Stunning Black Walnut Coaster Set: The Ultimate Furniture Protector
Tips
- Use an upcut spiral bit for cleaner cuts.
- Use a sacrificial backer board to protect your workbench.
- Don't use too much tape to secure the template; it will make removal difficult.
- Clean templates with 99% isopropyl alcohol.
- If using an orbital sander, be careful not to catch the edges.