Dangle earrings are a timeless accessory, capable of elevating any outfit with their graceful movement and shimmering presence. However, designer dangle earrings often come with a hefty price tag. This tutorial will show you how to create stunning, cascading dangle earrings yourself, using the remarkably versatile and easy-to-work-with memory wire. Forget fiddly clasps and frustrating wire weaving; memory wire allows for effortless shaping and a professional finish, even for complete beginners. We'll guide you through creating a captivating design, perfect for adding a touch of elegance to your everyday style or crafting unique gifts for loved ones.
This project requires minimal materials and tools, making it a perfect weekend crafting activity. Forget expensive jewelry-making classes; everything you need to know to achieve beautiful, bespoke dangle earrings is right here. Prepare to be amazed by how simple it is to create intricate designs! Let’s dive into the step-by-step process and begin crafting your own exquisite cascading memory wire earrings.
Preparation and Safety Guidelines
- Memory wire
- Chain nose pliers
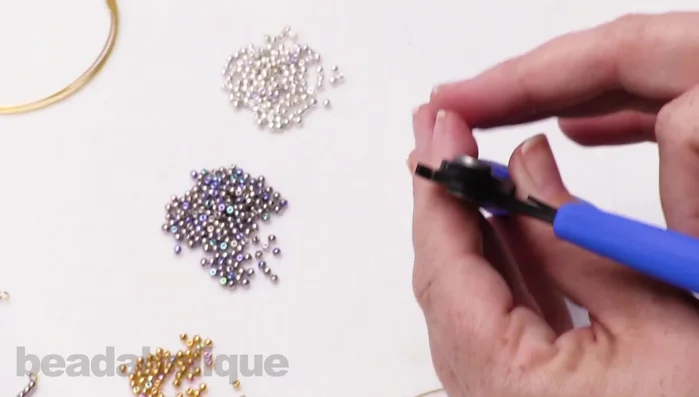
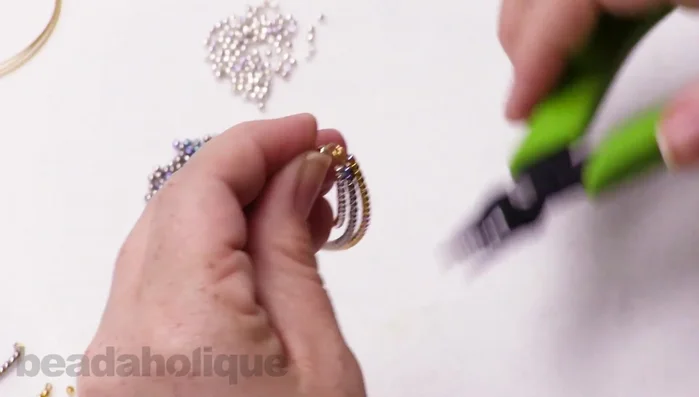
- Memory wire cutter
- Round nose pliers
- Crimping pliers (optional)
- Earring hooks
- 2mm round beads
- Always wash your hands before handling jewelry-making supplies to prevent contamination and maintain hygiene.
- Use caution when working with sharp tools like wire cutters. Keep them away from children and cut away from your body.
- If you experience any skin irritation from any materials used, immediately discontinue use and consult a doctor.
Step-by-Step Instructions
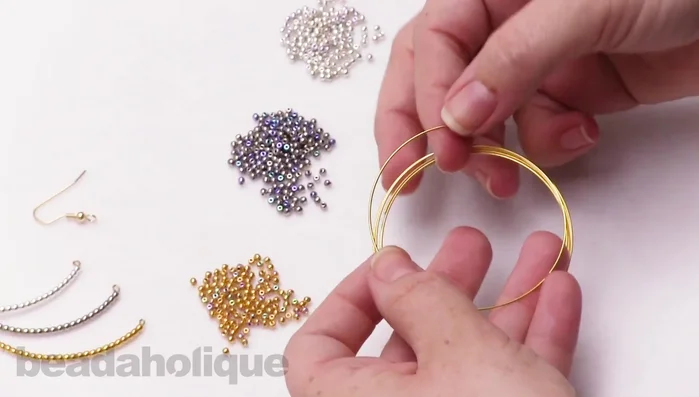
Prepare the Memory Wire
- Cut a piece of memory wire, leaving enough length for a loop and the desired bead length.

Prepare the Memory Wire Create the First Dangle Section
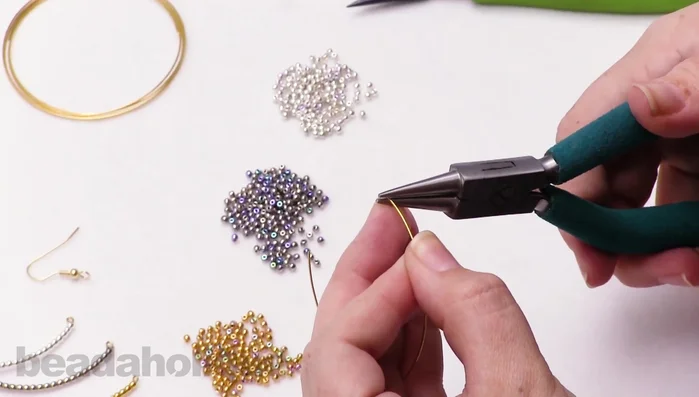
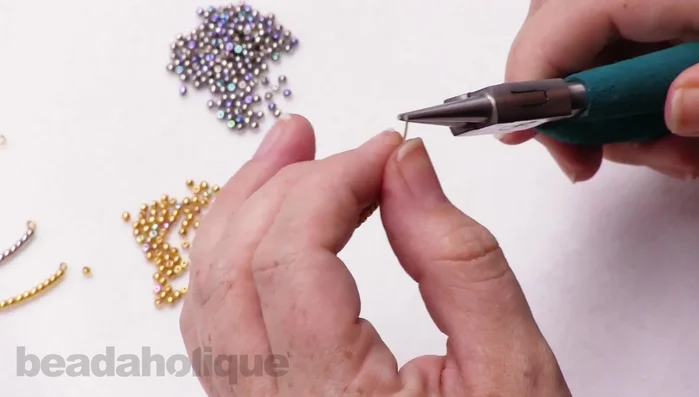
- Create a loop at one end of the wire using round nose pliers.
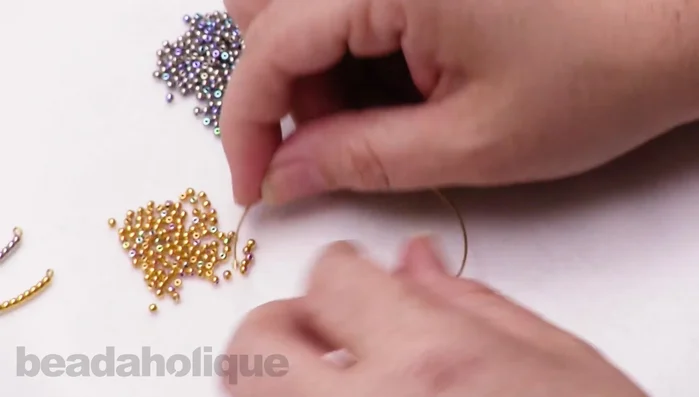
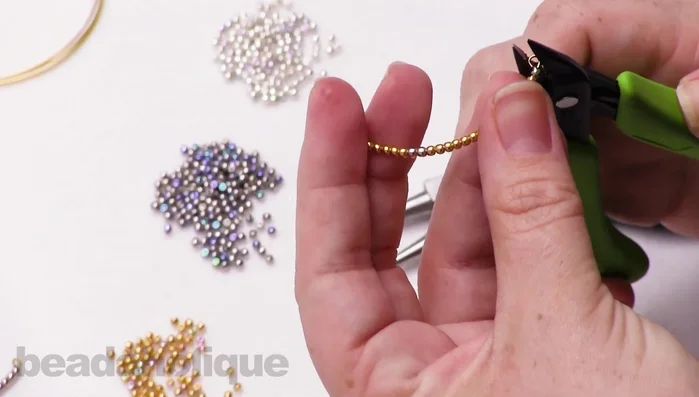
- String beads onto the wire.
- Position the beads flush against the initial loop.
- Cut the excess wire using memory wire cutters. Ensure you leave enough wire for another loop.
Create the First Dangle Section - Bend the remaining wire to create a second loop at the bottom of the beads, securing them.
- Crimp the second loop with crimping pliers for extra security (optional).
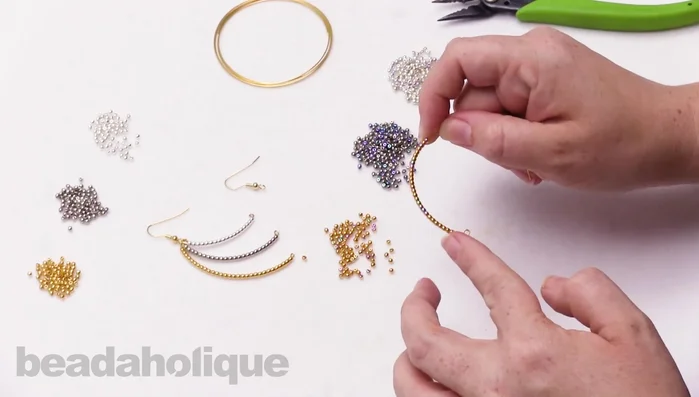
Create the First Dangle Section Create Additional Dangle Sections
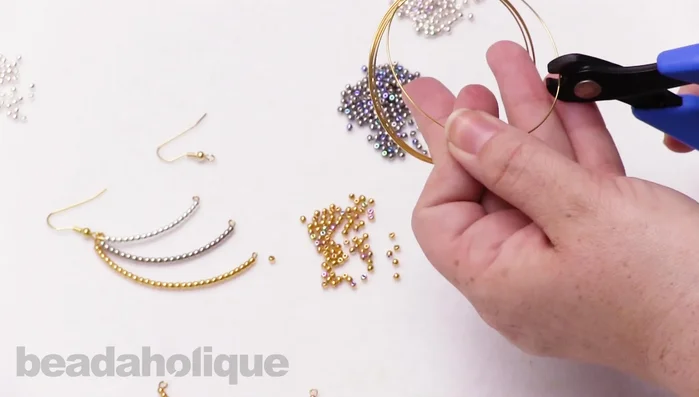
- Repeat steps 1-7 to create two more earring pieces with varying bead lengths and colors.
Create Additional Dangle Sections Assemble the Earrings
- Open the top loop of each piece and connect them together.
- Close the loops to secure the pieces. Attach to earring hooks.
Assemble the Earrings

Read more: DIY Tiered Tassel Earrings: A Quick & Easy Jewelry Tutorial
Tips
- Use a memory wire cutter; regular flush cutters may damage the tool.
- Use strong round nose pliers for working with thick memory wire.
- Experiment with different bead sizes, colors, and materials.
- Reverse the pattern to adjust the earring's visual balance when worn.