Tired of tangled necklaces and haphazardly piled bracelets cluttering your dresser? Transform ordinary cardboard into a stunning, rustic jewelry stand that's both functional and aesthetically pleasing. This DIY project offers a unique opportunity to showcase your favorite pieces while adding a touch of handcrafted charm to your home décor. Forget expensive store-bought organizers; with just a few simple supplies and a little creativity, you can create a personalized jewelry display that perfectly complements your style. The textured, earthy finish adds a delightful rustic touch, making this project ideal for those who appreciate handmade and sustainable crafting.
This tutorial will guide you through creating your own beautiful and organized cardboard jewelry stand, perfect for showcasing earrings, necklaces, and bracelets. Ready to ditch the jewelry box chaos and embrace a more stylish, eco-friendly solution? Let's dive into the step-by-step process and bring your vision to life!
Preparation and Safety Guidelines
- Cardboard
- Paper
- Pencil
- Scissors
- Glue Gun
- Mod Podge
- Tissue Paper/Newspaper
- Gesso
- Textured Paste
- Acrylic Paint (Black, Matte)
- Plaster of Paris (optional)
- Always use a sharp craft knife or X-ACTO blade with caution. Adult supervision is required, especially when children are involved.
- Be mindful of splinters. Sand down any rough edges of the cardboard thoroughly before handling or displaying jewelry.
- Avoid using excessively wet adhesives, as this can weaken the cardboard and cause warping.
Step-by-Step Instructions
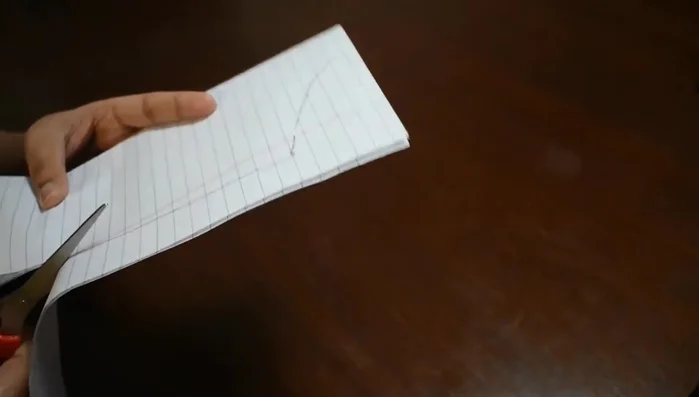
Create the Stand Pattern
- Create a pattern by folding paper in half and drawing the desired shape.

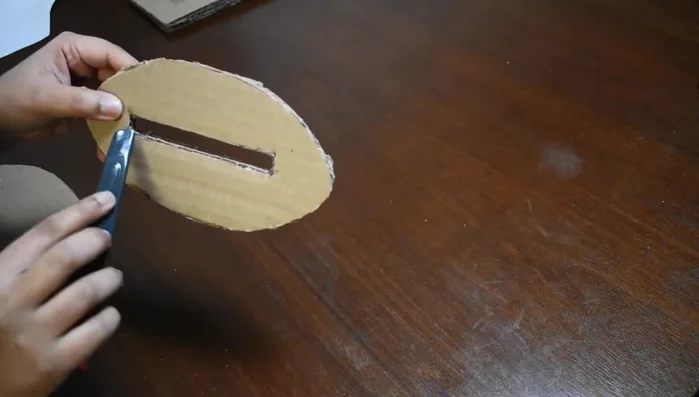
Create the Stand Pattern Cut and Assemble the Stand
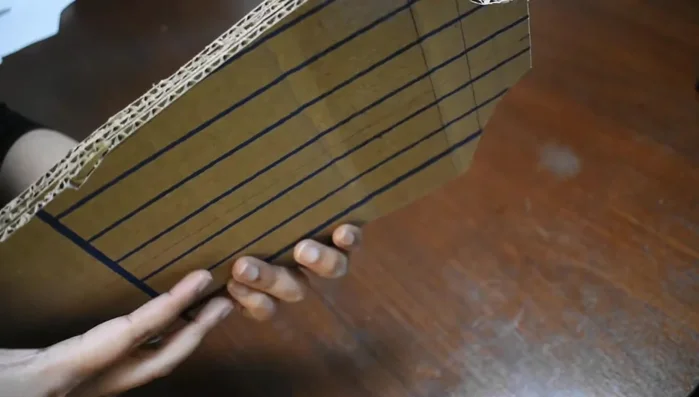
- Cut out the pattern and use it to cut three identical pieces from cardboard.
- Glue the three cardboard pieces together to create a sturdy stand.
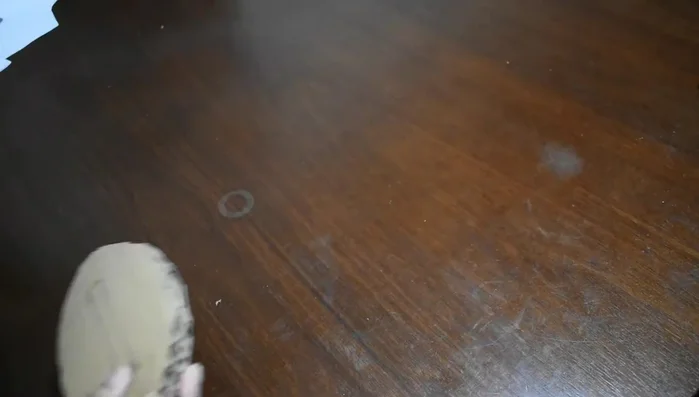
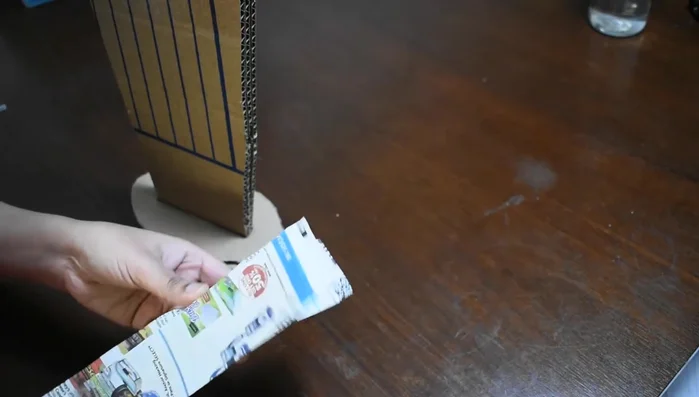
Cut and Assemble the Stand Create and Assemble the Base
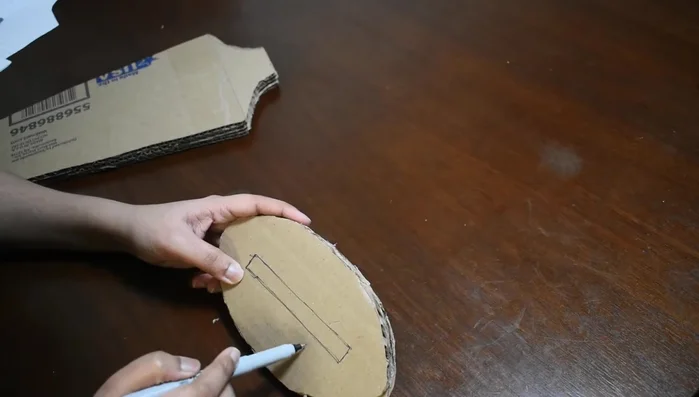
- Cut out cardboard pieces for the base, following a simple design.
- Cut rectangular pieces of cardboard to strengthen the base and create a hole for inserting a strand to attach the stand.
- Assemble the base using two of the rectangular pieces, creating a hole for attaching the stand, and covering it with the third piece.
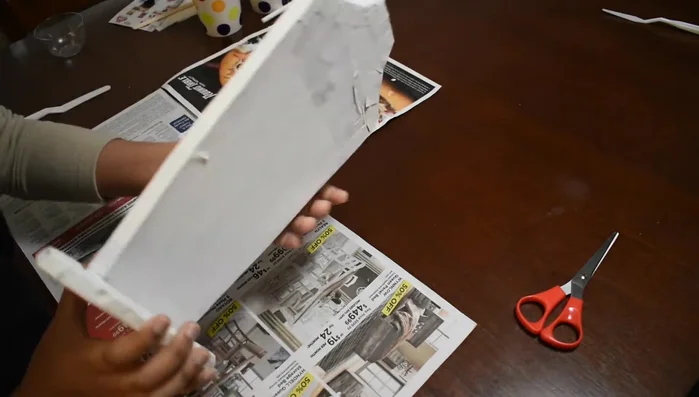
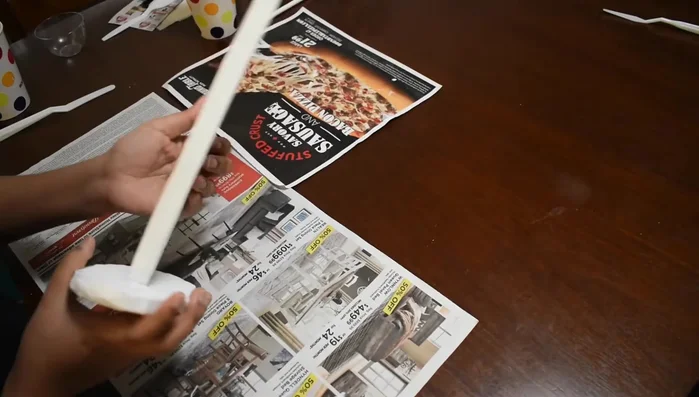
Create and Assemble the Base Seal and Prepare the Surface
- Seal the rough edges with small pieces of paper and Mod Podge.
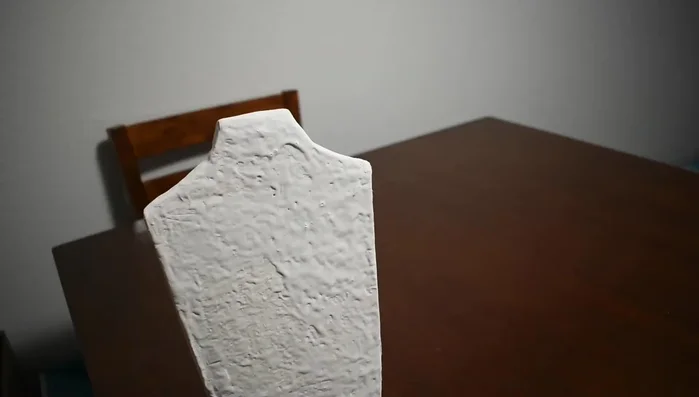
- Apply gesso to the entire cardboard structure for added strength and to cover the rough edges.
- Apply textured paste for a unique aesthetic.
Seal and Prepare the Surface Paint and Finish
- Paint the entire jewelry stand with black matte acrylic paint.
Paint and Finish

Read more: DIY Tiered Tassel Earrings: A Quick & Easy Jewelry Tutorial
Tips
- Use three layers of cardboard for the stand to ensure sturdiness.
- You can use tissue paper or newspaper scraps to seal the edges.
- Applying gesso adds strength and smoothness.
- Textured paste enhances the visual appeal.