Wrap yourself in cozy comfort with this delightful DIY cabled pillowcase knitting project! There's something incredibly satisfying about creating beautiful, handmade items for your home, and this cabled pillowcase offers the perfect blend of challenging yet achievable knitting. Imagine sinking your head onto a pillow nestled in a luxurious, self-knitted case, its intricate cable pattern a testament to your crafting skills. The rich texture adds a touch of elegance to any bedroom, transforming a simple accessory into a statement piece. Forget mass-produced textiles; this project allows you to personalize your sleep space with a unique, handcrafted creation.
This project is ideal for knitters comfortable with basic cable patterns, offering a rewarding experience for intermediate crafters. Ready to transform yarn into a cozy masterpiece? Let's dive into the step-by-step instructions to create your very own cabled pillowcase.
Preparation and Safety Guidelines
- Scissors
- Cable needle
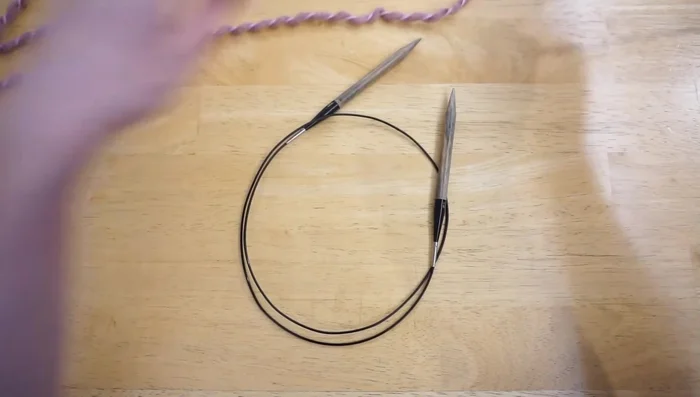
- Size-13 knitting needles (circular or straight)
- Pillow form (16x16 inches)
- Stitch Studio by Nichole yarn (super bulky, US 13)
- Tapestry needle
- Ruler
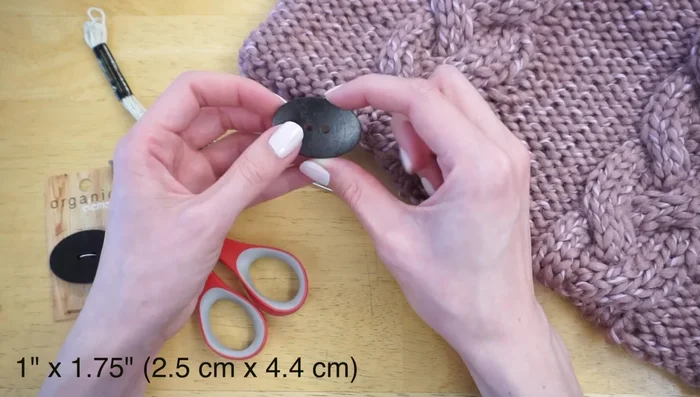
- Buttons (1 inch x 1 3/4 inches)
- Thread
- Use sharp scissors and needles carefully to avoid pricking yourself. Always point needles away from your body when not actively knitting.
- Ensure your yarn is securely fastened at the beginning and end of each row and throughout the project to prevent dropped stitches and unraveling.
- If using a new yarn type, test a small swatch first to ensure you're comfortable with the gauge and the finished fabric feels suitable for a pillowcase.
Step-by-Step Instructions
Cast On
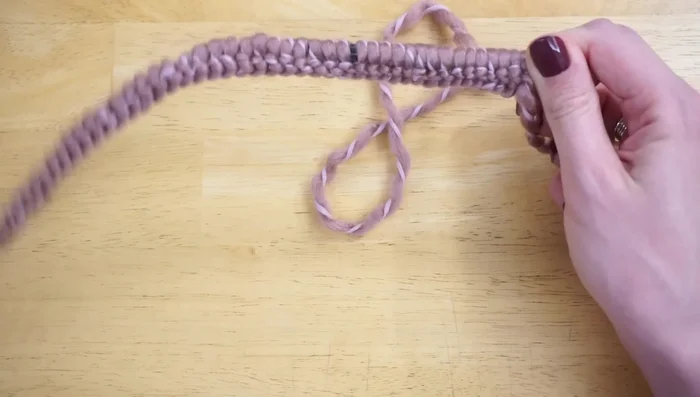
- Cast on 44 stitches using the longtail cast-on method (or your preferred method).

Cast On Setup Rows
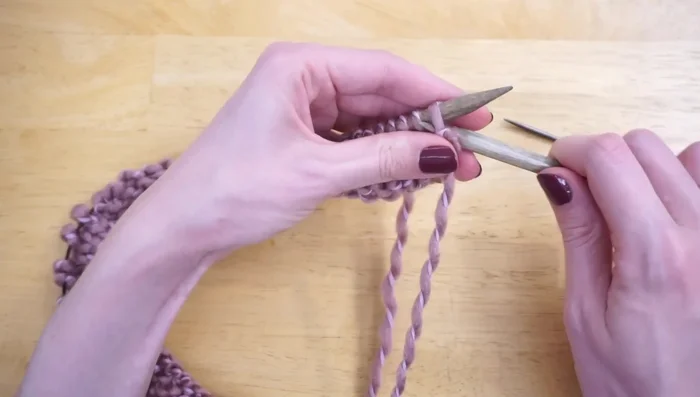
- Work setup rows (Rows 1-4) following the pattern in the description box. This prepares the fabric for cabling and prevents twisting at the base.
Setup Rows Cable Repeat
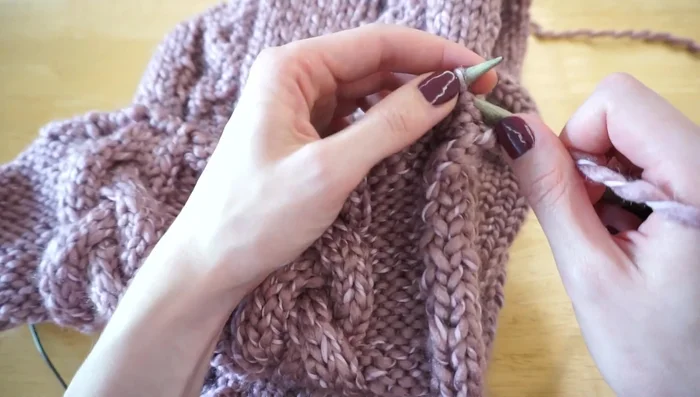
- Begin cabling on Row 5. The pattern involves a specific cable repeat (see video for visual demonstration).
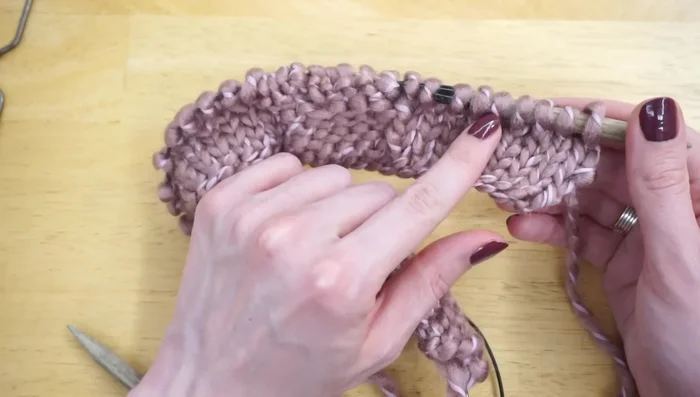
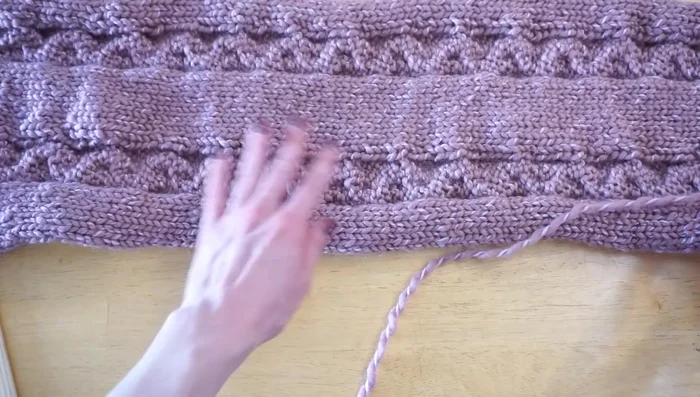
- Repeat Rows 2-9 until the piece reaches 34 inches in length. Ensure you finish one row before a cable row (Row 4 or Row 8).
Cable Repeat Bind Off
- Bind off in pattern.
Bind Off Seaming
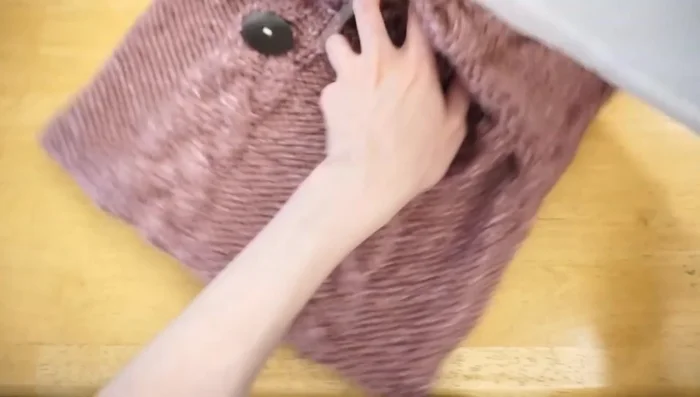
- Seam the two edges together, leaving a 3-inch overlap at the top for button closure. Keep the seam close to the edge to avoid bulkiness.
Seaming Attach Buttons
- Sew on two buttons to the bottom layer, centered between cables, to create the closure.
Attach Buttons Insert Pillow Form
- Insert the pillow form.
Insert Pillow Form
Read more: Knitting a Reversible Basketweave Blanket: A Customizable Guide
Tips
- Use bulky weight yarn for a cozy feel and faster knitting.
- The written pattern (with charts) is available in the description box.
- To prevent twisting, work setup rows before beginning the cables.
- Make sure your button size allows it to easily fit through the cable holes.