Cozy up your living space with the timeless charm of a handmade cable knit pillow! There's a satisfying simplicity to crafting your own home décor, and this project offers a perfect blend of achievable ambition and rewarding results. Forget expensive, mass-produced cushions; learning to knit your own cable knit pillow is surprisingly straightforward, even for beginners. The tactile texture and unique character of a hand-knitted item add a touch of warmth and personality that no store-bought pillow can replicate. Imagine sinking into a sofa, surrounded by the comforting softness of a pillow you've created yourself.
This guide will walk you through every step of the process, from choosing the right yarn to mastering the cable knit stitch. Whether you're a seasoned knitter or just picking up needles for the first time, we'll provide clear instructions and helpful tips to ensure you successfully create a beautiful, cable-knit pillow to cherish. Let's get started!
Preparation and Safety Guidelines
- Knitting needles
- Cabling needle
- Pillow form
- Backing fabric
- Sewing machine
- Pins
- Needle and thread
- Use sharp scissors to prevent fraying and ensure clean cuts when cutting yarn.
- Always double-check your stitch count regularly to avoid mistakes that could affect the final look and size of your pillow.
- When using a needle to sew the pillow cover together, be mindful of the needle's sharpness to avoid pricking yourself. Take your time and use a thimble if needed.
Step-by-Step Instructions
Casting On
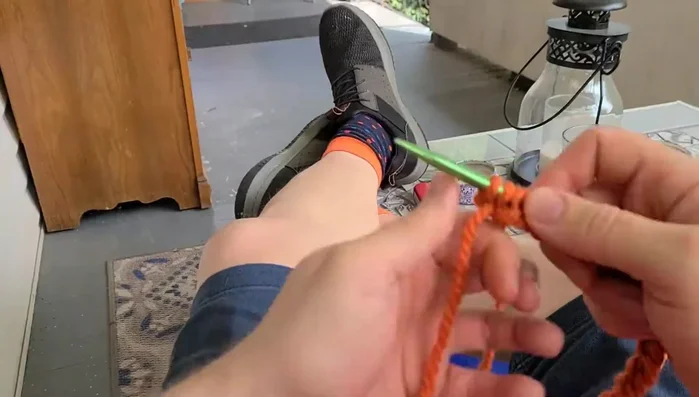
- Cast on 56 stitches using the long tail cast-on method.

Casting On Knitting the Cable Pattern
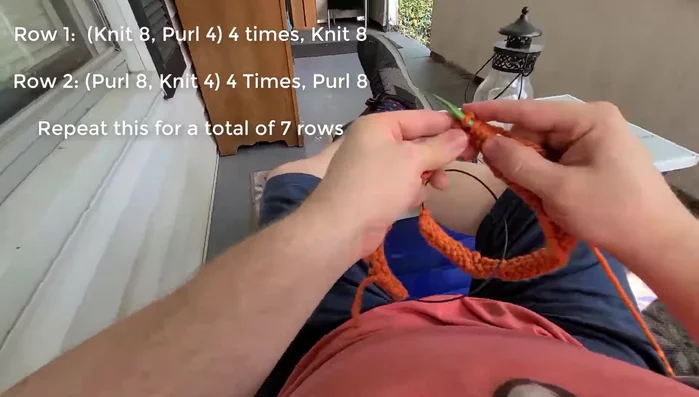
- Row 1 (knit 8, purl 4) x 4, knit 8. Row 2 (purl 8, knit 4) x 4, purl 8.
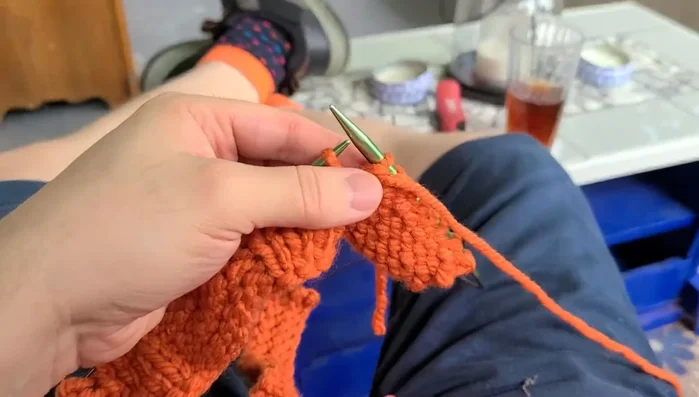
- Perform a 'two over two cable left' using a cabling needle.
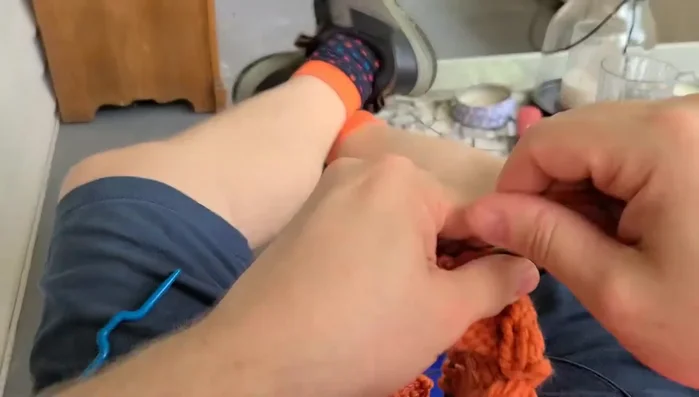
- Continue knitting until the piece measures 17 inches.
Knitting the Cable Pattern Finishing the Knitted Piece
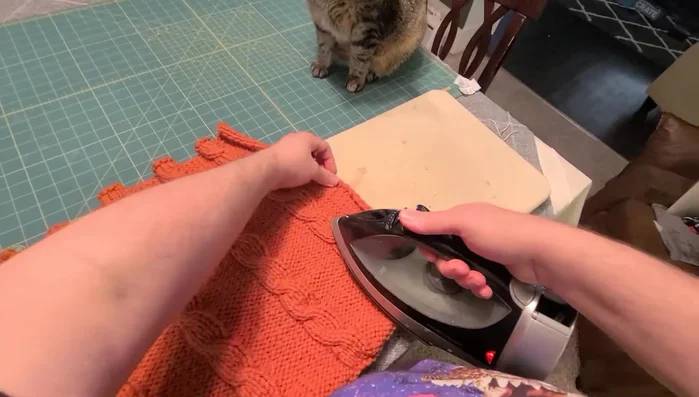
- Lightly steam the knitted piece to flatten it.
Finishing the Knitted Piece Preparing the Backing Fabric
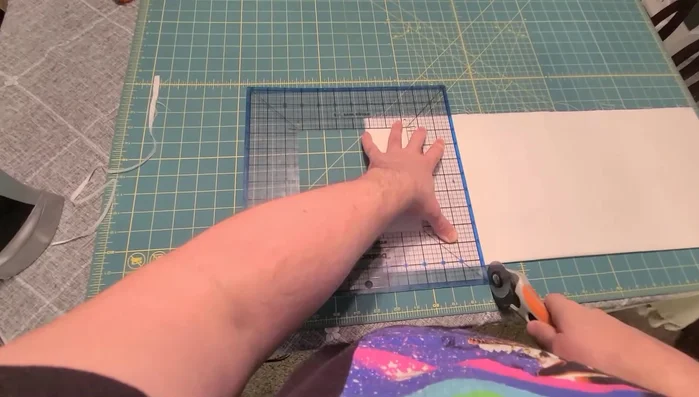
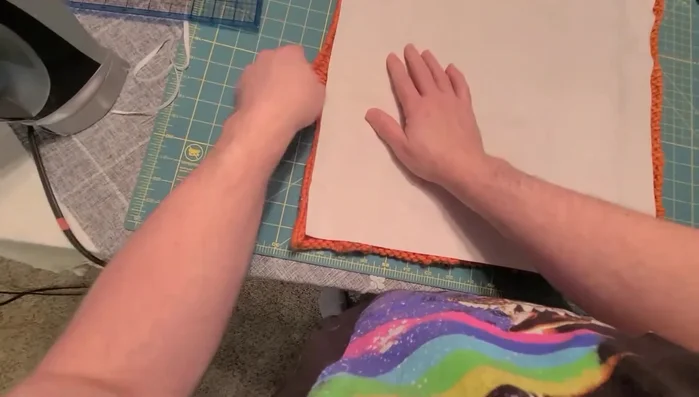
- Cut the backing fabric into a 17-inch square.
Preparing the Backing Fabric Attaching the Backing
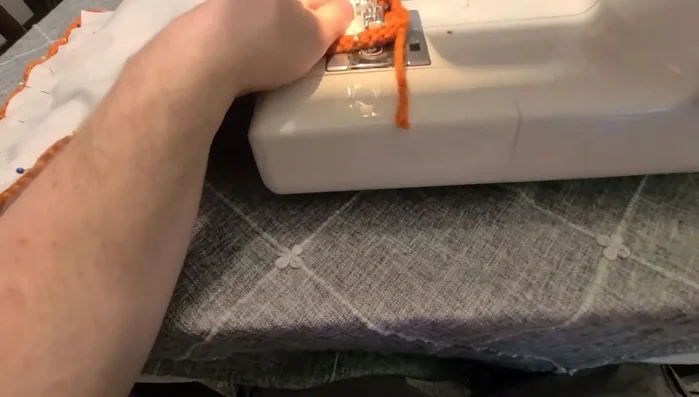
- Pin the knitted piece and backing fabric together (right sides facing), leaving one end open.
- Sew around three sides using a wide stitch and reduced pressure on the presser foot.
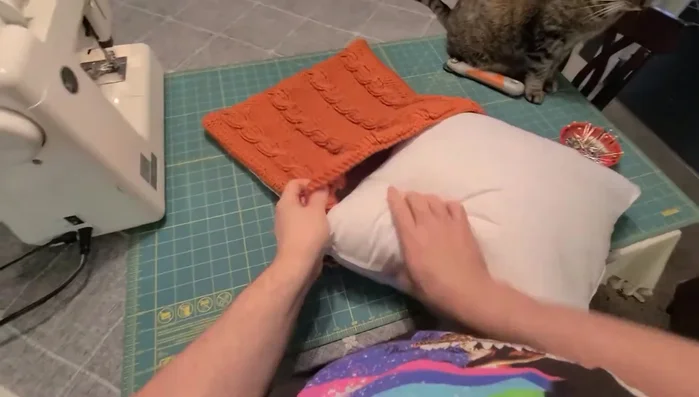
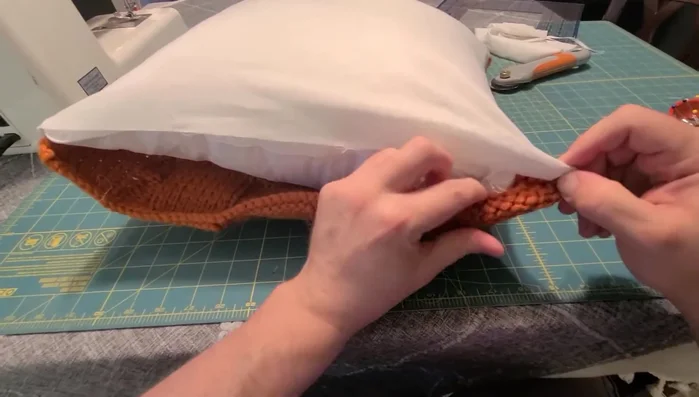
Attaching the Backing Stuffing and Closing
- Turn right side out and insert a pillow form.
- Hand-stitch the open end closed, using a needle and thread matching the backing fabric.
Stuffing and Closing
Read more: Knitting a Reversible Basketweave Blanket: A Customizable Guide
Tips
- Use a pillow form instead of loose batting to prevent stuffing from coming through the knitted fabric.
- Use pins to secure the fluffier middle section of the pillow while hand-stitching the final end.