Are you looking for a fun and unique crafting project that yields a beautiful and personalized accessory? Then look no further! This tutorial will guide you through the creation of a stunning burst stone family bracelet, perfect for showcasing your loved ones or simply adding a touch of bohemian elegance to your own style. Forget expensive, mass-produced jewelry; with readily available materials and a little patience, you can craft a truly special piece that reflects your individual personality and style. The best part? It's incredibly easy to customize! Choose your favorite colors, stones, and charms to create a bracelet that is uniquely yours.
This DIY project is perfect for beginners and experienced crafters alike, offering a satisfying creative outlet with a beautiful end result. From selecting your materials to securing the final knot, this step-by-step guide ensures a smooth and enjoyable crafting experience. Ready to get started on your personalized burst stone family bracelet? Let's dive into the detailed instructions!
Preparation and Safety Guidelines
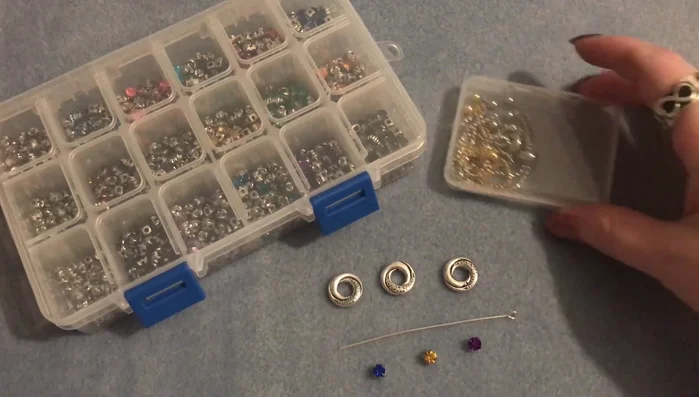
- Adjustable bracelet components (silver/gold)
- Sew-on rhinestone crystals
- Eye pins
- Round beads with center holes
- Chain nose pliers
- Round nose pliers
- E6000 glue (optional)
- Always supervise children when handling small beads and stones to prevent choking hazards.
- Be mindful of sharp edges on some burst stones. Handle with care to avoid cuts or scratches. Consider smoothing rough edges beforehand.
- Use strong, appropriate cord or elastic for your bracelet. Test the strength of the cord before fully assembling the bracelet to avoid breakage and loss of stones.
Step-by-Step Instructions
Gather Materials
- adjustable bracelet components, sew-on rhinestones (various birthstone colors), eye pins, round beads, pliers, and E6000 glue (optional).

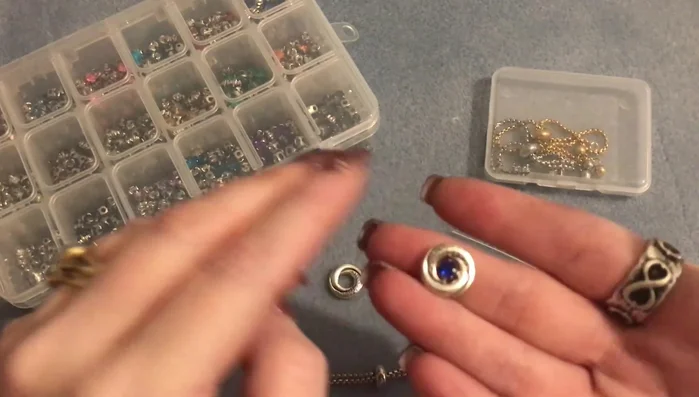
Gather Materials Assemble a Single Birthstone Charm
- Select your birthstone rhinestones. Insert one rhinestone into the center hole of a round bead, threading an eye pin through both the rhinestone and the bead.
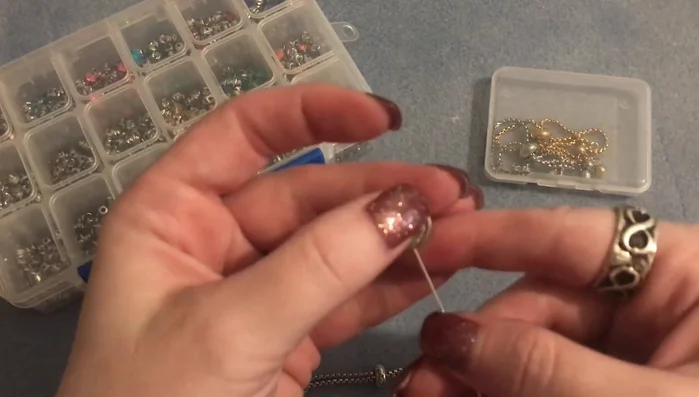
- Gently bend the eye pin at a 90-degree angle using round nose pliers to create a loop. Make the loop as tight as possible to the bead to minimize spinning.
Assemble a Single Birthstone Charm Create All Birthstone Charms
- Repeat Step 2 for each birthstone you want to include in your bracelet (one bead per person/birthstone).
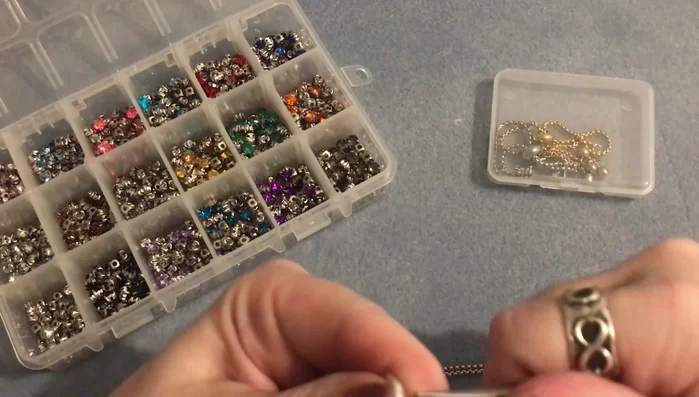
Create All Birthstone Charms Attach Charms to Bracelet
- Attach one end of the eye pin loop to a jump ring on one side of the adjustable bracelet finding. Close the jump ring securely. Repeat for the other end.
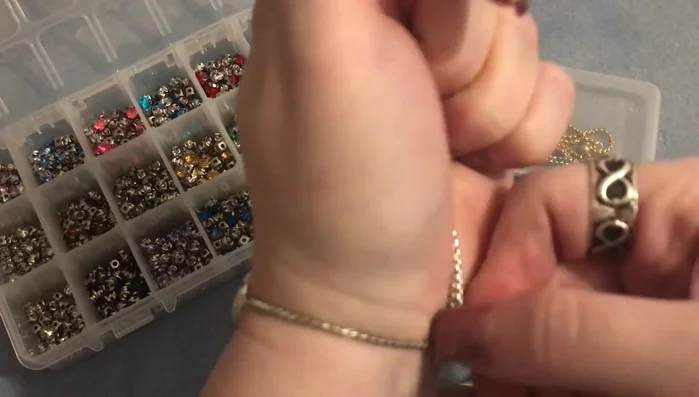
Attach Charms to Bracelet Secure and Adjust Bracelet
- Adjust the bracelet to your desired fit. If needed, add a tiny dot of E6000 glue to the back of the beads to prevent them from spinning (optional).
Secure and Adjust Bracelet

Read more: DIY Tiered Tassel Earrings: A Quick & Easy Jewelry Tutorial
Tips
- The most time-consuming part is aligning the rhinestone with the hole in the bead for the eye pin.
- Use adjustable bracelet findings for a customizable fit that accommodates various wrist sizes.
- A small amount of E6000 glue on the back of the beads can help keep the bracelet components stationary if they tend to spin.