Are you tired of neck cramps and sore shoulders from reading in bed or on the couch? Do you dream of a perfectly positioned book, effortlessly supporting your reading marathon? Then you've come to the right place! This ultimate guide will walk you through creating your own DIY book rest, transforming your reading experience from uncomfortable to utterly cozy. Forget flimsy pillows and precarious stacks of books; we'll build a sturdy, customizable support tailored to your specific needs and reading style.
Imagine sinking into your favorite armchair, a perfectly illuminated book held securely in place, allowing you to lose yourself completely in the story. Building your own book rest is easier than you think, requiring only readily available materials and a little bit of your time. Ready to embark on this simple yet rewarding project? Let's dive into the step-by-step instructions that will have you enjoying your new reading companion in no time!
Preparation and Safety Guidelines
- Lumber (Mahogany recommended)
- Tenon jig
- Table saw
- Compact router
- Router template (circle templates)
- Scrap wood
- CA glue
- Activator
- Double-sided tape
- Card scraper
- Flush trim saw
- Sandpaper
- Rubio Monocoat oil finish
- Mineral spirits
- White Scotch-Brite pad
- Dowels
- Drill
- Spline jig
- Hard maple spline
- Always use appropriate tools and safety equipment (e.g., gloves, eye protection) when handling sharp objects like knives or saws.
- Ensure your chosen materials are sturdy and stable enough to support the weight of your books without wobbling or collapsing, preventing potential injury or damage to your books.
- If using paint or varnish, work in a well-ventilated area and follow the manufacturer's instructions carefully, avoiding inhalation of fumes or skin contact.
Step-by-Step Instructions
Material Preparation
- Choose and prepare your wood.

Material Preparation Cutting and Shaping
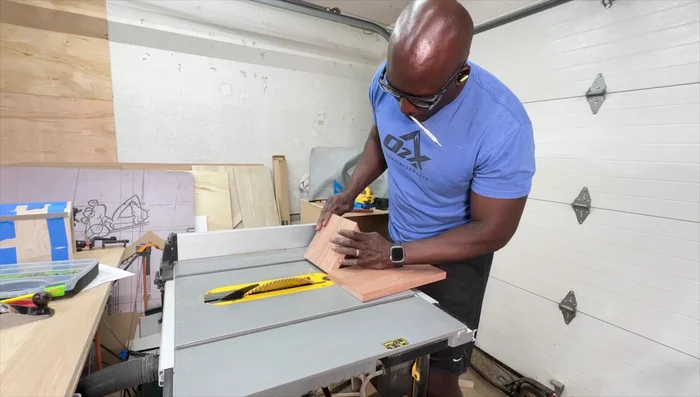
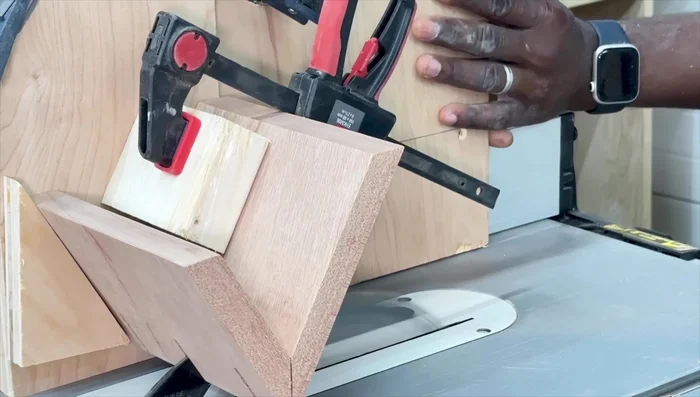
- Cut the 30° angles using a tenon jig and table saw.
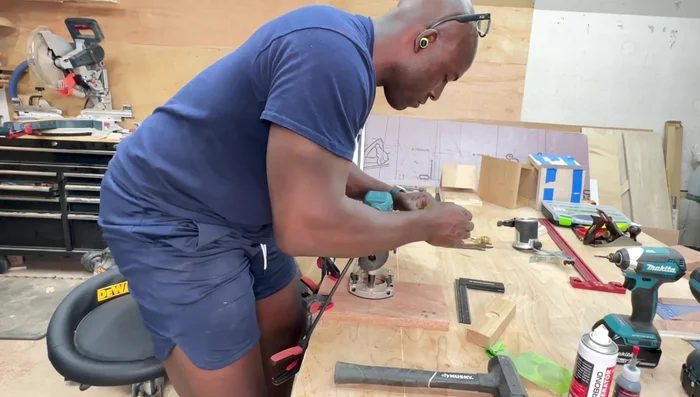
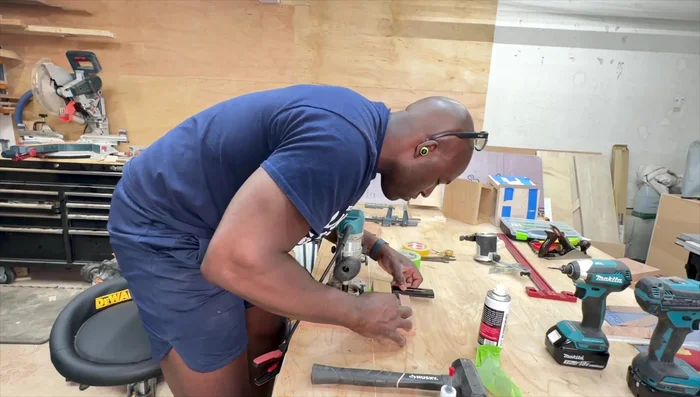
- Route out the pen/pencil slot using a compact router and scrap wood as a brace.
- Route out the teacup/coffee mug slot using a circle template and compact router.
Cutting and Shaping Assembly
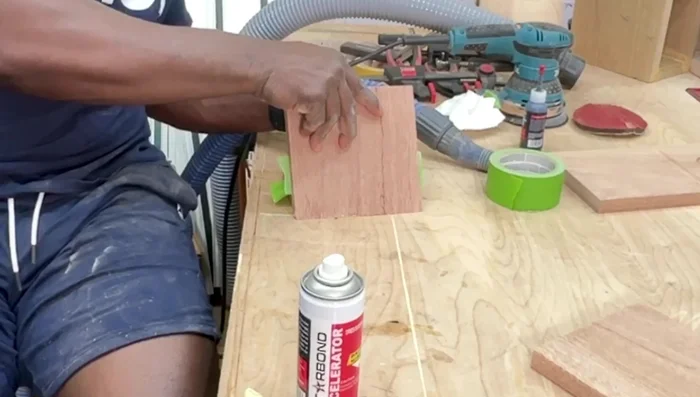
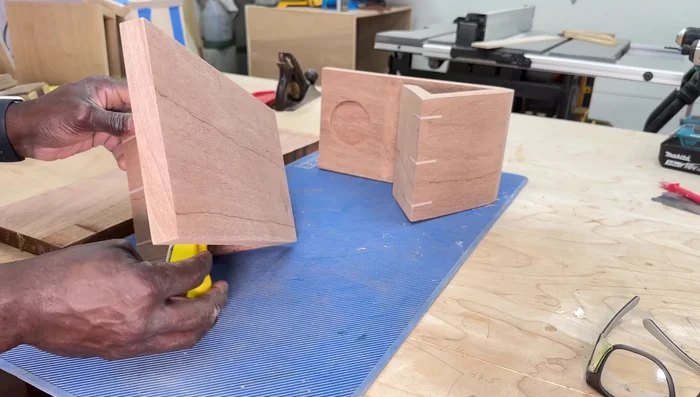
- Assemble the main triangle structure using CA glue and clamps.
- Create a spline jig to add stability to the miters and assemble using splines.
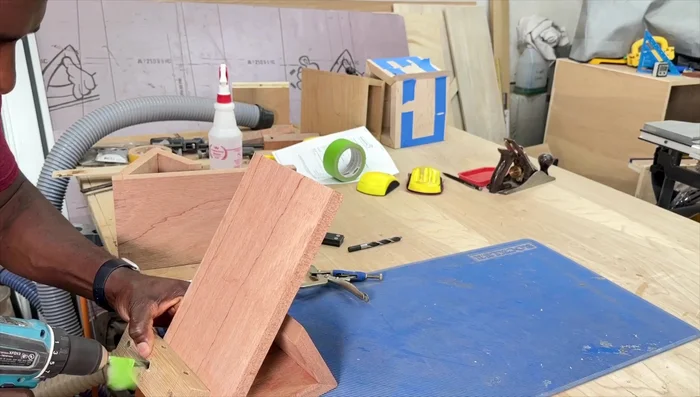
- Add dowels to the underside for extra stability.
Assembly Finishing
- Sand the book rest smooth.
- Apply Rubio Monocoat finish for protection and enhanced look.
Finishing
Read more: Build a Stunning Black Walnut Coaster Set: The Ultimate Furniture Protector
Tips
- Use double-sided tape to secure your router templates for precise cuts.
- Use offcuts to create clamping aids for easier glue-up.
- Reverse offcuts to create an effective grip during assembly.
- Clean up glue immediately to reduce cleanup work.
- Sand off a point on one side of the dowels before gluing them in for a better fit.