Love the look of delicate, shimmering necklaces but intimidated by complex jewelry making? Then this DIY beaded ribbon yarn necklace is the perfect project for you! Combining the effortless elegance of ribbon yarn with the sparkling charm of beads, this necklace is surprisingly easy to create, requiring minimal materials and even less time. It’s the perfect project for beginners, a fun afternoon activity, or a quick and stylish gift. Forget expensive store-bought jewelry; you can achieve a high-end look without the hefty price tag.
This tutorial will guide you through each step, from gathering your supplies to proudly displaying your finished creation. Get ready to unleash your inner artisan as we delve into a simple, step-by-step process to make a beautiful and unique beaded ribbon yarn necklace. Let’s get started!
Preparation and Safety Guidelines
- Bernat Swedish ribbon yarn
- 10mm crochet hook
- Smaller crochet hook (bead-sized)
- Bead with large hole
- Scissors
- Always supervise children when working with small beads to prevent choking hazards.
- Be mindful of sharp beading needles and use caution to avoid pricking yourself. Consider using blunt-tipped needles if possible.
- Avoid wearing the necklace while sleeping or participating in strenuous activities to prevent accidental damage or strangulation.
Step-by-Step Instructions
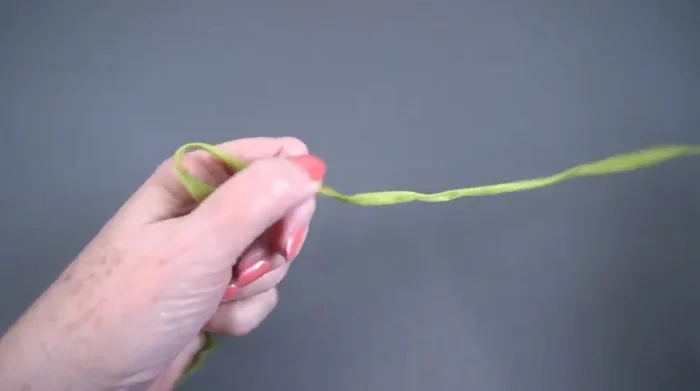
Prepare the Yarn Chains
- Make a slip knot and chain 32 stitches (adjust length as needed).
- Repeat step 1 five more times to create six chains of equal length.

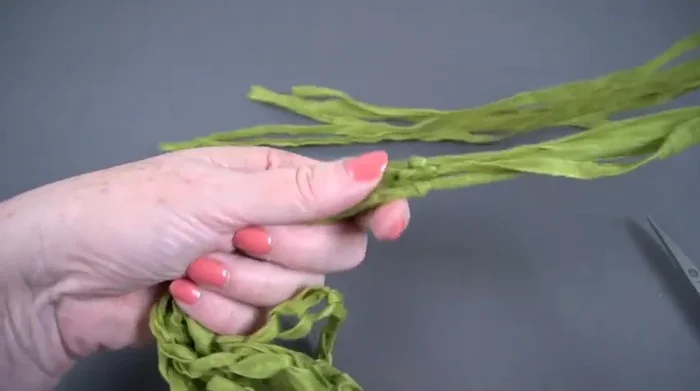
Prepare the Yarn Chains Tie Chains Together
- Tie all six chains together using a simple overhand knot, keeping the knots close together.
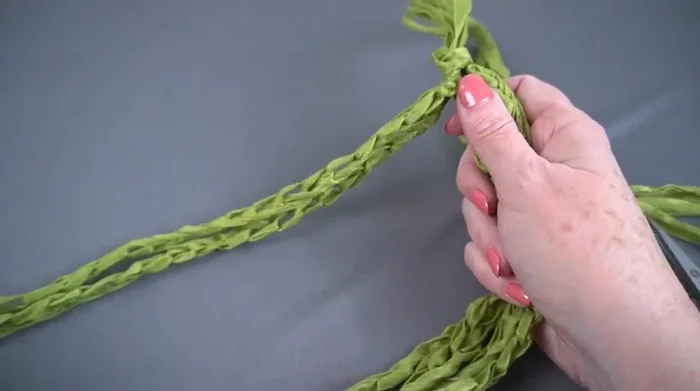
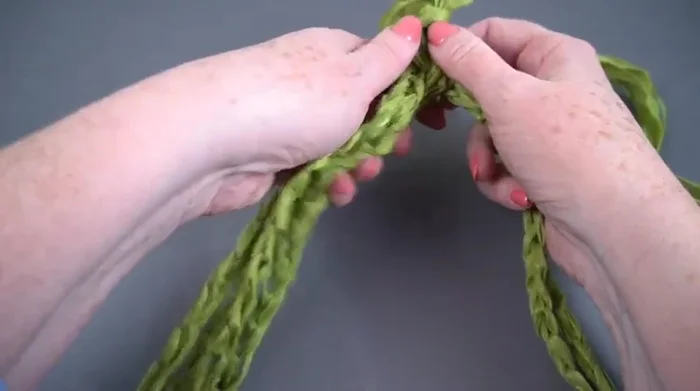
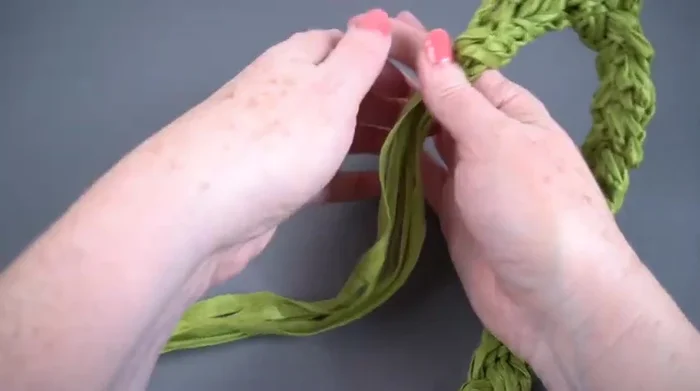
Tie Chains Together Braid the Chains
- Divide the strands into three groups of two and braid them together loosely.
- While braiding, regularly untangle the tails to prevent knotting.
Braid the Chains Secure the Braid
- Tie another overhand knot at the end of the braid.
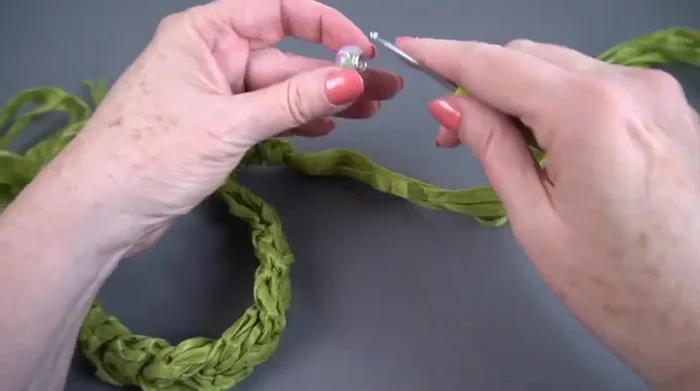
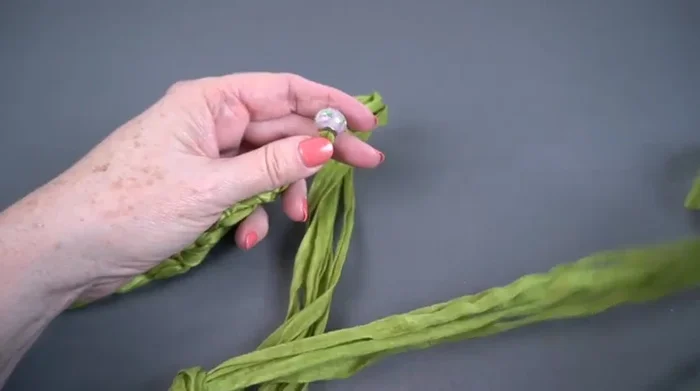
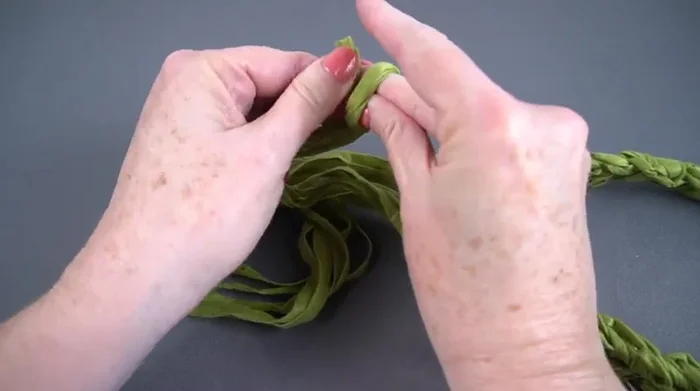
Secure the Braid Add the Bead
- Thread all six strands through the bead from one side.
- Thread the remaining six strands through the bead from the opposite side.
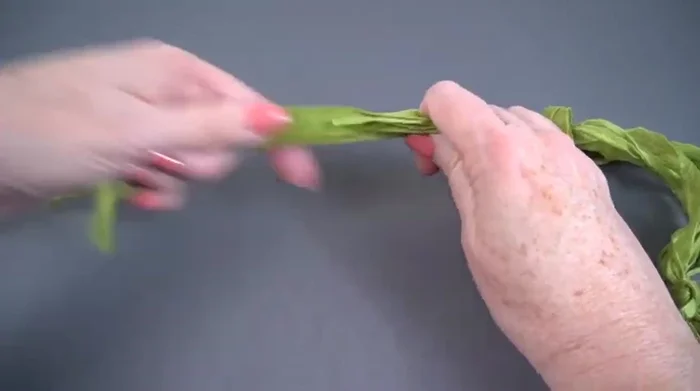
Add the Bead Finish the Necklace
- Trim the ends to equal length.
- Tie an overhand knot at each end to secure the strands.
Finish the Necklace

Read more: Easy Color Block Crochet Blanket Tutorial for Beginners
Tips
- Estimate yarn length from fingertip to elbow for initial chains.
- Don't pull the braid too tight; maintain flexibility.
- Regularly untangle the tails while braiding to avoid knotting.
- Adjust the necklace length by sliding the bead.