Summer is here, and what better way to celebrate the vibrant season than with a dazzling new jewelry set? This tutorial will guide you through creating a beautiful, handcrafted beaded necklace and earring set, perfect for adding a touch of sunny elegance to any summer outfit. Forget expensive store-bought jewelry – you can easily craft your own stunning pieces with this simple, step-by-step guide. We'll be using a bright and cheerful color palette, inspired by the warmth and energy of summer days, resulting in a unique accessory that reflects your personal style. This DIY project is surprisingly easy, even for beginners, requiring only basic beading skills and readily available materials.
Prepare to be amazed at how quickly and effortlessly you can transform simple beads into a sophisticated and eye-catching jewelry set. From selecting the perfect beads to securing the final clasp, this tutorial covers every detail, ensuring you achieve a professional-looking finish. Ready to dive into the creative process and craft your own summery statement pieces? Let's get started with the step-by-step instructions below.
Preparation and Safety Guidelines
- Beads (various sizes and colors)
- Coconut rings
- Chains
- Jump rings
- Headpins
- Ball headpins
- 22 gauge wire
- Round nose pliers
- Crimping pliers
- Flush cutters
- Lobster clasp
- Ear wire hooks
- Optional: Permalac or similar protective coating
- Always supervise children when working with small beads and wires to prevent choking hazards or accidental ingestion.
- Use sharp scissors or wire cutters carefully to avoid cuts or injuries. Keep them away from children.
- If you have allergies to certain metals, ensure you use hypoallergenic materials like nylon cord or surgical steel wire for your jewelry.
Step-by-Step Instructions
Create Dangles
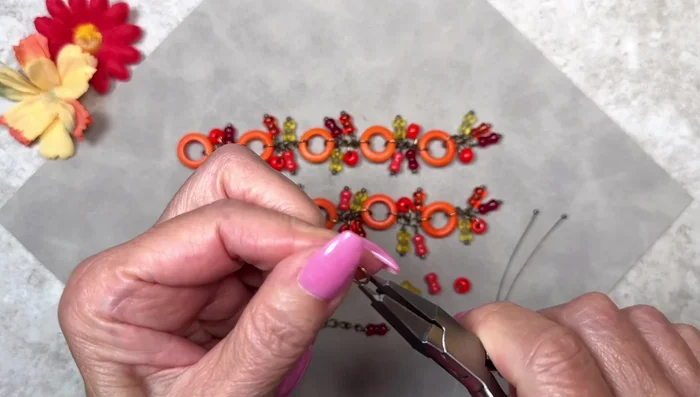
- Slide beads onto headpins. Using round nose pliers, bend the pin at the top of the bead, wrap the tail around the pliers, and create a loop.

Create Dangles Assemble Necklace Strands
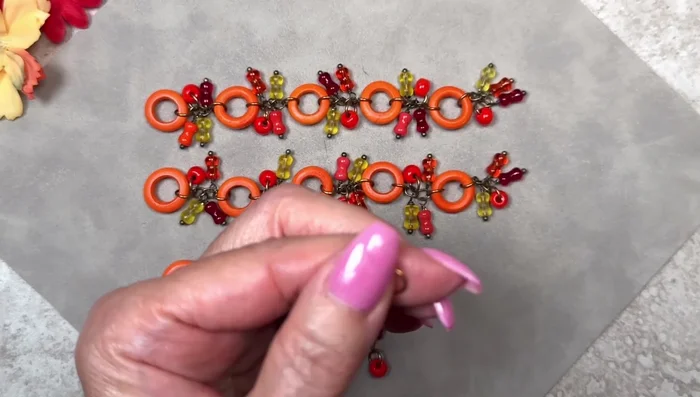
- Attach multiple dangles to chain links, leaving two links between each group of dangles. Each strand should have 2 links with 2 dangles each.
Assemble Necklace Strands Attach Coconut Rings
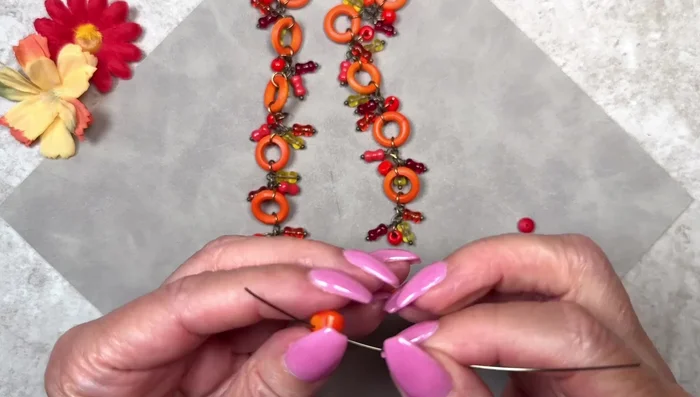
- Open jump rings, slide a strand of dangles and a coconut ring onto each jump ring, and close the rings. Attach these to the ends of the chain strands.
Attach Coconut Rings Create Pendant Dangle
- Slide a bead onto 22 gauge wire, bend the wire to create a loop at the top of the bead, and wrap the excess wire to secure it.
Create Pendant Dangle Attach Pendant to Necklace
- Attach the pendant to one of the chain strands using jump rings.
Attach Pendant to Necklace Add Chain Extenders and Clasp
- Attach additional chain to the top of the necklace to adjust length. Secure with jump rings and lobster clasp.
Add Chain Extenders and Clasp Make Earrings
- Repeat steps 1-7 to create matching earrings, attaching the finished dangle to ear wire hooks using jump rings.
Make Earrings


Read more: DIY Tiered Tassel Earrings: A Quick & Easy Jewelry Tutorial
Tips
- Use a protective coating on dark-colored metal to prevent tarnishing.
- Ensure jump rings are large enough to accommodate the beads and chain links.
- Adjust the length of the necklace and earring chains to your preference.