Are you looking for a simple yet stylish accessory to add a touch of personal flair to your keys? Then look no further! This tutorial will guide you through creating your own exquisite beaded keychain, a project perfect for beginners and seasoned crafters alike. Whether you're looking for a thoughtful handmade gift or a fun way to personalize your everyday carry, this project offers a satisfying blend of creativity and ease. The process is surprisingly straightforward, requiring only a few basic materials and minimal time investment.
Forget expensive, mass-produced keychains – let's unleash your inner artisan and craft something truly unique. This DIY project allows for endless customization; experiment with different bead colors, shapes, and sizes to create a keychain that perfectly reflects your personal style. Ready to get started on this charming and surprisingly simple craft? Let's dive into the step-by-step instructions below!
Preparation and Safety Guidelines
- Stretch cord
- Beads (various sizes and colors)
- Crimp beads
- Crimp bead covers
- Jump rings
- Pliers
- Glue (optional)
- Always supervise children when using small beads and wires to prevent choking hazards or accidental ingestion.
- Use sharp scissors carefully to avoid cuts. Keep scissors away from children.
- If using wire, be mindful of sharp ends and wear appropriate protection like gloves if needed. Avoid pulling the wire too tightly, as this can cause breakage or injury.
Step-by-Step Instructions
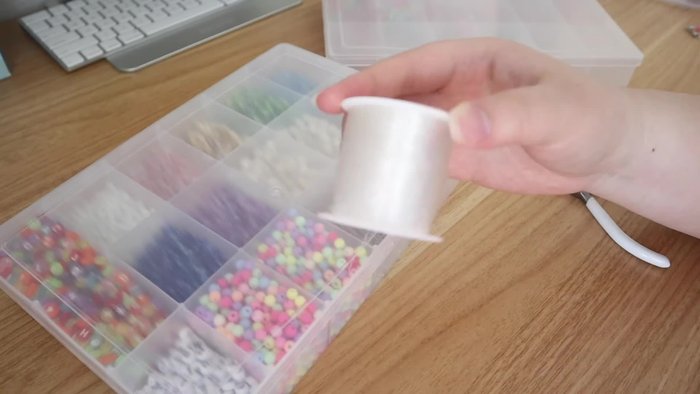
Gather Supplies
- Stretch cord, beads, crimp beads, crimp bead covers, jump rings, pliers.

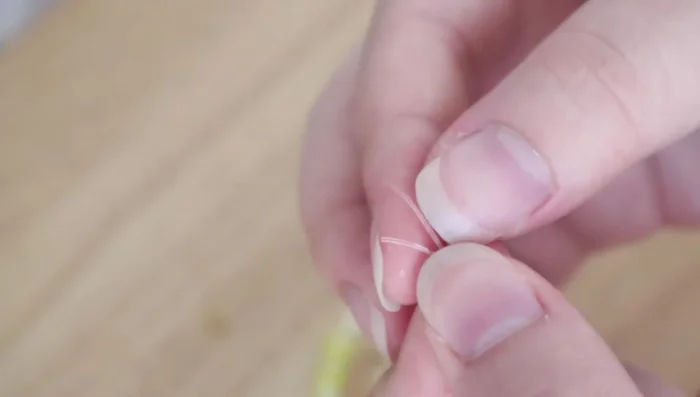
Gather Supplies Prepare the Cord and First Bead
- Cut a piece of stretch cord and fold it in half. Thread both ends through a 2mm seed bead.
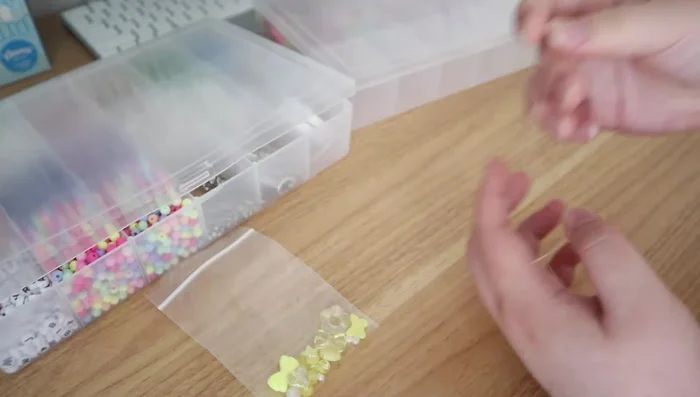
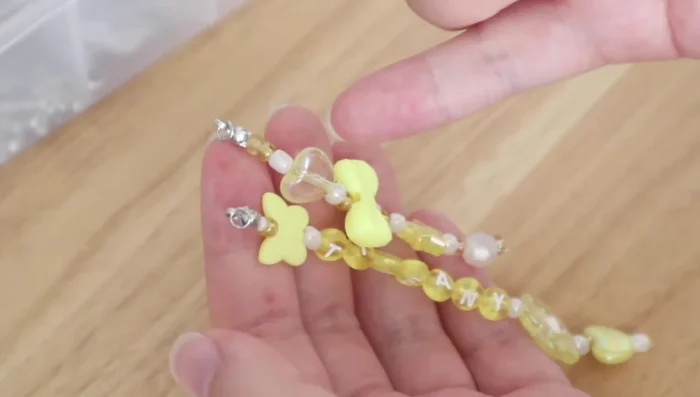
Prepare the Cord and First Bead String Beads
- String beads onto the cord.
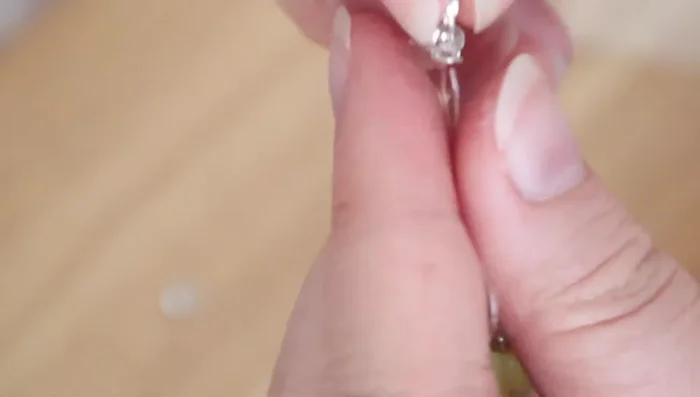
String Beads Secure One End with Crimp
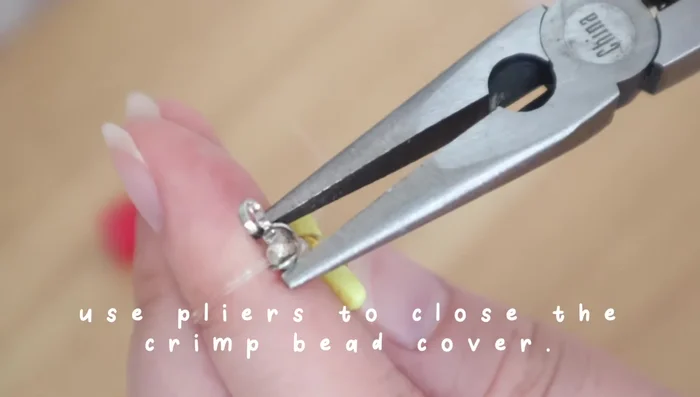
- Add a crimp bead cover, then a crimp bead to one end of the cord. Secure with glue (optional).
- Close the crimp bead cover using pliers, ensuring the crimp bead is squished.
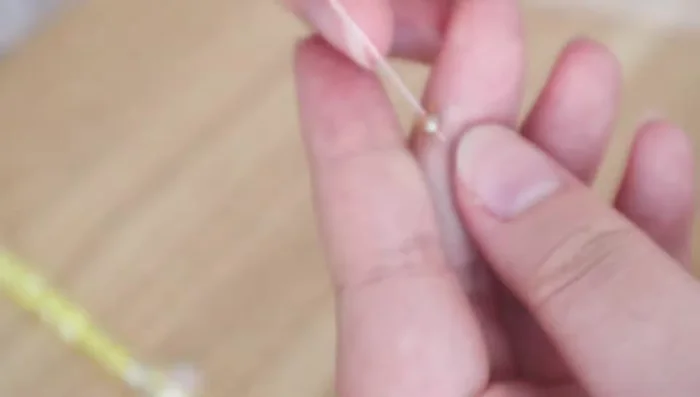
- Cut off excess cord and add a jump ring to the hook.
Secure One End with Crimp Make Second Keychain
- Repeat steps 2-6 to make a second keychain.
Make Second Keychain Assemble Keychains
- Attach both keychains to a lobster clasp using a larger jump ring.
Assemble Keychains
Read more: DIY Tiered Tassel Earrings: A Quick & Easy Jewelry Tutorial
Tips
- Folding the stretch cord in half and threading both ends through the first bead creates a stronger base.
- Use pliers to securely close the crimp bead cover and squish the crimp bead.