Infinity rings, symbols of eternal love and endless possibilities, are captivating pieces of jewelry. But why settle for store-bought when you can create your own unique and stunning design? This tutorial will guide you through the simple and rewarding process of making a DIY beaded infinity ring using the wire wrapping technique. Forget expensive classes and complicated instructions; this project is perfect for beginners eager to explore the world of jewelry making. With readily available materials and a few basic tools, you'll be surprised at how easily you can craft a beautiful and personalized accessory.
Discover the elegance of handcrafted jewelry as we delve into a step-by-step guide, showcasing each stage of this delightful project with clear images and detailed explanations. From selecting your favorite beads to securing the final twist, this tutorial ensures a smooth and enjoyable crafting experience, resulting in a gorgeous beaded infinity ring you'll be proud to wear or gift. Let's begin creating your own symbol of infinity!
Preparation and Safety Guidelines
- 20 gauge wire (copper core with coating recommended)
- 7mm dyed beads (or crystals/beads of your choice)
- Ring mandrel
- Pliers (optional)
- Hammer (rawhide or metal)
- Always use wire cutters specifically designed for jewelry making. Regular scissors can damage the wire and are unsafe.
- Be mindful of sharp wire ends. File or gently round off any sharp edges after cutting to prevent injury.
- Avoid wearing the ring while engaging in activities that could snag or bend the wire, such as strenuous exercise or housework.
Step-by-Step Instructions
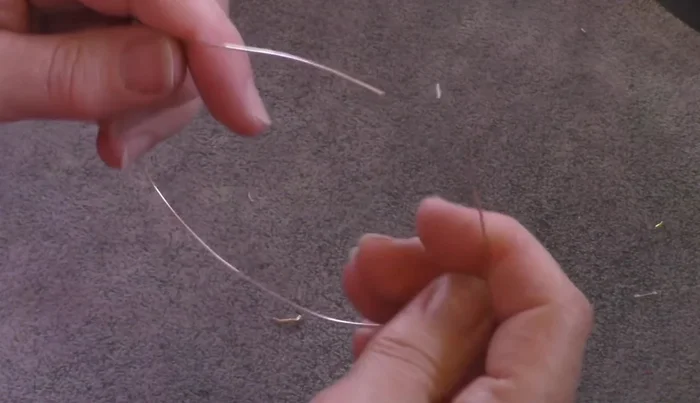
Prepare the Wire
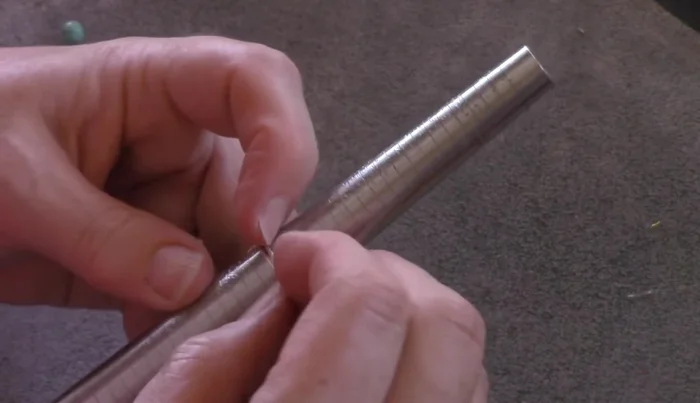
- Cut approximately one foot of wire.

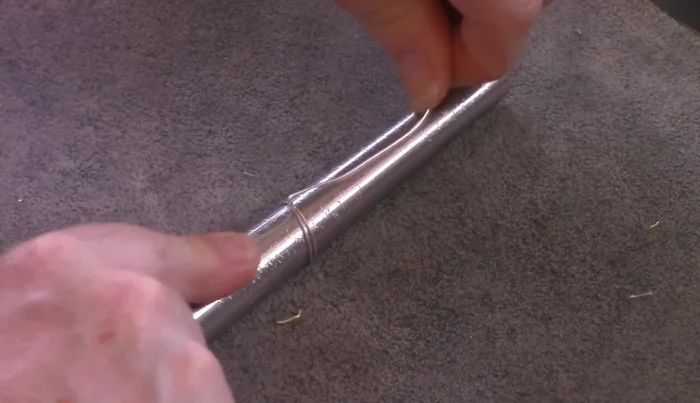
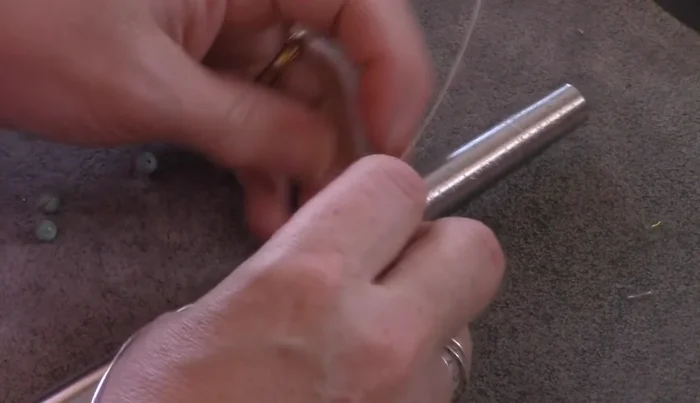
Prepare the Wire Shape the Wire Ring Base
- Wrap the wire around the ring mandrel to your desired size (one size smaller than your target size). Ensure the wires are not crossed.
- Adjust the wire to your actual ring size by slightly twisting and adjusting the wires, maintaining a straight alignment.
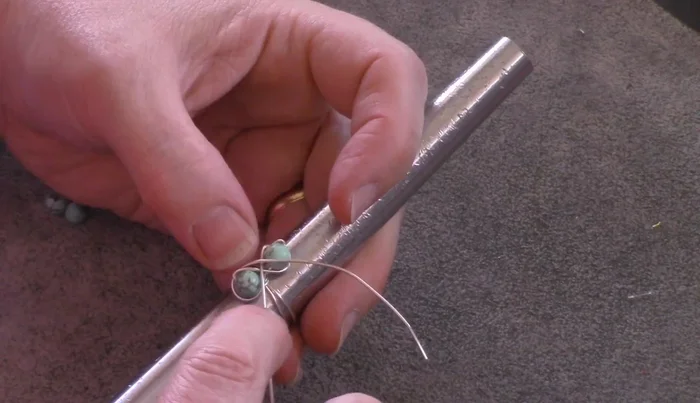
Shape the Wire Ring Base Add and Secure Beads
- Gently push the beads onto the wire, ensuring they are close together.
- Gently guide the wire around each bead, alternating sides (one up, one down) and keeping the wire close to the base of the ring.
- Continue wrapping until the wire is used up, maintaining consistent spacing between beads and keeping the wires close to the ring's base.
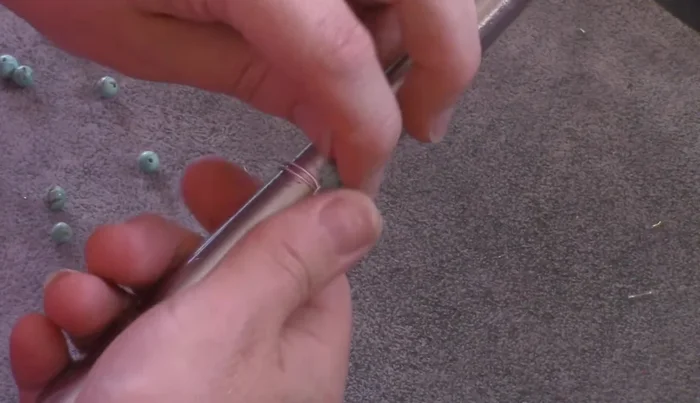
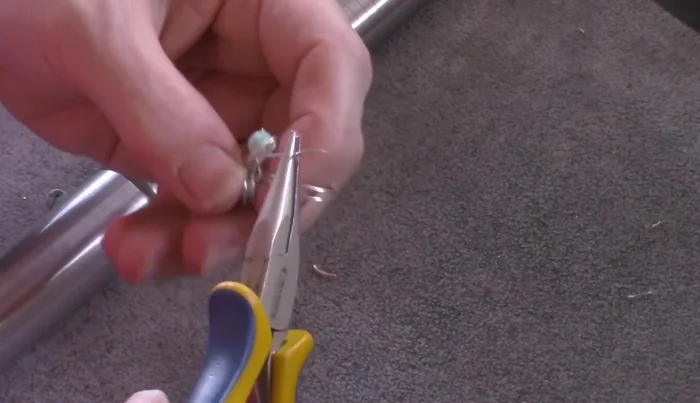
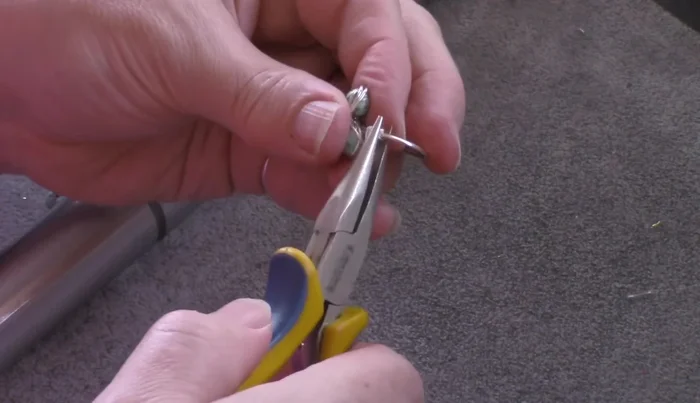
Add and Secure Beads Secure Wire Ends
- Wrap the remaining wire tails around the base of the ring, making several wraps to secure them.
- Trim excess wire and tuck in the ends, making sure the coils are neat and tight.
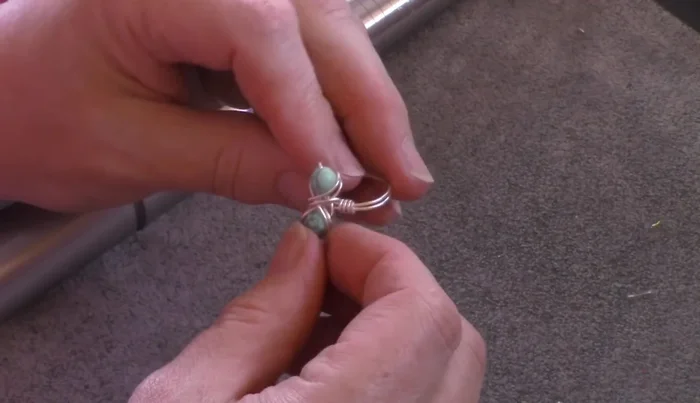
Secure Wire Ends Refine and Finalize
- If the infinity symbol is crooked, gently push the beads to straighten it.
- Place the ring back on the mandrel and use a hammer (rawhide or metal) to shape and size the ring to your desired fit. This also helps to harden the wire for durability.
Refine and Finalize

Read more: DIY Tiered Tassel Earrings: A Quick & Easy Jewelry Tutorial
Tips
- Use wire that easily passes through your beads.
- A copper core wire with a coating works best to prevent marking during hammering.
- Keep the wires straight during construction for easier work.
- Work gently to avoid pulling the wires too tight and affecting the ring's shape.
- Use a rawhide hammer to avoid marking the wire.