Love the look of beaded bracelets but intimidated by complex patterns and hours of tedious work? Forget everything you think you know about bracelet making! This guide unveils the fastest and easiest method for creating stunning beaded bracelets adorned with chic tassels. We're ditching the intricate knotting and complicated techniques for a simple, surprisingly effective approach that yields professional-looking results in minutes, not hours. Prepare to be amazed by how quickly you can transform basic beads and colorful threads into beautiful, wearable pieces.
Forget spending a fortune on designer jewelry – you’ll be amazed at how inexpensive and readily available the materials are for this project! This incredibly straightforward tutorial will walk you through each step, from gathering your supplies to proudly wearing your handcrafted creation. Get ready to unleash your inner crafter and discover a new favorite way to accessorize; let's dive into the step-by-step process and start making bracelets!
Preparation and Safety Guidelines
- Bead stringing wire (19 strand)
- Gold beads (3mm nuggets)
- Peach faceted rondelles (3mm)
- London blue topaz faceted rondelles (3mm)
- Mini tassels
- Gold hoops
- Bead bug (or masking tape)
- Gold clasp
- Clamshell bead tips
- Gold crimp beads
- Chain nose pliers
- Wire cutters
- Adult supervision is required, especially for children. Small beads pose a choking hazard.
- Avoid using sharp tools near your eyes or face. Be mindful of where you are placing your supplies to avoid tripping hazards.
- If you have allergies, check the materials (beads, string, etc.) beforehand. Wash your hands thoroughly before and after crafting.
Step-by-Step Instructions
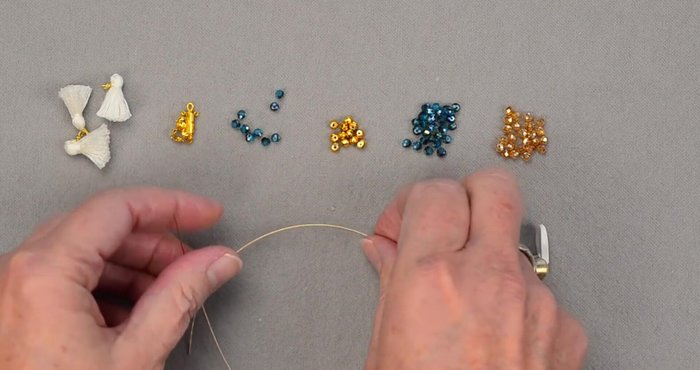
Prepare the Wire
- Cut a 13-inch piece of bead stringing wire.
- Attach a bead bug to one end of the wire to prevent beads from sliding off.

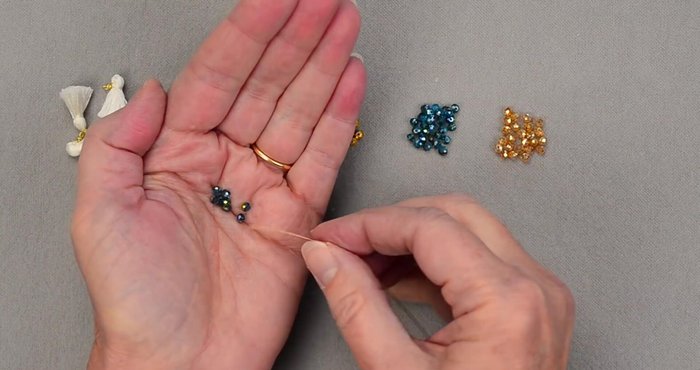
Prepare the Wire String the Beads
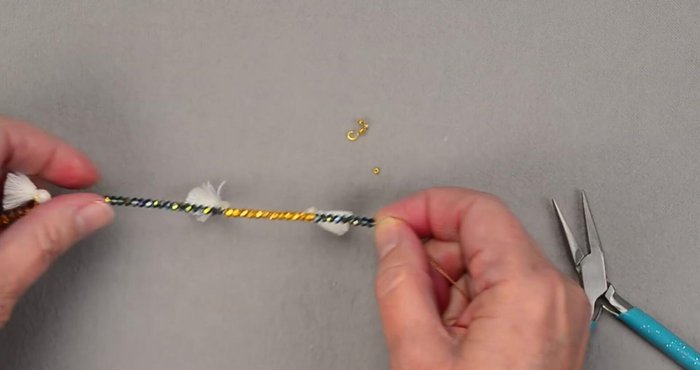
- Add beads onto the wire efficiently by holding them in your palm and feeding the wire through one at a time.
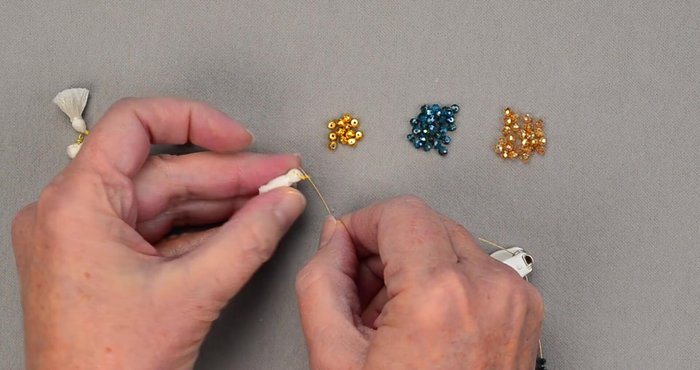
- Insert tassels between the color sections of beads.
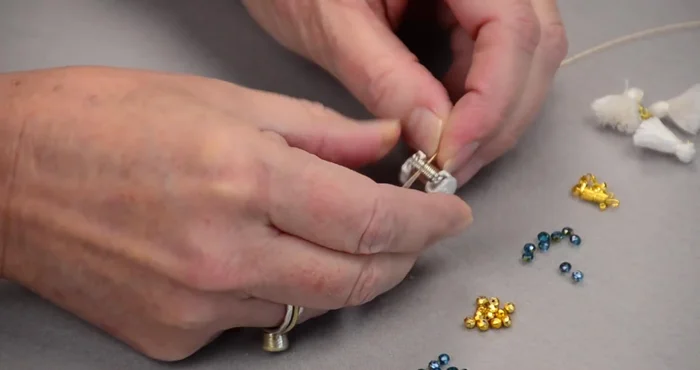
String the Beads Secure One End
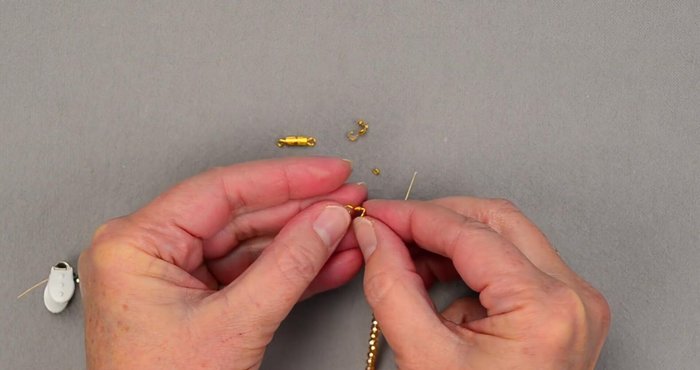
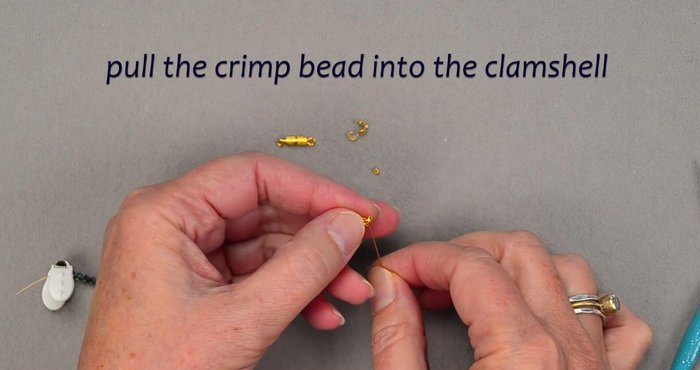
- Add a clamshell bead tip to one end of the wire.
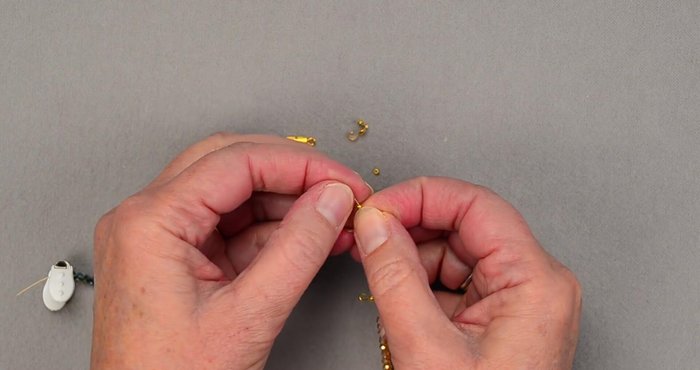
- Add a crimp bead and crush it onto the wire using chain nose pliers.
- Close the clamshell bead tip over the crimp bead.
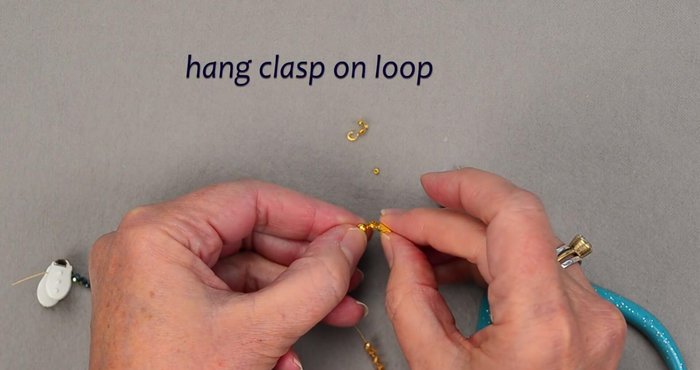
- Attach the clasp to the clamshell bead tip.
Secure One End Secure the Other End
- Repeat steps 5-8 on the other end of the bracelet.
Secure the Other End
Read more: DIY Tiered Tassel Earrings: A Quick & Easy Jewelry Tutorial
Tips
- Pre-count and organize your beads before stringing to speed up the process.
- Use a bead bug or masking tape to hold beads in place while stringing.
- Holding beads in the palm of your hand allows for faster and easier stringing.
- Check beads for complete holes before stringing; have extra beads on hand for replacements.