Add a touch of rustic elegance to your jewelry collection with this unique DIY beaded bracelet featuring a striking leather focal point. Combining the delicate shimmer of beads with the rich texture of leather creates a captivating contrast, resulting in a piece that’s both stylish and surprisingly simple to make. This project is perfect for beginners, requiring only basic crafting skills and readily available materials. Whether you're looking for a new accessory to wear or a thoughtful handmade gift, this bracelet offers a rewarding crafting experience.
This step-by-step guide will walk you through each stage of the process, from selecting your beads and leather to securely fastening the finished bracelet. Prepare to be amazed at how easily you can transform simple materials into a stunning piece of handcrafted jewelry that reflects your personal style. Let's get started!
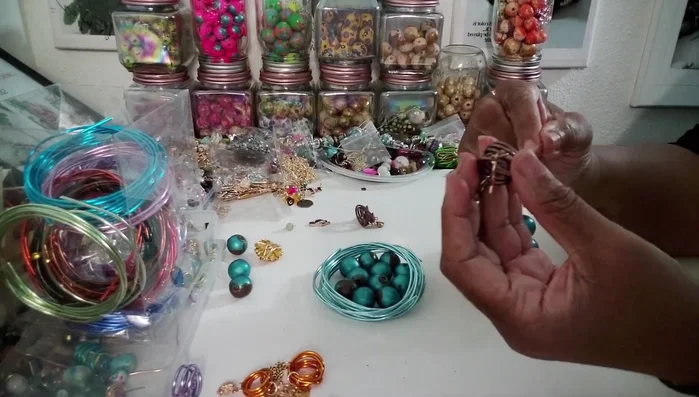
Preparation and Safety Guidelines
- Leather beads
- Wire
- Wire spacers
- 20mm beads
- 25mm beads
- Teal paint
- Brown paint
- Glossy/satin varnish
- Always supervise children when using small beads to prevent choking hazards.
- Sharp tools like scissors or wire cutters should be handled with care to avoid cuts and injuries.
- Be mindful of potential allergic reactions to certain bead materials or leather dyes. If irritation occurs, discontinue use and seek medical advice.
Step-by-Step Instructions
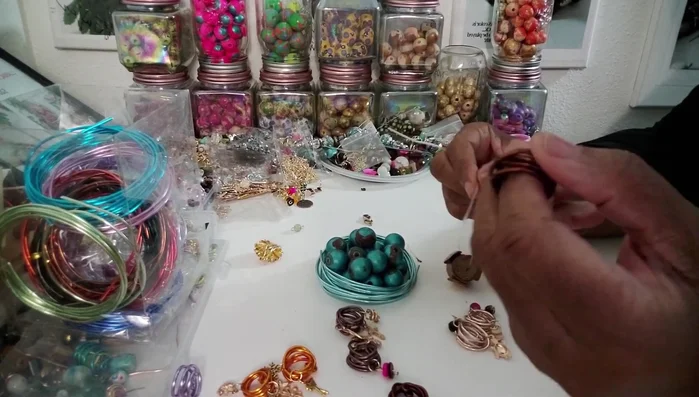
Prepare Materials
- Paint 20mm and 25mm beads teal and add brown accents. Apply a glossy/satin varnish.
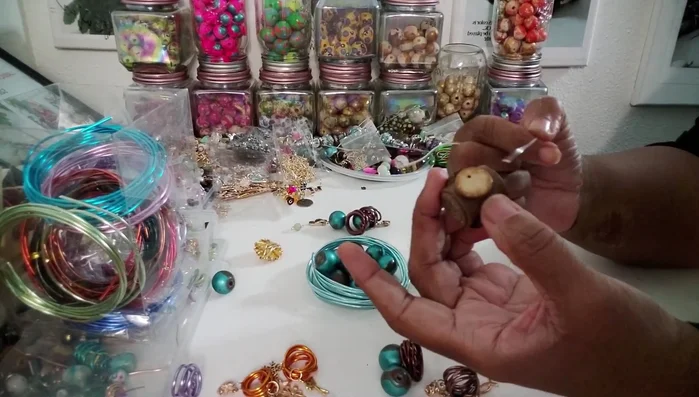
Attach Focal Bead
- Thread the leather bead onto the wire.

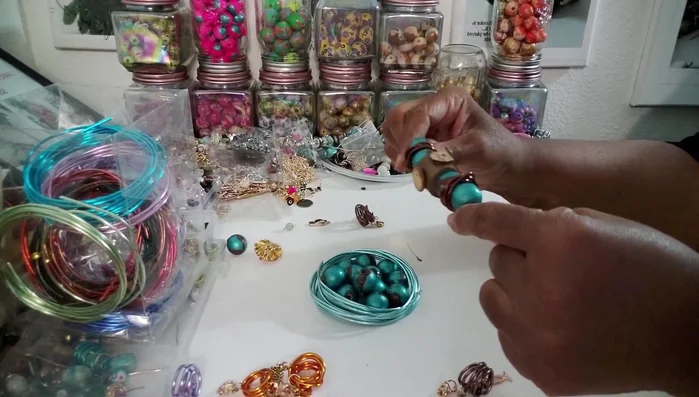
Attach Focal Bead Add Beads and Spacers
- Add a wire spacer followed by a painted bead.
- Alternate between wire spacers and painted beads.
- Repeat step 3 and 4 until desired bracelet length is achieved.
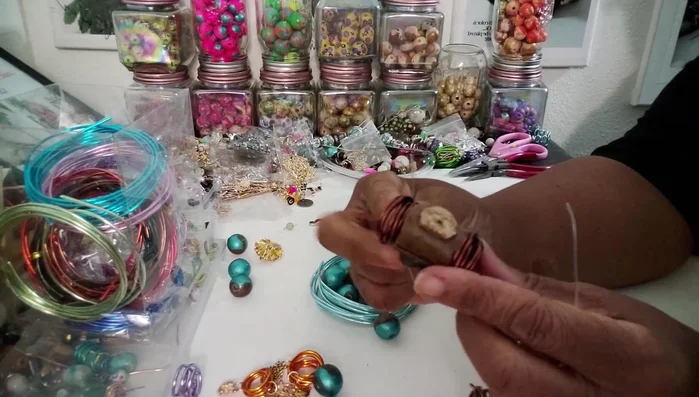
Add Beads and Spacers Secure the Bracelet
- Secure the ends of the wire.
Secure the Bracelet
Read more: DIY Tiered Tassel Earrings: A Quick & Easy Jewelry Tutorial
Tips
- Consider the order of beads and spacers for the best aesthetic result. Experiment with placing beads before or after spacers to achieve the desired look.
- Use a variety of bead sizes and colors for a more visually appealing bracelet.
- Ensure sufficient lighting for clear visibility during the crafting process.