Baroque pearls, with their irregular shapes and captivating luminescence, possess an undeniable allure. Their unique beauty lends itself perfectly to handcrafted jewelry, allowing for a truly bespoke and personal touch. Today, we'll be transforming one of these exquisite pearls into a stunning ring, incorporating a delicate wire-wrapped chain for a touch of elegance and sophistication. This project is perfect for beginners, requiring only basic crafting supplies and a little patience. You'll be surprised at how easy it is to create a piece of jewelry that looks far more intricate than it actually is!
Forget expensive designer pieces; this tutorial will guide you through the simple yet effective process of making your own statement ring. We'll cover everything from selecting the perfect pearl to securely attaching the wire-wrapped chain, resulting in a chic and wearable piece of jewelry you'll be proud to showcase. Ready to get started? Let's dive into the step-by-step instructions.
Preparation and Safety Guidelines
- Baroque pearl
- Chain
- Wire
- Round nose pliers
- Always use jewelry-grade wire; craft wire can be brittle and break easily, potentially causing injury.
- Be mindful of sharp wire ends. Trim them carefully with wire cutters and use pliers to bend them inward to prevent scratches or snags.
- If you're working with small components, consider using a magnifying glass to help you see details clearly and avoid accidental pricks or cuts.
Step-by-Step Instructions
Prepare the Chain and Pearl
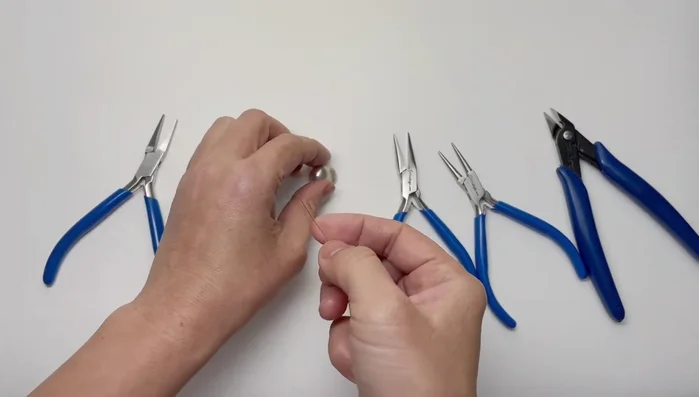
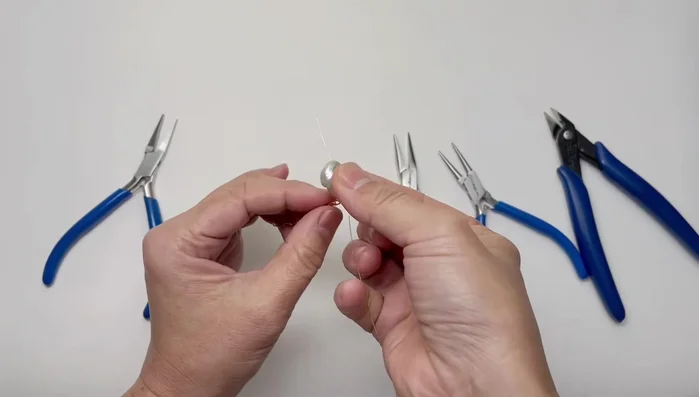
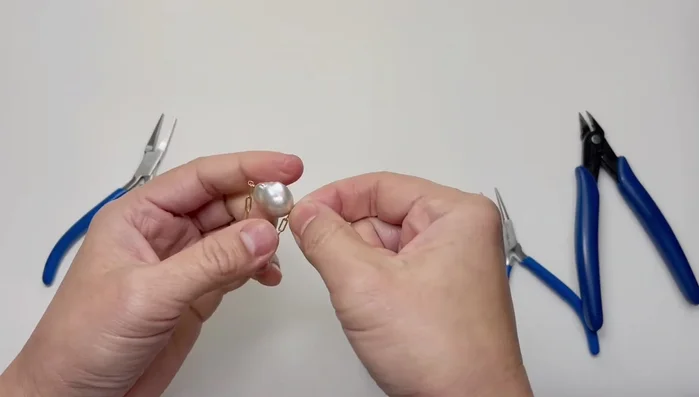
- Thread the wire through one end of the chain, then thread the pearl onto the chain.
- Let the chain drop naturally, flip the end of the chain upwards to prevent twisting.

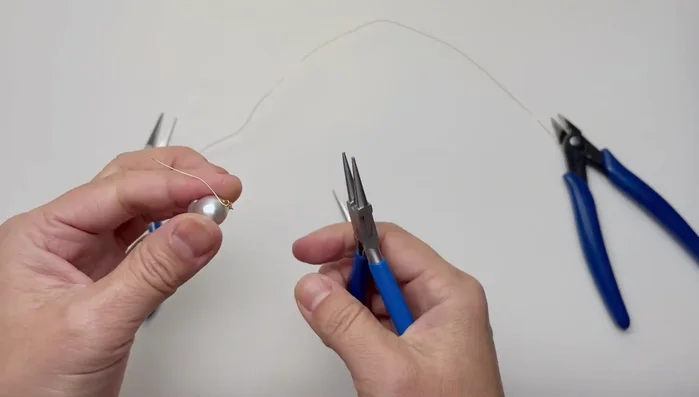
Prepare the Chain and Pearl Create the First Wire Loop and Wrap
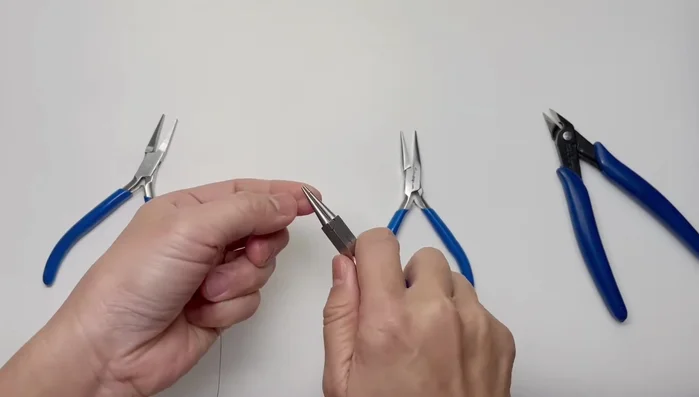
- Create a loop using round nose pliers. Slip the chain into the loop before closing it.
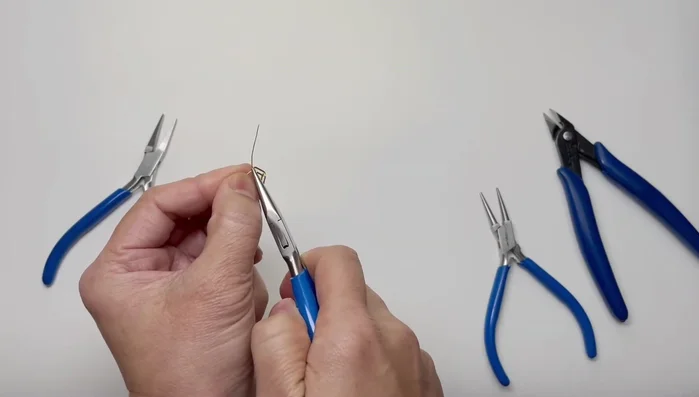
- Wire wrap the chain closed. The number of wraps depends on the desired chain length and bead size. Check for equal wraps on both sides.
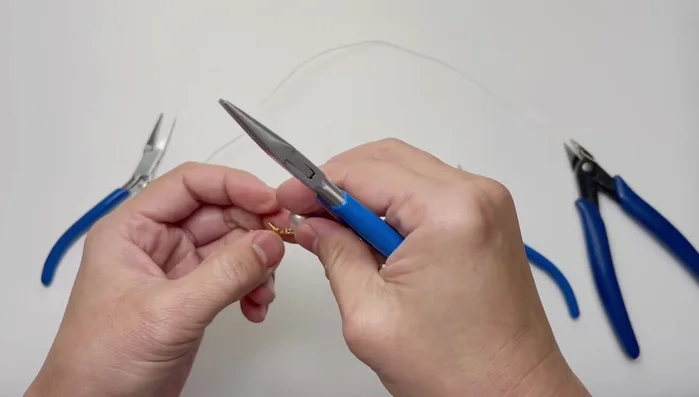
Create the First Wire Loop and Wrap Trim and Smooth the First Side
- Trim excess wire. Adjust to remove sharp edges and ensure a smooth finish.
Trim and Smooth the First Side Create the Second Wire Loop and Wrap
- Repeat steps 3 & 4 on the other side of the pearl.
Create the Second Wire Loop and Wrap Final Trimming and Shaping
- After trimming, adjust the wire wraps to ensure no sharp edges and a neat curve around the finger. Push down excess wire on either side to create a smooth, curved shape.
Final Trimming and Shaping
Read more: DIY Tiered Tassel Earrings: A Quick & Easy Jewelry Tutorial
Tips
- Ensure the chain segment is long enough for the ring before starting.
- Check that the number of wire wraps is the same on both sides for a balanced look.
- If the ring is too tight, add more chain; if it's too loose, remove a link or two.
- Push down excess wire to create a smooth curve and avoid sharp edges.