The Art Deco era, renowned for its geometric lines, luxurious materials, and sophisticated aesthetic, continues to inspire. Its influence is evident in various design fields, and today we'll be channeling that timeless elegance into a beautiful, handcrafted jewelry box. This project offers a fantastic opportunity to create a stunning piece that perfectly blends vintage charm with modern DIY sensibility, resulting in a unique and personalized treasure chest for your most precious adornments. Forget expensive, mass-produced boxes; you'll be surprised at how easily you can recreate this iconic style.
Imagine the satisfying click of the lid as you open your meticulously crafted Art Deco jewelry box, revealing its carefully arranged contents. This DIY tutorial will guide you through each step, from selecting the right materials to adding those signature Art Deco flourishes. Get ready to unleash your creativity and discover the simple joy of bringing a piece of history into your home, one meticulously placed geometric design at a time.
Preparation and Safety Guidelines
- Sandpaper
- Acrylic paint (white, black, silver)
- Decoupage glue
- Napkins with Art Deco design
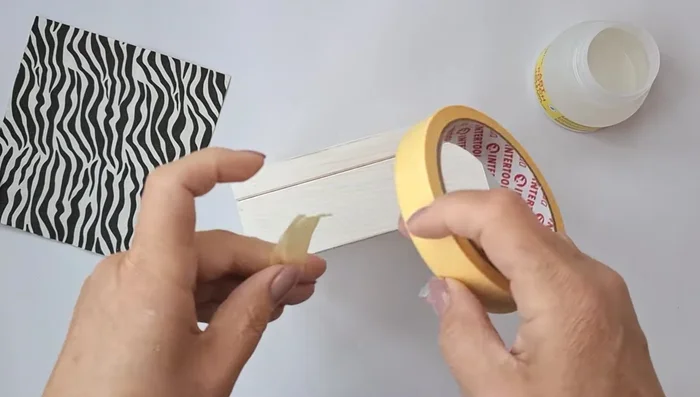
- Masking tape
- Palette knife
- Construction finishing putty
- Stencil
- Clerical knife
- Acrylic water varnish (glossy)
- Silver leaf/flakes
- Alcohol shellac or protective varnish for silver leaf
- Soft woolen cloth
- Fan brush
- Large handle
- Legs
- Silver patina wax
- Drill
- Screws
- Flock
- Stiff brush
- Universal transparent glue
- Always use sharp, well-maintained tools to avoid injury and ensure clean cuts. Practice caution with blades and sharp objects.
- If using adhesives, work in a well-ventilated area and follow the manufacturer's instructions carefully. Some adhesives are flammable or toxic.
- Protect your work surface with a covering, such as a drop cloth or newspaper, to prevent damage from paint, glue, or other materials.
Step-by-Step Instructions
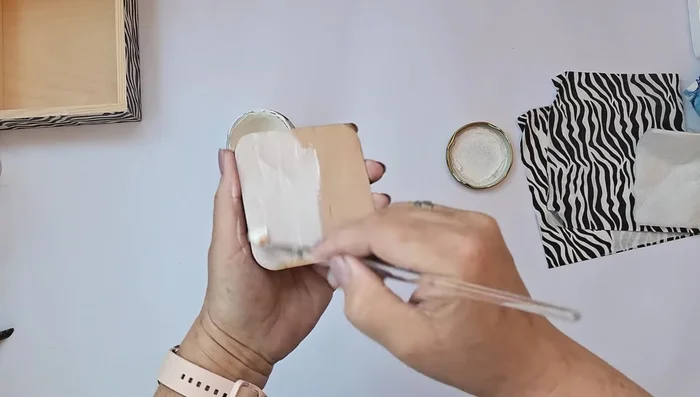
Prepare the Box
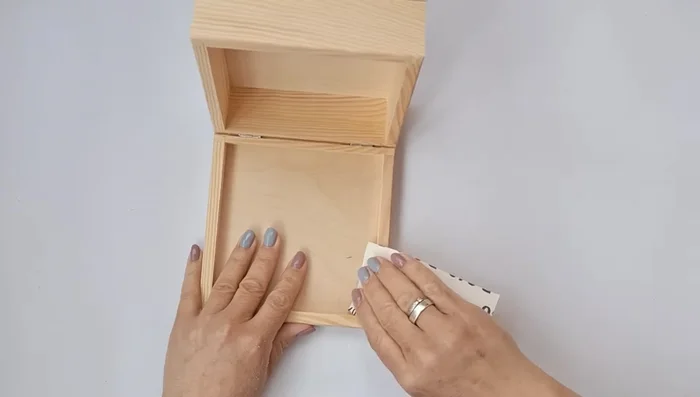
- Sand the wood, especially the ends, and clean it from dust.
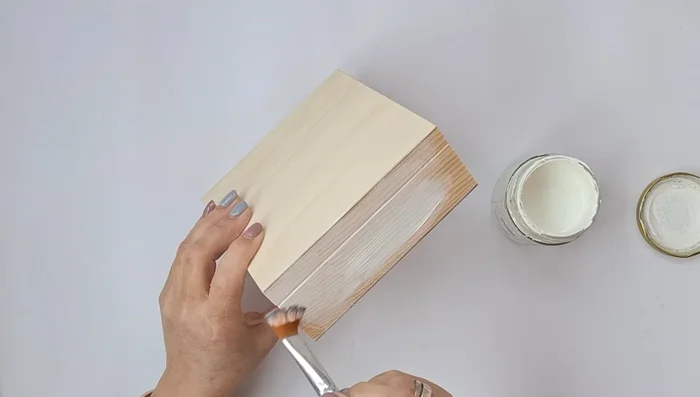
- Prime or paint the sides of the box with white acrylic paint and let it dry.
- After drying, clean the inner ends with sandpaper to remove paint spills.

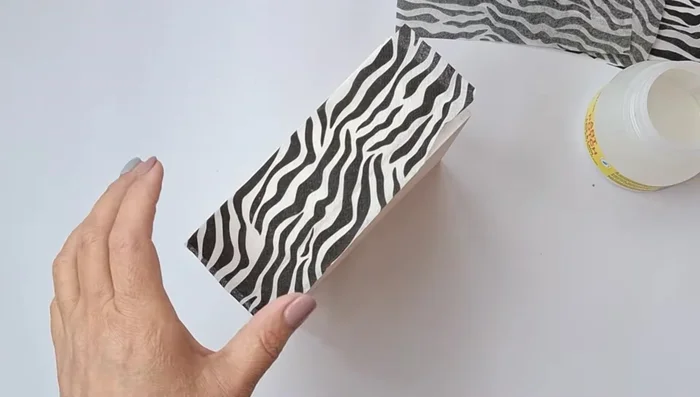
Prepare the Box Decoupage the Sides
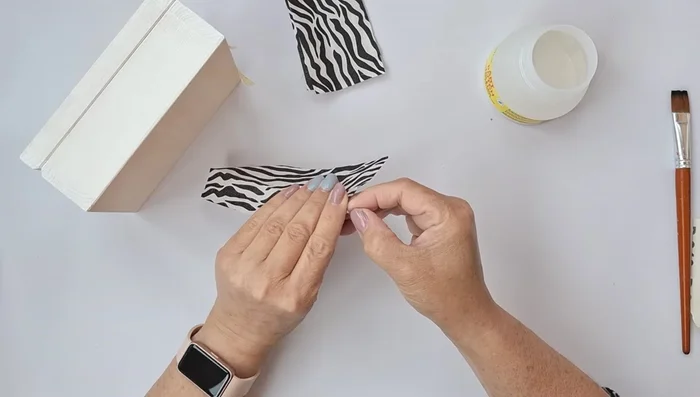
- Separate the colored layer and cut out the desired shapes.
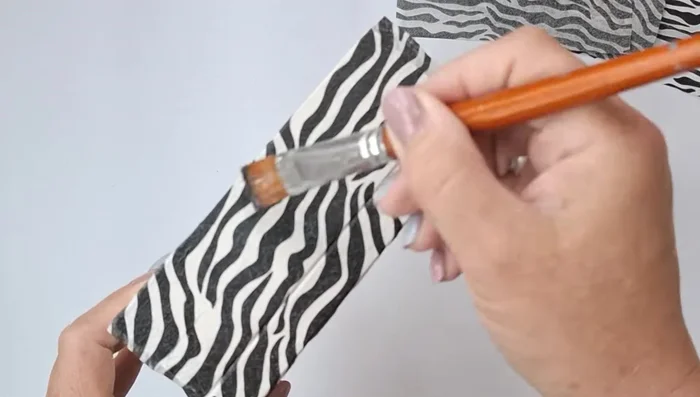
- Apply decoupage glue to one side of the box, gluing the napkin from the center to the edges.
- Repeat step 5 for all sides, letting each side dry separately.
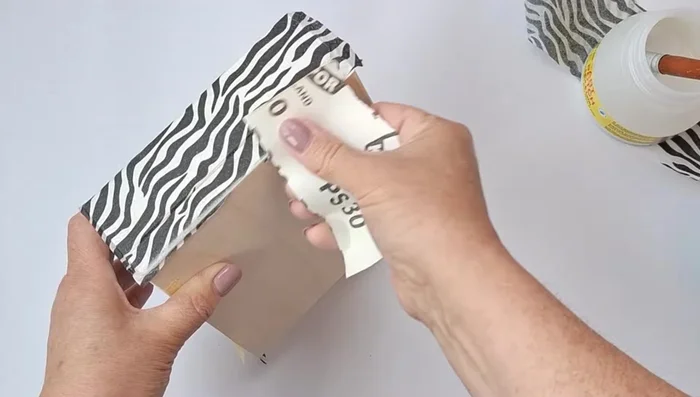
- Remove excess napkin and smooth the surface with sandpaper. Reapply decoupage glue to the edges.
Decoupage the Sides - Carefully cut the napkin along the border of the upper and lower parts of the box using a clerical knife.
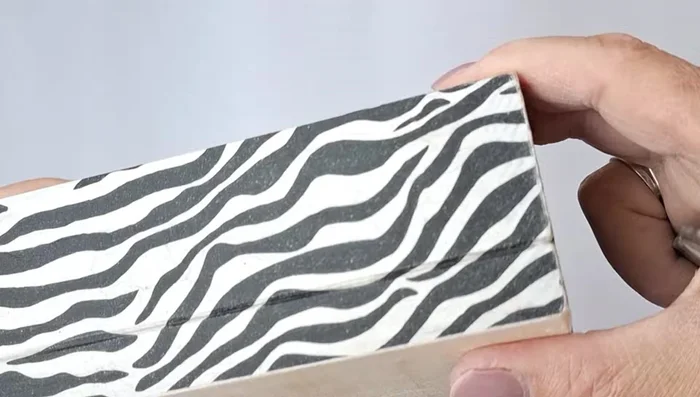
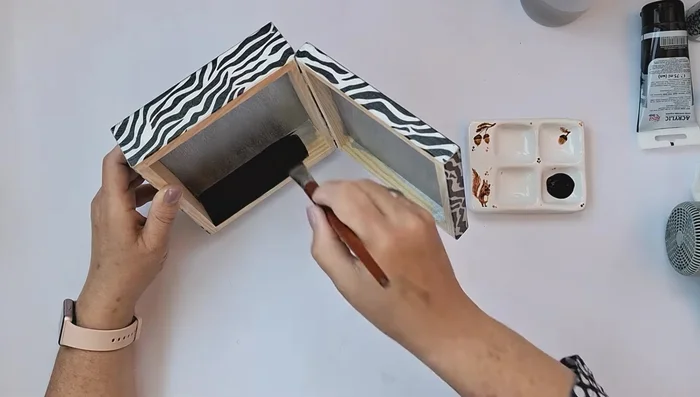
Decoupage the Sides Paint and Varnish the Exterior
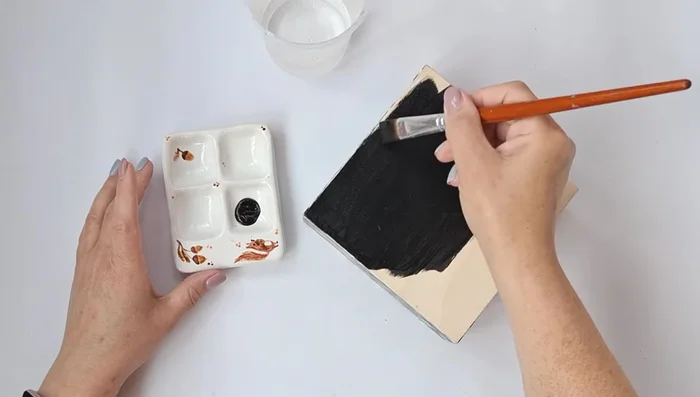
- Paint the upper and lower parts of the box with black acrylic paint. Sand and reapply if necessary to ensure a smooth surface.
- Apply a glossy varnish to the entire box (except the lid) to create a shiny surface. Let it dry naturally.
Paint and Varnish the Exterior Create 3D Pattern on Lid
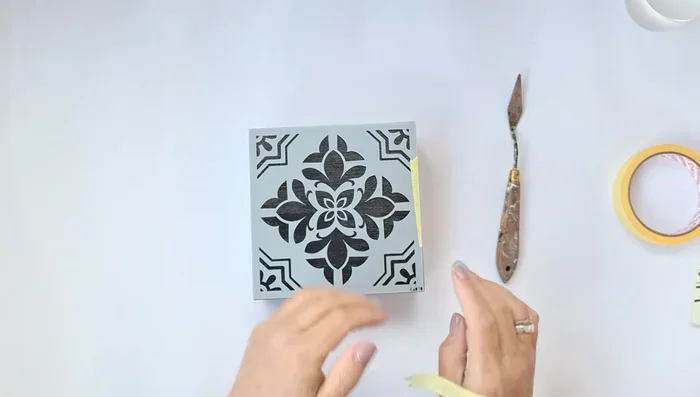
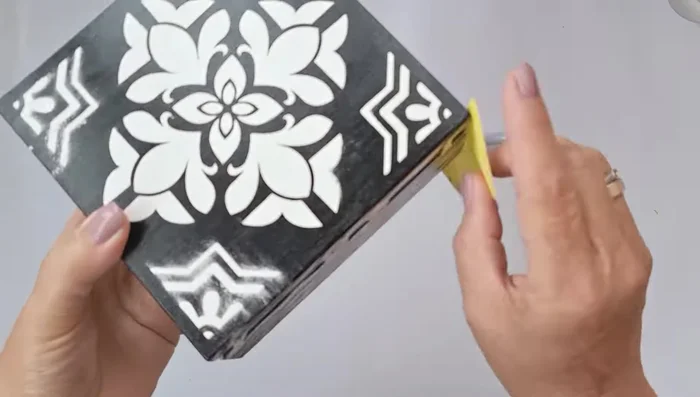
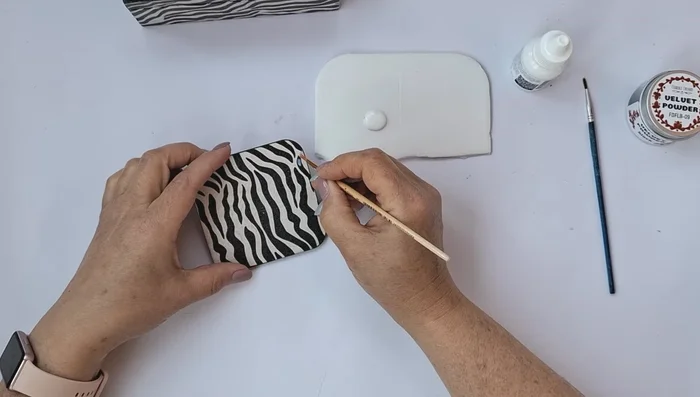
- Apply construction putty to the lid using a stencil to create a three-dimensional pattern. Carefully remove the stencil and clean up excess putty.
- Sand the putty pattern to smooth the surface, clean it, and apply another layer of glossy varnish. Let it dry naturally.
Create 3D Pattern on Lid Prepare Interior Lid Overlay
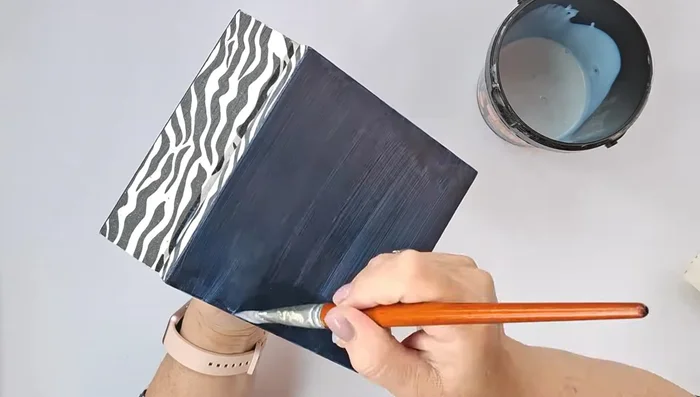
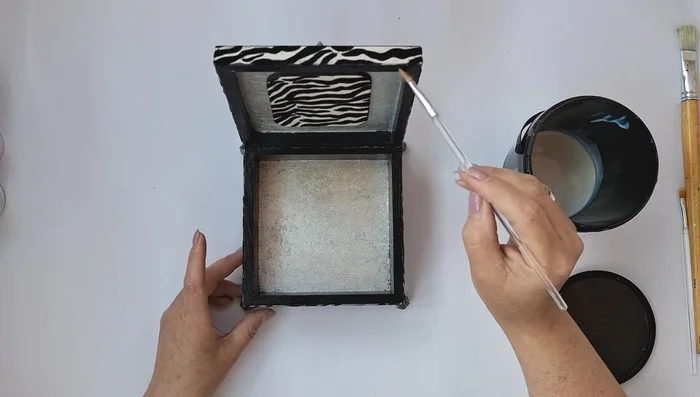
- Create a small overlay with the same zebra pattern for the inside of the lid. Prime, decoupage, and varnish.
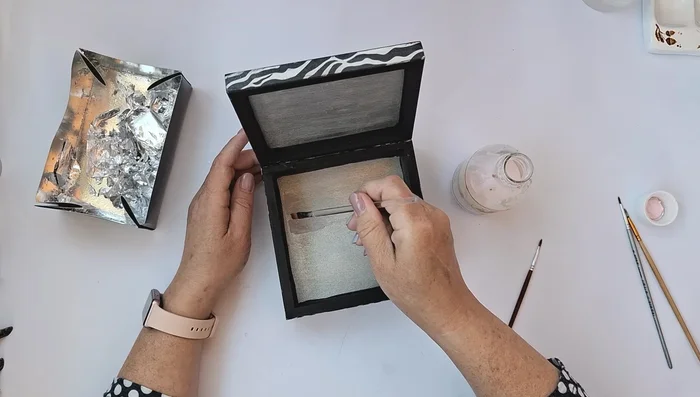
Prepare Interior Lid Overlay Paint and Finish the Interior
- Paint the inside of the lid and the bottom of the box with silver metallic acrylic paint. Sand and reapply if needed for a smooth finish.
- Paint the inner ends with black acrylic paint.
- Apply glue for silver leaf to the silver painted areas and apply silver leaf/flakes, removing excess with a brush. Polish with a soft cloth and seal with shellac or protective varnish.
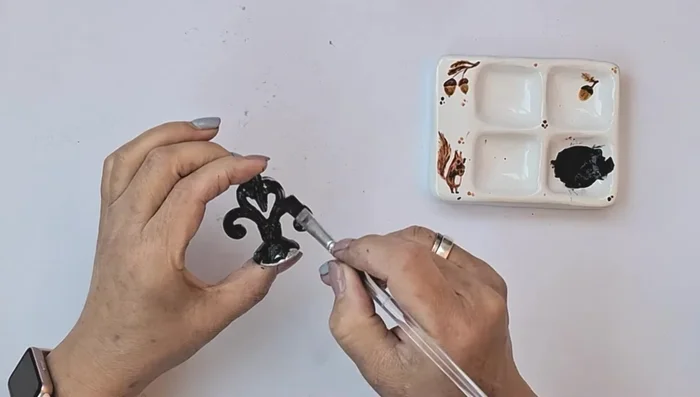
Paint and Finish the Interior Attach Hardware
- Attach the handle and legs. Drill a hole in the lid for the handle and secure it with screws. Glue the legs to the bottom.
Attach Hardware Apply Flock
- Apply sticky glue to the black stripes on the sides of the box and sprinkle with flock. Remove excess flock with a stiff brush.
Apply Flock Final Steps
- Let the box dry completely in an open position for several days to prevent sticking.
Final Steps

Read more: DIY Tiered Tassel Earrings: A Quick & Easy Jewelry Tutorial
Tips
- Use high-quality materials for the best result.
- When painting a multifaceted base with different colors, quickly remove paint that gets on adjacent edges.
- When applying putty, work quickly and evenly.