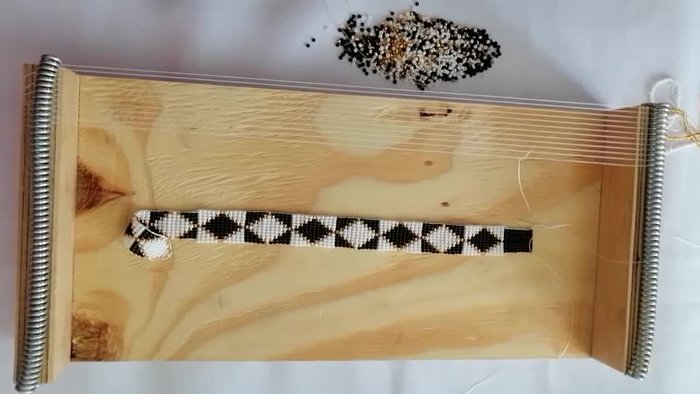
Diamonds, renowned for their brilliance and enduring allure, now take center stage in a dazzling new craft: diamond beadwork. This intricate art form allows you to transform simple beads into breathtakingly realistic diamond designs, perfect for adding a touch of sparkle to jewelry, clothing, or home décor. Imagine crafting shimmering necklaces, dazzling earrings, or even elaborate wall hangings, all featuring the captivating shimmer of meticulously placed beads. This exquisite technique, while seemingly complex, is surprisingly accessible to both beginners and experienced crafters. The subtle gradations of light and shadow, achieved through careful bead placement, create a stunning three-dimensional effect.
This comprehensive tutorial will guide you through the process of creating your own stunning diamond beadwork pieces, from choosing the right materials to mastering essential techniques. Prepare to be amazed as you discover the secrets to achieving that captivating diamond sparkle. Let's embark on this creative journey together, step-by-step, as we unlock the potential of this mesmerizing craft. Ready to begin?
Preparation and Safety Guidelines
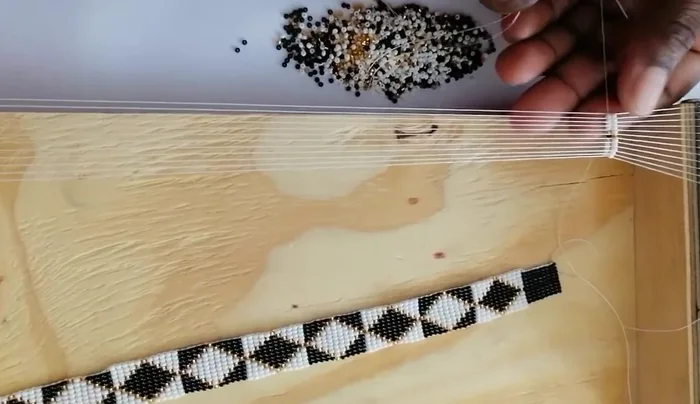
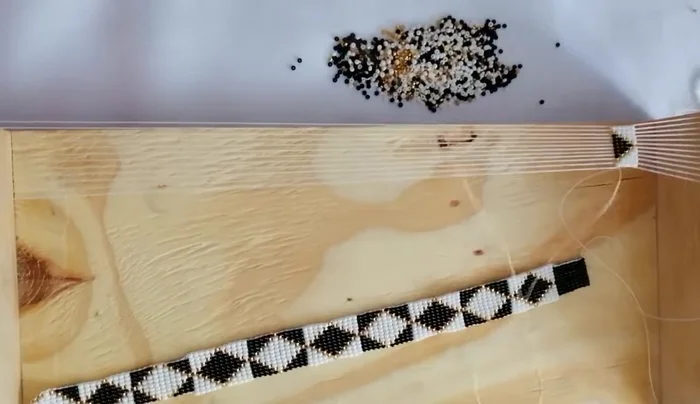
- beads (black, white, gold)
- thread
- needle
- Always use sharp, high-quality needles designed for beadwork to prevent breakage and injury. Avoid dull needles which can cause you to push harder and potentially injure yourself.
- Work in a well-lit area to minimize eye strain and ensure accurate placement of beads. This is especially important with smaller beads.
- Store your beads and tools in a safe, organized manner to prevent loss or damage. Consider using labeled containers to keep everything tidy.
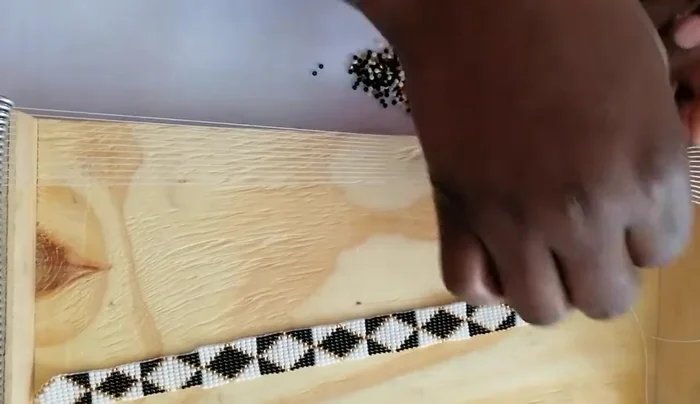
Step-by-Step Instructions
Preparing the Initial Bead Sequence
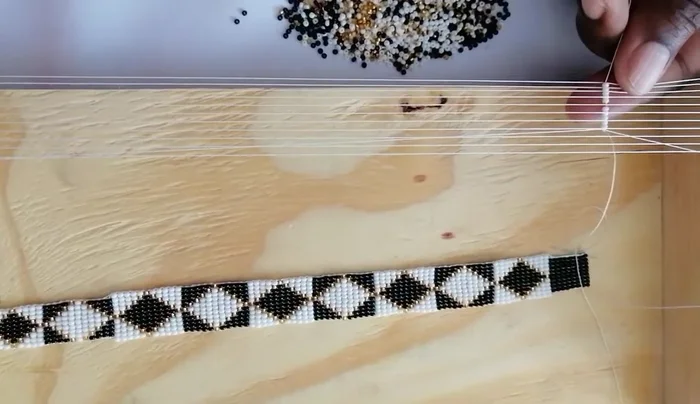
- Begin by inserting beads (5 white, 1 gold) onto the thread, ensuring each bead is separated.
- Insert the beads onto the web threads, separating them with your fingers to allow the needle to pass through.
- Lock the beads in place and continue. The first step is challenging; ensure no beads share a space.

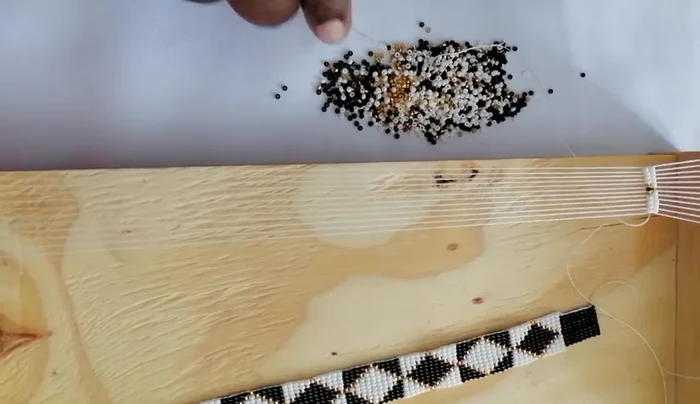
Preparing the Initial Bead Sequence Creating the Diamond's Base
- Pick 4 white beads, 1 gold, 1 black, 1 gold, and 4 white beads. Push beads underneath and pull through.
- The second step is easier as there's space between beads. Push beads up, making sure all are elevated, then push the needle through.
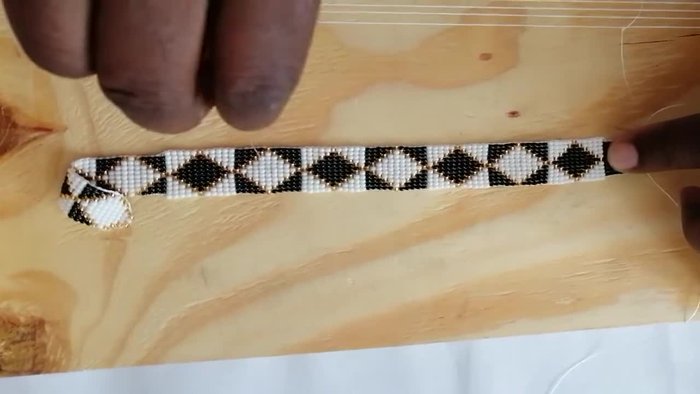
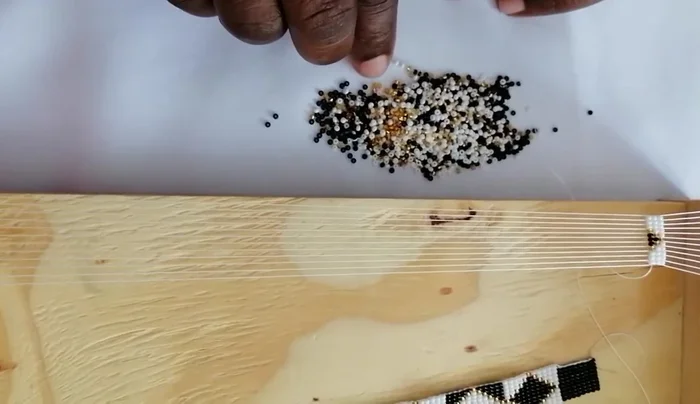
Creating the Diamond's Base Expanding the Diamond
- Next, pick 3 white beads, 1 gold, 3 black beads, 1 gold, and 3 white beads. Separate black and white beads with gold beads. Avoid pulling the thread too much.
- Pick 2 white beads, 1 black, 1 gold, and 2 white beads.
- Next, pick 1 white bead, 1 gold, and 7 black beads, followed by 1 gold and 1 white bead.
- To increase the diamond, pick 1 gold and 9 black beads.
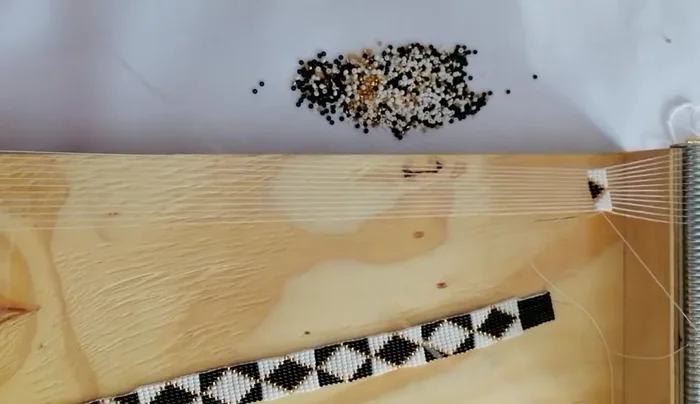
Expanding the Diamond Completing the Diamond (Decreasing)
- Finish by decreasing the diamond (the next step, not detailed in this transcript).
Completing the Diamond (Decreasing)
Read more: DIY Tiered Tassel Earrings: A Quick & Easy Jewelry Tutorial
Tips
- Ensure each bead is separated when threading. This makes the process much easier.
- Use your finger to push beads up to make space for the needle during the entire process.
- Don't pull the thread too much; this can distort your work.