Give your home a unique touch with charming, upcycled décor tags! Transform ordinary, discarded objects into stunning avian masterpieces through the art of decoupage. This exciting project showcases the beauty of repurposing and breathes new life into materials that would otherwise end up in the trash. Forget mass-produced, generic ornaments – create personalized, eco-friendly decorations bursting with personality and reflecting your individual style. We'll be using readily available materials to create intricately detailed bird designs, perfect for adding a touch of whimsy to gifts, plant pots, or even as standalone art pieces.
These delightful bird-themed decoupage tags are surprisingly simple to make, even for beginners. Ready to embark on this creative journey and craft your own flock of feathered friends? Then let's dive into the detailed, step-by-step guide below, transforming humble materials into beautiful, handcrafted décor.
Preparation and Safety Guidelines
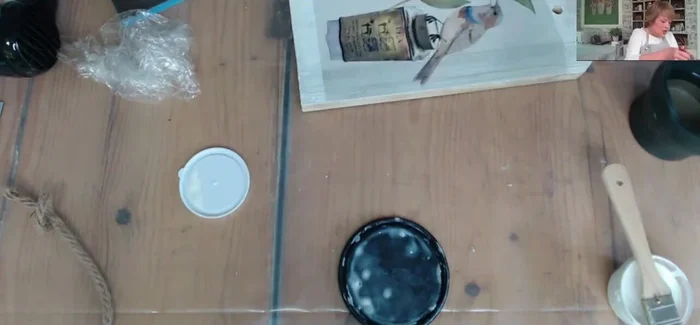
- Decoupage paper
- Paint (Wiseau's Antique Villa chalk synthesis paint, Joshua Tree chalk synthesis paint)
- Sanding block
- Plastic wrap
- Wise Owl's One Hour Enamel Clear Coat (matte)
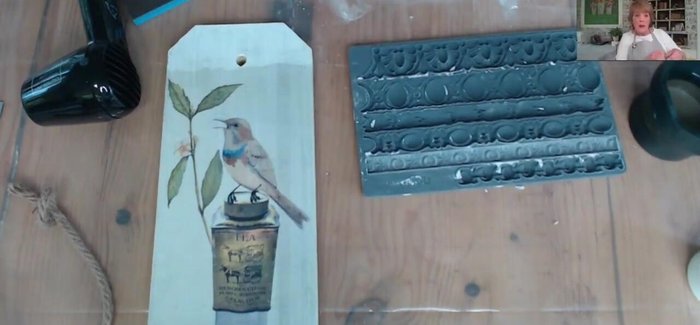
- IOD silicone mold (Trimmings 3)
- Cornstarch
- Plastic scraper
- X-Acto knife
- Quick and thick tight Bond glue
- Glue spreader
- Small paintbrush
- Amy Howard at Home Cracked Patina
- Heat gun (optional)
- Always work in a well-ventilated area when using decoupage medium and paints; the fumes can be strong.
- Ensure all surfaces are clean and dry before applying decoupage medium to prevent peeling or bubbling.
- Use caution when handling sharp tools like scissors or craft knives, and supervise children if they are involved in the project.
Step-by-Step Instructions
Tag Preparation
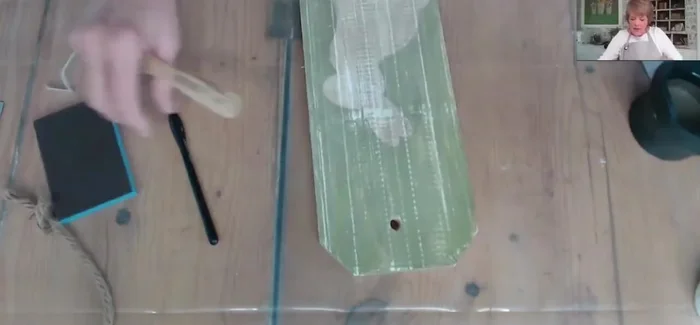
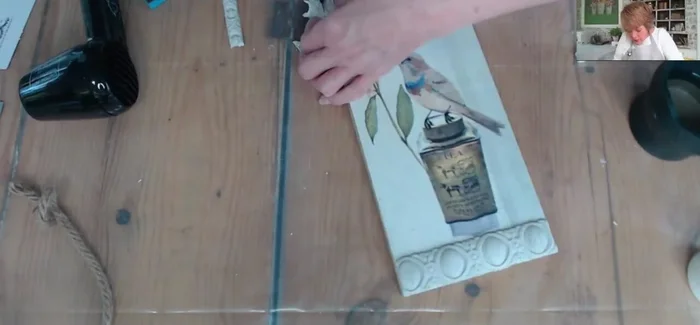
- Prepare the tag by sanding the surface to make it smooth.
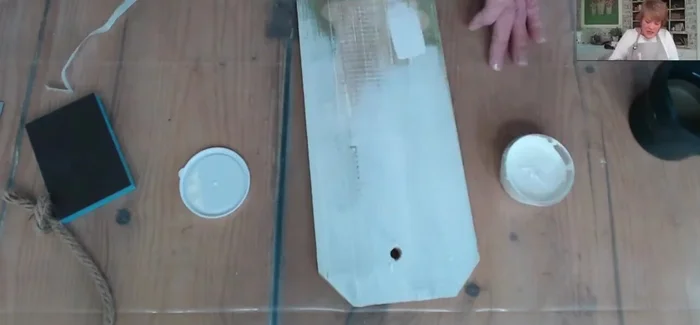
- Paint the tag with a light-colored base coat to cover the previous design and create a light background for the decoupage paper.

Tag Preparation Decoupage Application
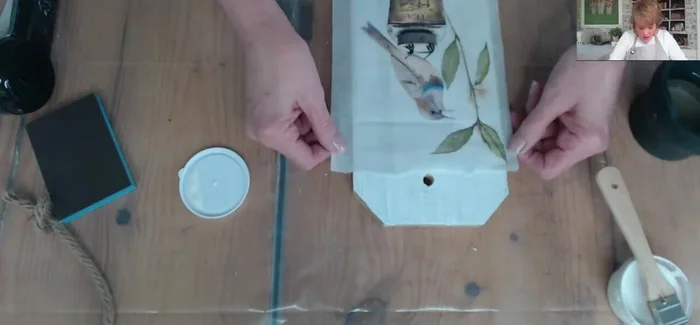
- Position the decoupage paper (bird element) on the tag.
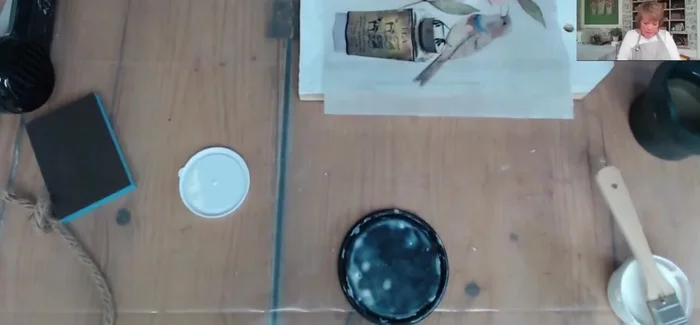
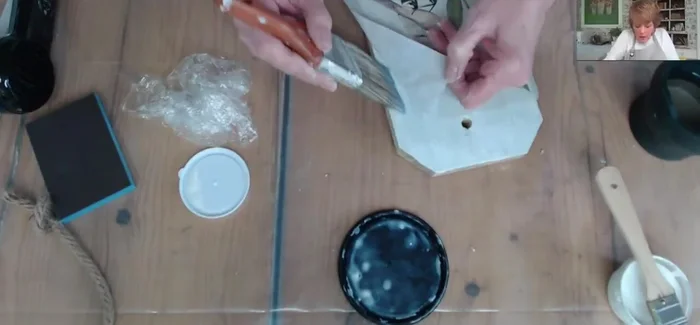
- Apply decoupage medium (clear coat) over the paper, smoothing it with plastic wrap to prevent wrinkles.
- Sand the edges of the decoupage paper to create a clean finish.
- Apply a top coat of decoupage medium to seal the paper.
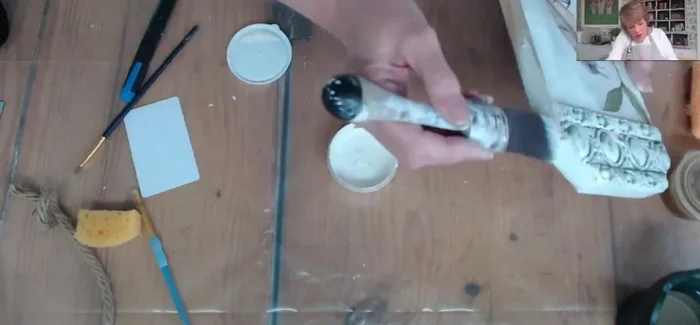
Decoupage Application Mold Preparation and Application
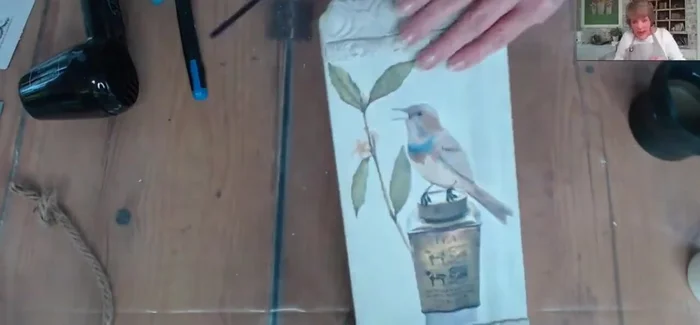
- Prepare the silicone molds by adding cornstarch to ease release.
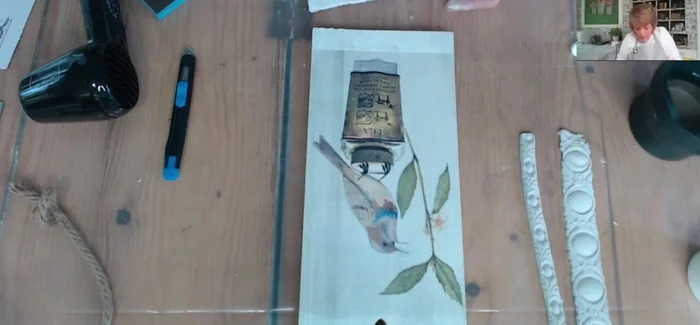
- Trim the silicone molds to fit the tag's dimensions.
- Apply glue to the back of the molds and adhere them to the tag.
- Trim excess silicone mold material from the tag.
Mold Preparation and Application Mold Painting and Finishing
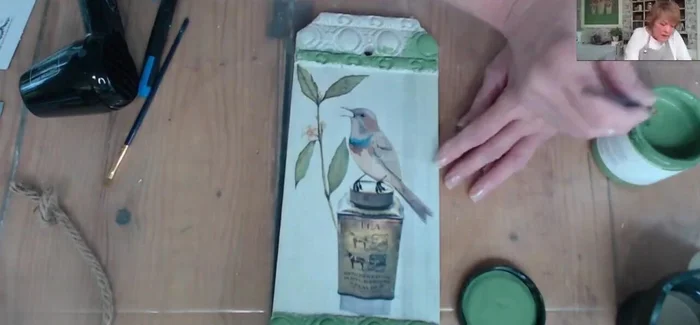
- Recreate the original hole in the tag using a paintbrush.
- Paint the molds with a base coat of color (Joshua Tree chalk synthesis paint).
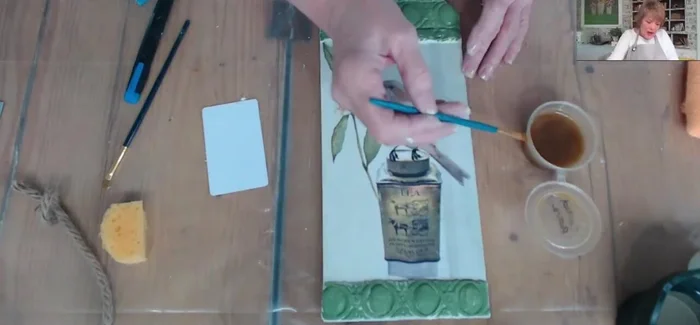
- Apply cracked patina medium, letting it dry, then apply another coat of paint (Antique Villa) to create a crackle effect.
- Paint the back of the tag and seal the entire piece.
Mold Painting and Finishing

Read more: Build a Stunning Black Walnut Coaster Set: The Ultimate Furniture Protector
Tips
- Use plastic wrap to smooth the decoupage paper onto the surface for a wrinkle-free finish.
- Add cornstarch to silicone molds to make the clay release easily.
- Trim silicone molds before adhering them to the tag for a cleaner look.
- Use your fingers to apply the crackle medium for an authentic look.