Are you an artist drowning in a sea of pigments? Do vibrant hues spill from overflowing jars, creating chaos instead of inspiration? A well-organized workspace is crucial for creative flow, and for artists working with a multitude of pigments, that organization begins with dedicated storage. This isn't just about tidiness; a custom pigment shelf offers easy access to your cherished colors, inspiring spontaneous experimentation and efficient workflow. Imagine effortlessly finding the perfect shade, streamlining your painting process, and finally reclaiming precious studio space.
This article will guide you through the process of building your own custom pigment shelf, tailored perfectly to your needs and artistic style. We’ll cover everything from planning and material selection to assembly and customization, ensuring you end up with a beautiful and functional storage solution. Ready to transform your pigment chaos into a colorful, organized masterpiece? Let's dive into the step-by-step instructions.
Preparation and Safety Guidelines
- Sketchup
- One-by-four common board (five 8-footers)
- Miter saw
- Table saw
- Dado set
- Calipers
- Orbital sander (220 grit sandpaper)
- Chamfer bit
- Wood glue
- Sawtooth hangers
- 3/4 inch wood screws
- Painters tape
- Always label pigments clearly with name and any relevant safety information (toxicity, lightfastness). Use waterproof labels.
- Store pigments in airtight containers to prevent clumping and moisture damage. Consider using desiccant packets to absorb humidity.
- Never mix pigments directly on the shelf. Always use a clean palette or mixing surface to avoid cross-contamination.
Step-by-Step Instructions
Planning and Design
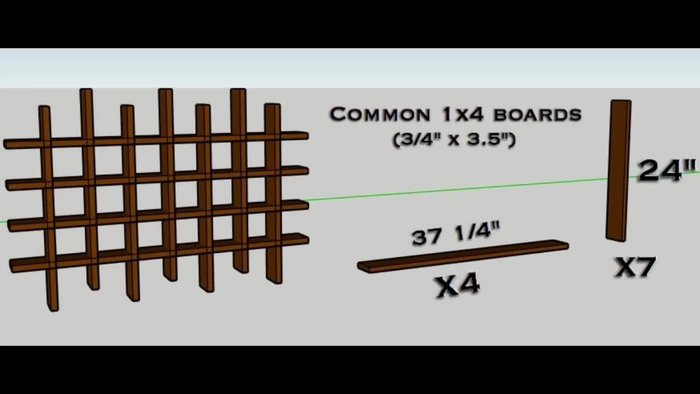
- Design the shelf in Sketchup (rough draft). Measurements are provided in the video description.

Planning and Design Material Preparation
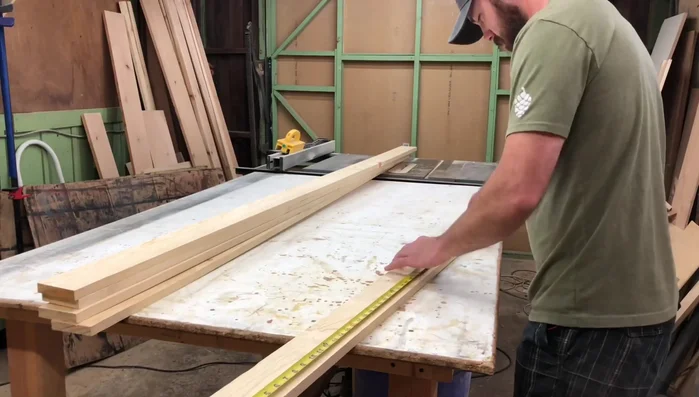
- Measure and mark the pieces of one-by-four common board.
- Rip the boards down to width using a table saw, ensuring straight edges.
Material Preparation Cutting and Shaping
- Cut the boards to length using a miter saw.
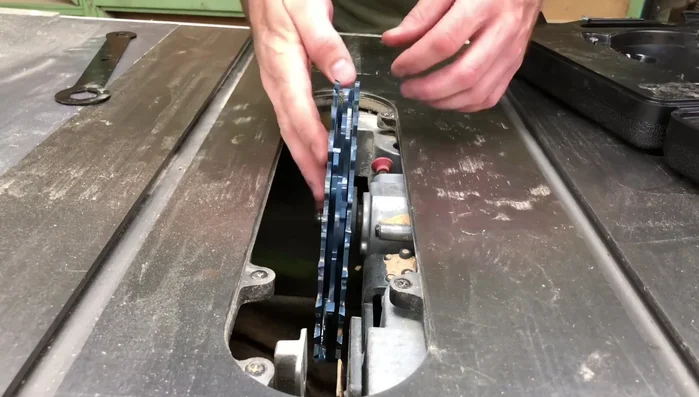
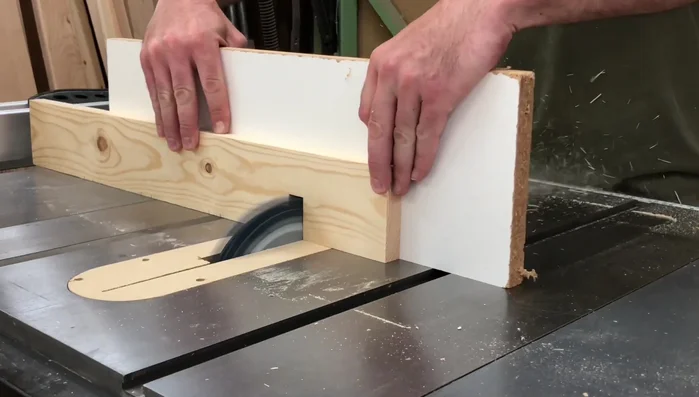
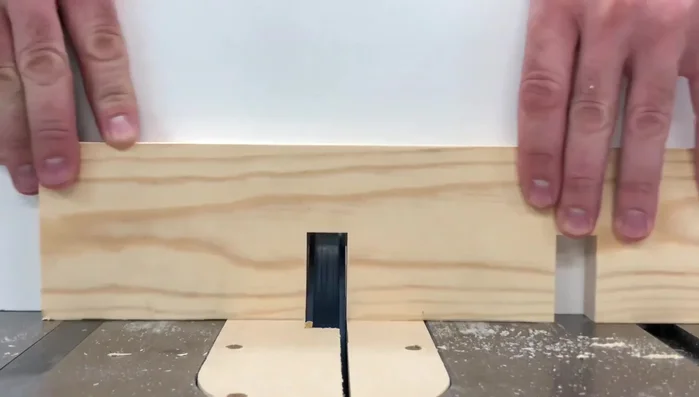
- Set up the dado stack on the table saw to cut half-laps (same width as the board).
- Measure the board width with calipers in millimeters, divide by two, and set the dado stack height accordingly for precise half-lap cuts.
- Cut the half-laps on the boards.
Cutting and Shaping Refinement and Protection
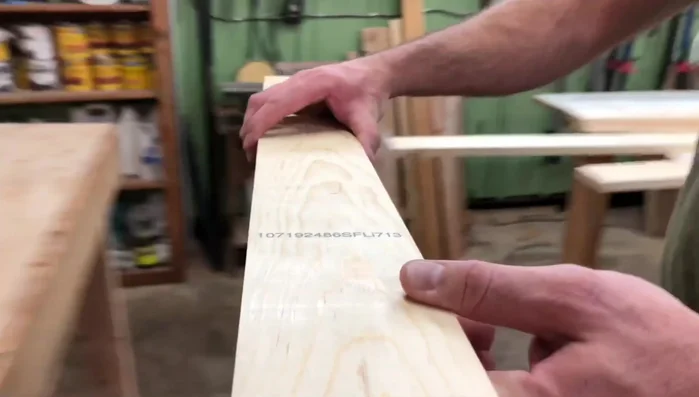
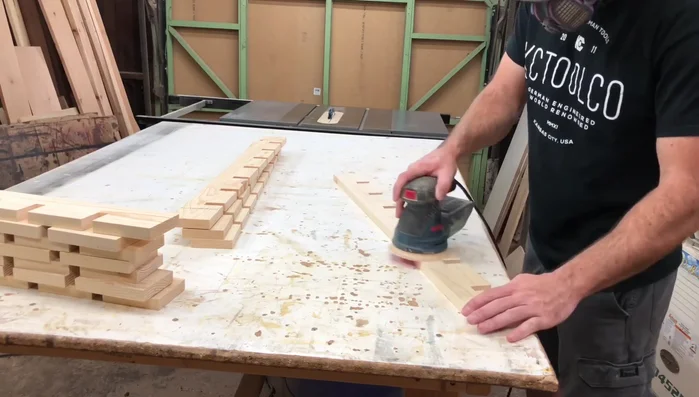
- Apply painter's tape to the back of the boards to prevent chip out.
- Sand each board lightly with 220 grit sandpaper.
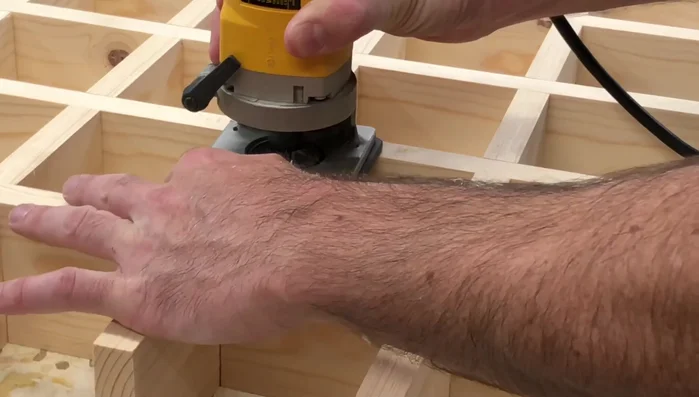
- Use a chamfer bit to round the edges.
Refinement and Protection Assembly
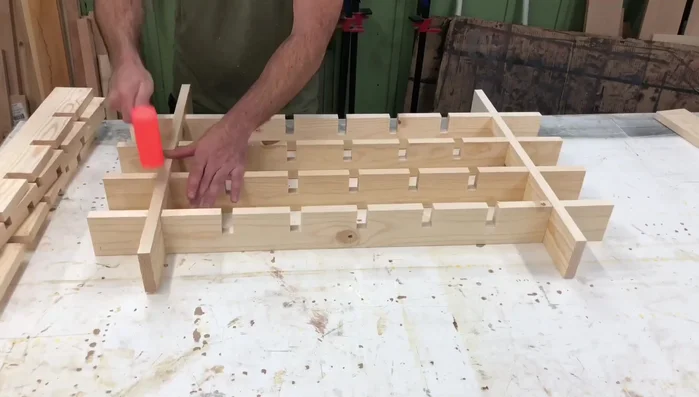
- Perform a dry fit to check the fit of the half-lap joints.
- Mark intersections for reassembly.
- Apply wood glue to the joints, assemble the shelf, and clamp if necessary.
Assembly Finishing Touches
- Stain the shelf (optional).
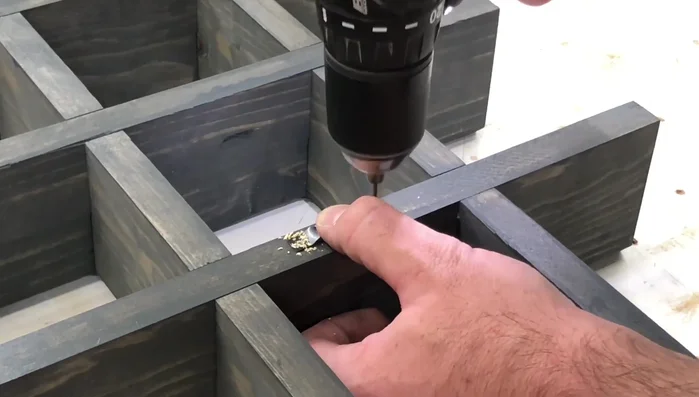
- Attach sawtooth hangers to the back of the shelf using 3/4 inch wood screws.
Finishing Touches
Read more: Build a Stunning Black Walnut Coaster Set: The Ultimate Furniture Protector
Tips
- Keep boards in order when ripping to maintain consistent width and orientation.
- Use painter's tape on the back of the boards before cutting to prevent chip-out.
- Don't remove too much material when sanding to maintain tight half-lap joints.
- A little glue goes a long way in securing the half-lap joints.