Are you tired of ill-fitting fingerless mitts that are either too tight or too loose? Do you yearn for the cozy warmth of hand-knitted accessories perfectly tailored to your own unique hand shape? Then ditch the restrictive patterns and embrace the freedom of creating custom-fit fingerless mitts! This guide empowers you to knit your dream mitts without relying on pre-set sizes, offering a satisfyingly personal crafting experience. Forget frustrating adjustments and endless searching for the "perfect" pattern – you'll be in control every step of the way.
This innovative approach allows you to bypass the limitations of standard patterns and instead, focus on creating a mitt that conforms perfectly to the contours of your hand. We will lead you through a straightforward method, teaching you how to gauge your hand and determine the ideal number of stitches and rows for a truly comfortable fit. Ready to knit your perfect pair? Let's dive into the step-by-step process!
Preparation and Safety Guidelines
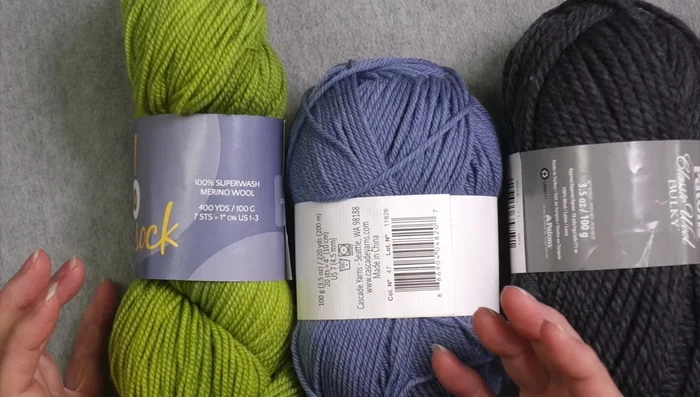
- Yarn
- Needles (size depends on yarn weight)
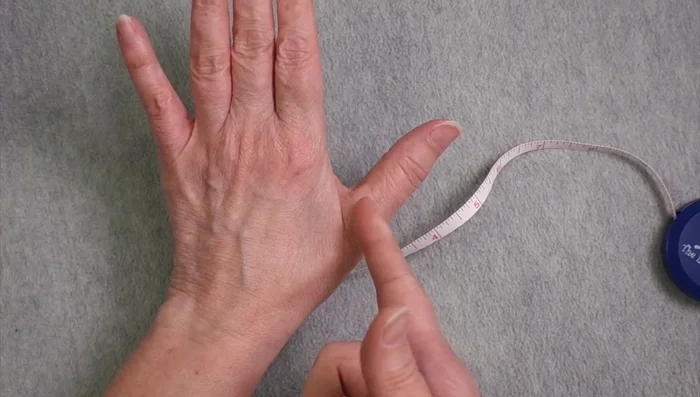
- Measuring tape
- Yarn needle
- Stitch markers
- Use sharp scissors and needles to avoid accidental pricks or injuries. Always keep your work area tidy to prevent snags and dropped stitches.
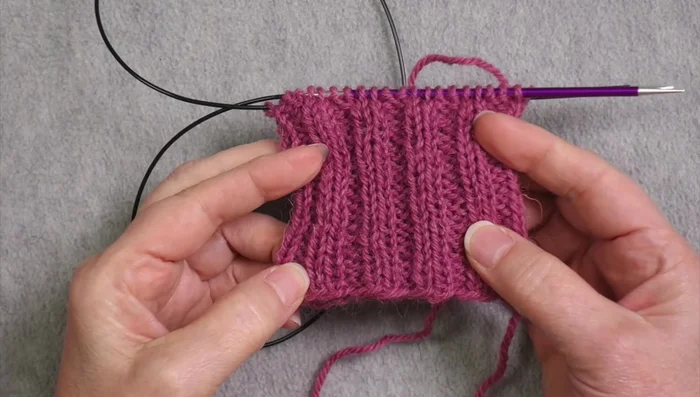
- Gauge swatch is crucial for a proper fit. Knit a small square using your chosen yarn and needles before beginning the mitts to determine your stitch density and adjust needle size accordingly.
- When measuring your hand, ensure the measurement is taken comfortably but not too loosely. Too much ease can make the mitts floppy, while too little will make them tight and uncomfortable.
Step-by-Step Instructions
Planning and Preparation
- Measure hand circumference above thumb separation and the distance from thumb separation to wrist.
- Choose your desired yarn and determine its gauge (stitches per inch) using a gauge swatch (preferably a 'fake in the round' swatch to mimic actual knitting).
- Multiply hand circumference (in inches) by gauge (stitches per inch) to determine the approximate number of stitches needed. Round up to the nearest multiple of four for ribbing.

Planning and Preparation Knitting the Cuff
- Cast on calculated stitches and knit ribbing (e.g., k2, p2) to desired cuff length (typically 2-3 inches).
Knitting the Cuff Creating the Thumb Gusset
- Transition to stockinette stitch. Work increases in pairs (one after a marker, one before another marker) regularly across a set number of rounds to create the thumb gusset. The number of increases should match the desired number of thumb stitches (minus two) and the number of rounds should be planned out to fit the measurement you took previously.
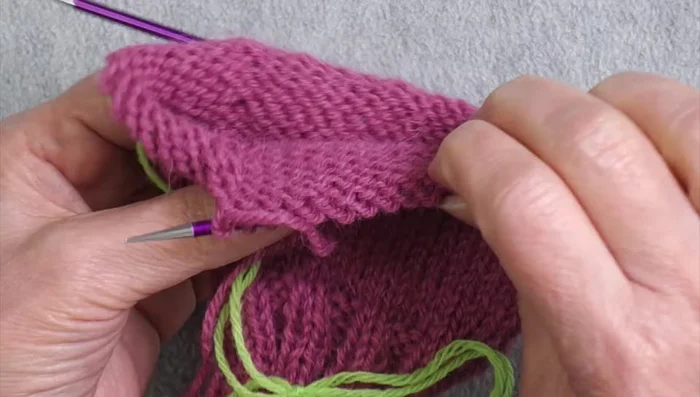
- Once the gusset is complete, place the thumb stitches onto a waste yarn or stitch holder.
Creating the Thumb Gusset Knitting the Hand Portion
- Knit in the round to the desired length for the hand portion. Create ribbing for the hand's top edge by subtracting at least a half-inch for the ribbing section.
Knitting the Hand Portion Knitting the Thumb
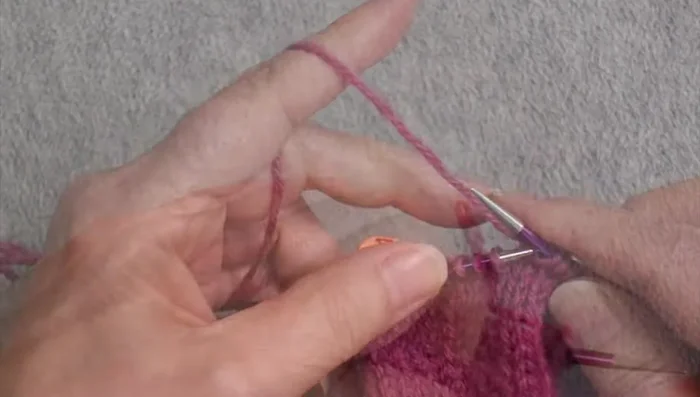
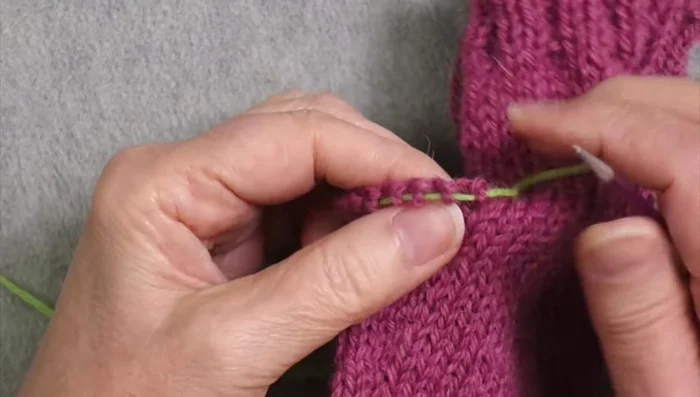
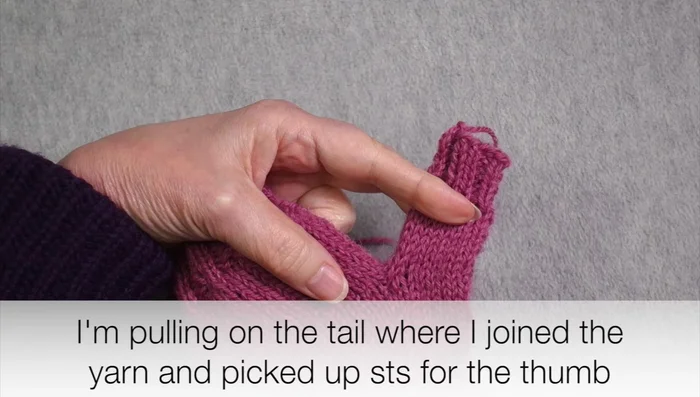
- Pick up stitches along the edge where the thumb was separated, adding extra stitches to avoid gaps (and then decreasing those extra stitches later). Knit thumb to desired length, switching to ribbing for the final section.
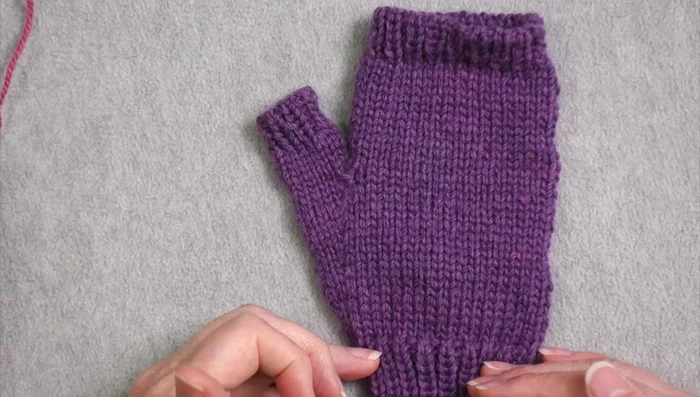
Knitting the Thumb Finishing
- Bind off all stitches and weave in the ends.
Finishing

Read more: Knitting a Reversible Basketweave Blanket: A Customizable Guide
Tips
- Use a 'fake in the round' gauge swatch to accurately simulate your knitting in the round.
- For bulky yarns, increase the circumference of the mitt by 10-15% to account for the thickness of the yarn and stitches.
- Keep detailed notes during the process (stitch counts, round counts, etc.) for easy replication of the second mitt.
- Use mirrored increases (make one left and make one right) for consistent thumb gusset shaping.
- To avoid gaps when working the thumb, pick up extra stitches and decrease them later to maintain even tension.