Crocheting a sturdy and attractive base is crucial for creating beautiful and durable rugs and bags. Whether you envision a vibrant, textured rug to warm your feet or a stylish, crocheted tote for your everyday essentials, the foundation you build dictates the final outcome. A spiral base, with its seamless and continuous construction, offers exceptional strength and allows for creative flexibility in shaping your project, avoiding the awkward seams of traditional square or rectangular starting points. This method ensures a beautifully unified piece, free from bulky joins that can detract from the overall aesthetic.
This comprehensive guide will walk you through the process of crocheting a spiral base, perfect for both rugs and bags, offering detailed instructions and helpful tips for achieving a flawlessly finished piece. Let's get started with our step-by-step guide to mastering this essential crochet technique.
Preparation and Safety Guidelines
- Yarn (multiple colors)
- Crochet hook (5.5 mm and smaller hook for closing)
- Stitch marker
- Yarn needle
- Use a sturdy yarn and hook appropriate for your chosen yarn weight to ensure your base is strong and durable enough to support the weight of your rug or bag.
- Maintain consistent tension throughout your crocheting to avoid gaps or inconsistencies in your spiral base that could weaken the finished project.
- Be mindful of your yarn ends and weave them in securely as you go to prevent them from unraveling or causing snags later.
Step-by-Step Instructions
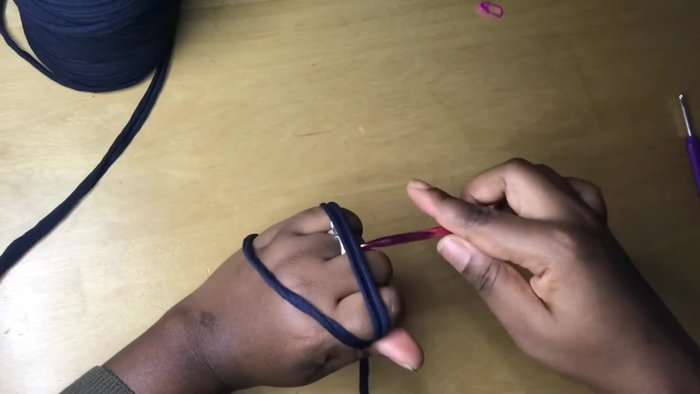
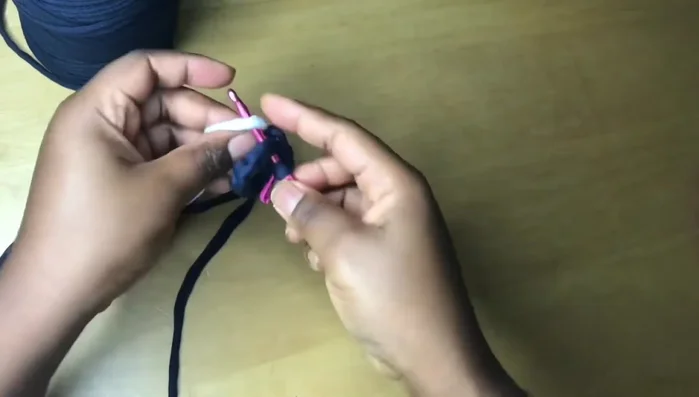
Creating the Initial Ring
- Make a magic ring.
- Make one single crochet to secure the circle.
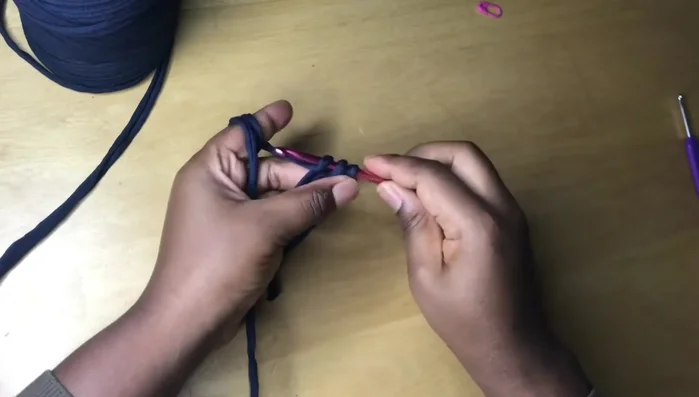
- Make seven single crochets into the circle.
- Close the circle by pulling the tail tightly.

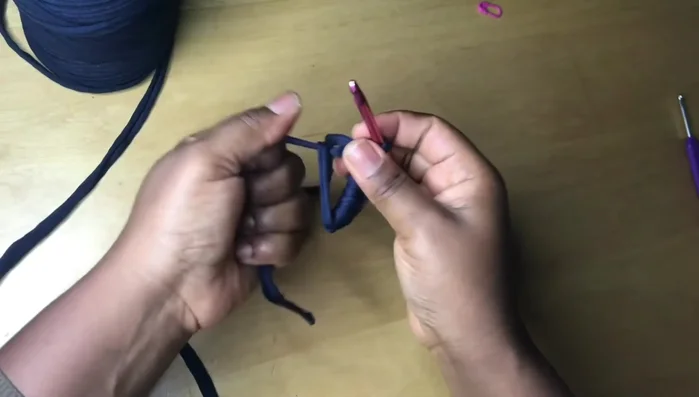
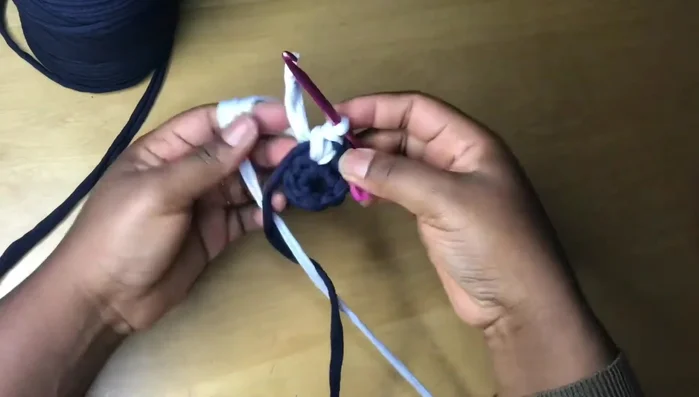
Creating the Initial Ring - Join the circle with a single crochet into the first single crochet of the seven.
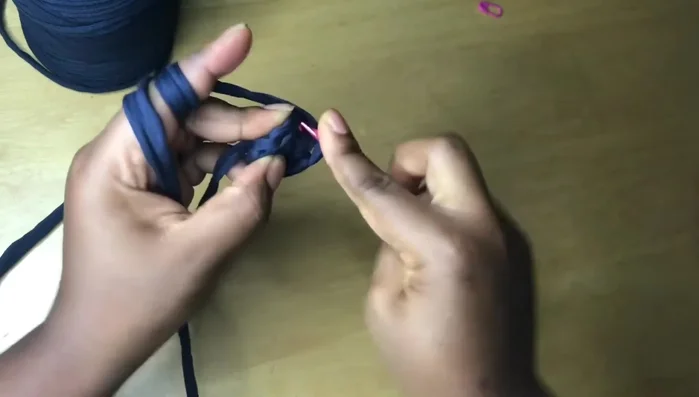
Creating the Initial Ring First Round: Setting the Spiral
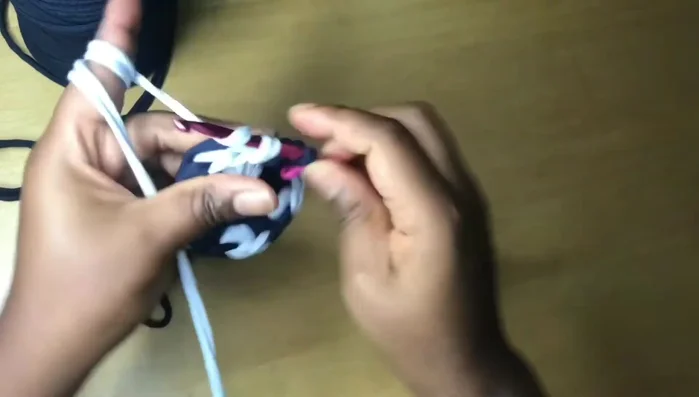
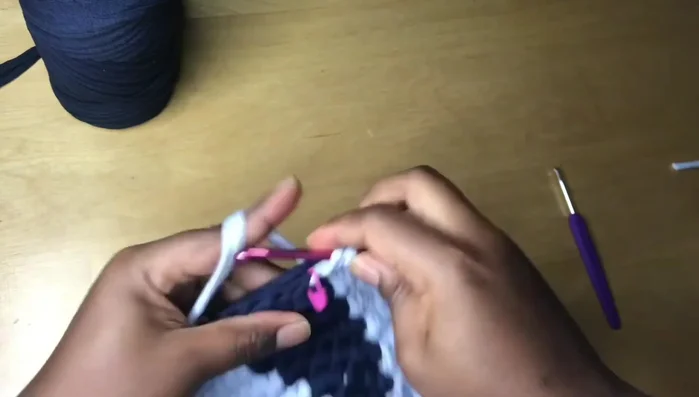
- Make one more single crochet in the next stitch and mark it with a stitch marker.
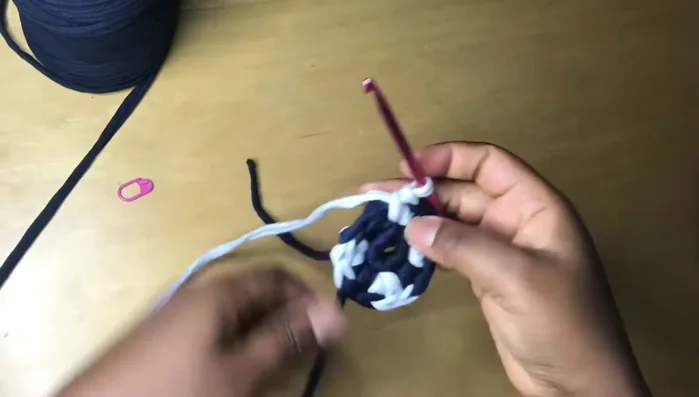
- Introduce a second color into the third stitch and make two single crochets into the same stitch.
- Continue changing colors, making two single crochets in each stitch until the end of the round (16 single crochets total).
First Round: Setting the Spiral Subsequent Rounds: Expanding the Spiral
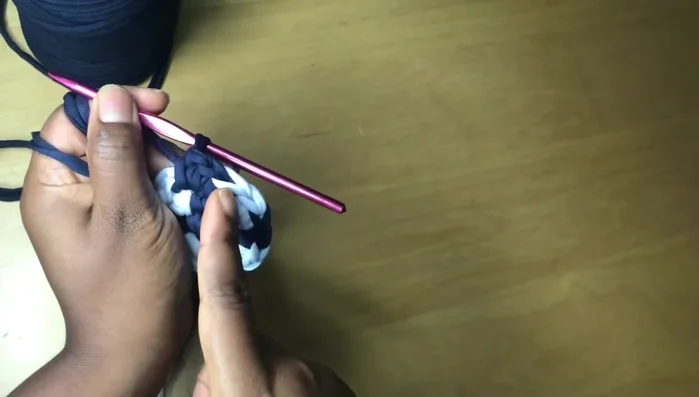
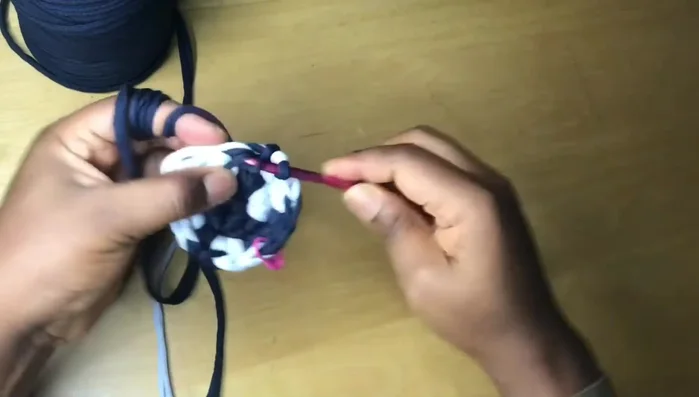
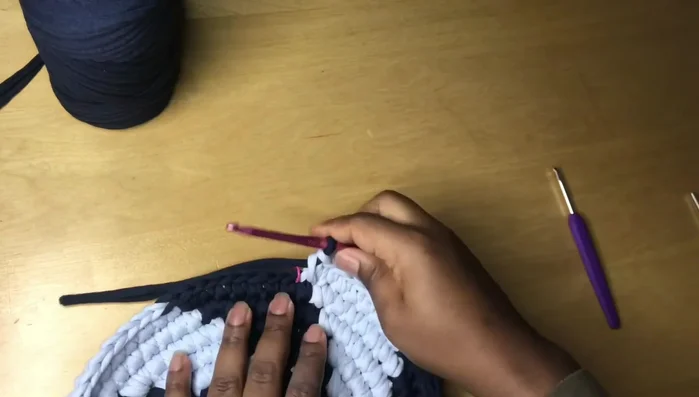
- Remove stitch marker and begin the next round with a new color. Work one single crochet in the first stitch and two single crochets in the next.
- Place the stitch marker where the first dark blue stitch is (not at the beginning of the round).
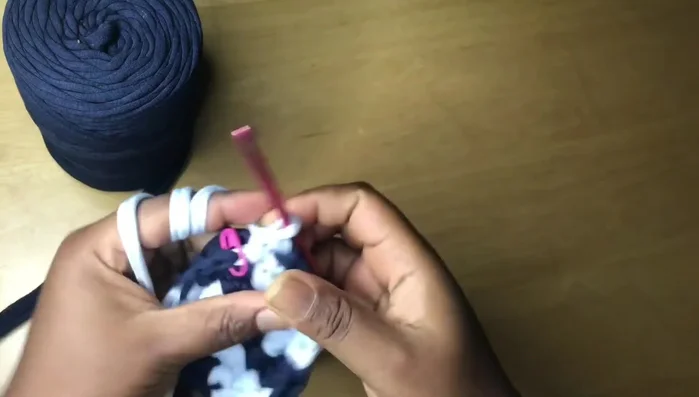
- Continue alternating between one and two single crochets per stitch, changing colors as desired.
- Continue the pattern of one single crochet in most stitches, two in the last stitch of each color section, changing colors as desired to create the spiral effect.
Subsequent Rounds: Expanding the Spiral - Repeat steps 9-13 until the desired size is reached. Always place your stitch marker where the first stitch of the new color is.
Subsequent Rounds: Expanding the Spiral Finishing Touches
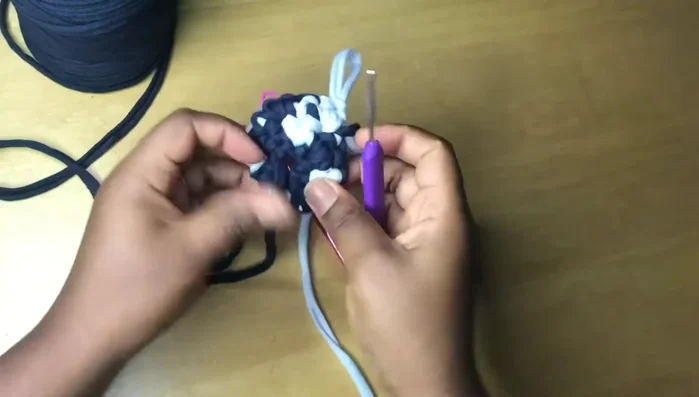
- Close any gaps in the magic ring using a smaller hook.
- To finish, make two single crochets in the last stitch, using the color of the next section for a seamless transition.
- Cut the yarn, remove the stitch marker, and weave in loose ends using a yarn needle or crochet hook.
Finishing Touches

Read more: Easy Color Block Crochet Blanket Tutorial for Beginners
Tips
- Weave in ends as you go or use a yarn needle at the end.
- Use a stitch marker to keep track of your progress.
- Pay attention to the placement of the stitch marker – it should be placed at the first stitch of each new color section, not necessarily the first stitch of each round.