Winter's chill doesn't have to mean sacrificing style! This tutorial will guide you through creating a cozy and charming crochet hat with ear flaps, perfect for keeping your head warm and looking fabulous all season long. Even if you're brand new to crochet, this project is designed with absolute beginners in mind, using simple stitches and a clear, concise approach. You'll be surprised how quickly and easily you can whip up this delightful winter accessory.
Forget expensive store-bought hats – learn to make your own unique creation tailored to your preferred colors and style. This easy-to-follow pattern utilizes basic crochet techniques, ensuring a stress-free crafting experience from start to finish. Ready to get started on your warm and stylish winter hat? Let's dive into the step-by-step instructions!
Preparation and Safety Guidelines
- Red Heart Boutique Unforgettable yarn (medium weight, 4 ply, 100% acrylic, or any 4 ply yarn)
- 5.5 mm crochet hook
- Stitch markers
- Yarn needle
- Pom-pom maker (optional)
- Low-heat hot glue gun (optional)
- Use sharp scissors to cut yarn ends to prevent fraying and ensure a neat finish. Avoid leaving long, loose yarn ends that could be a choking hazard, especially if making a hat for a child.
- Always check your tension regularly to maintain consistent stitch size and prevent the hat from becoming misshapen. Loose or tight tension can significantly alter the final product.
- If using a hook size different from the pattern, test your gauge (stitch and row count in a 4-inch square) before starting the whole hat to avoid sizing problems.
Step-by-Step Instructions
Creating the Hat Base
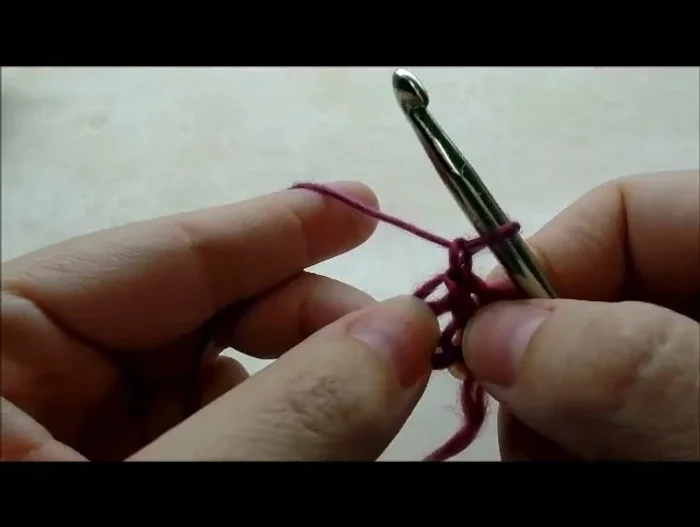
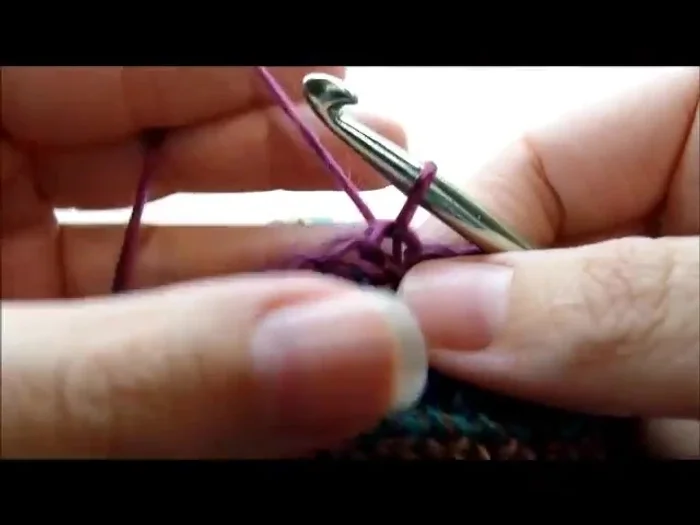
- Start with a slip knot and chain 4, then slip stitch into the first stitch to form a ring.
- Chain 1 and work 12 double crochets into the ring.
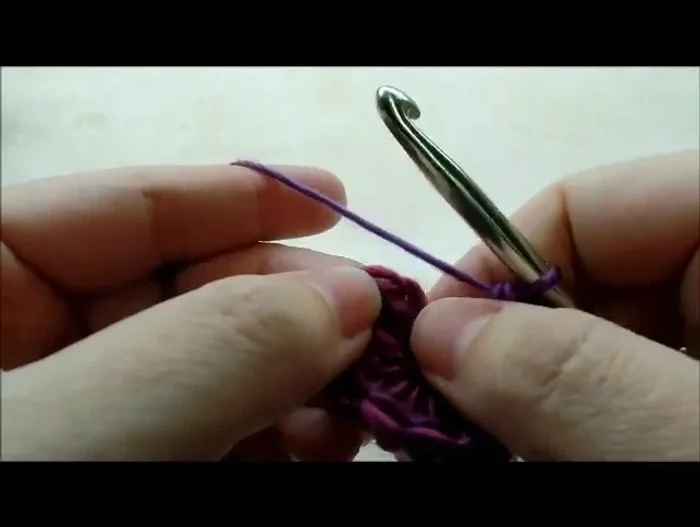
- Slip stitch into the first double crochet to close the round.
- Chain 1, and work 2 double crochets in each stitch around. Slip stitch to close.

Creating the Hat Base - Chain 1, and work 2 double crochets in each stitch around. Slip stitch to close.
- Chain 1, work 1 double crochet in the first stitch, 1 double crochet in the next stitch, and 2 double crochets in the third stitch. Repeat this pattern around.
- Slip stitch to close.
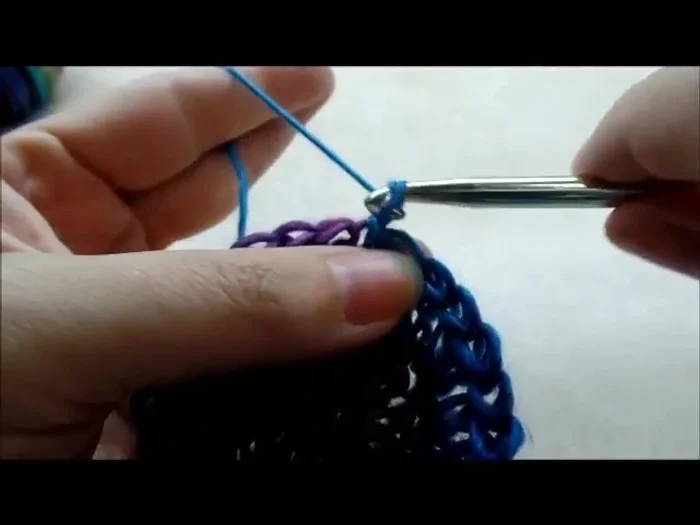
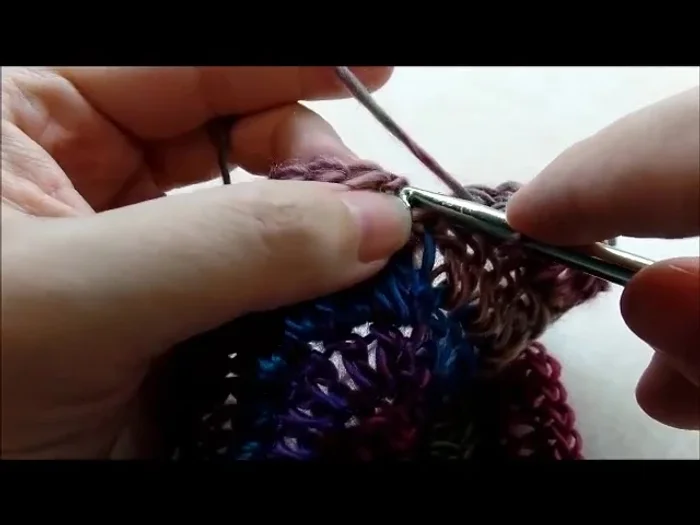
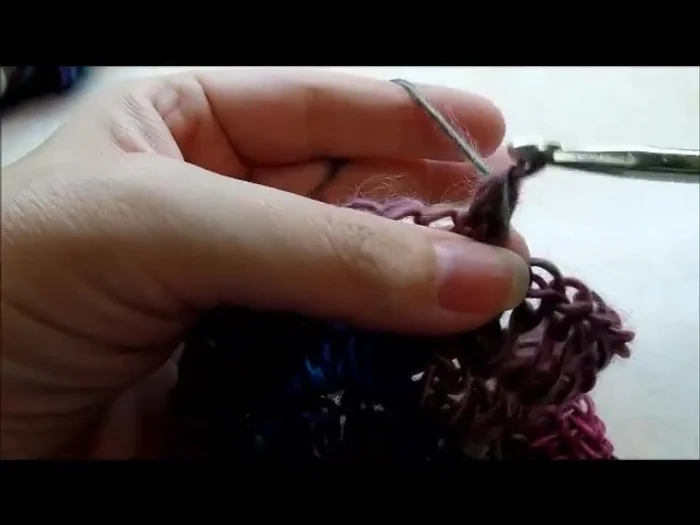
- Chain 1, and single crochet in each stitch around. Repeat single crochet rounds until desired hat length is reached (approximately 25 rounds).
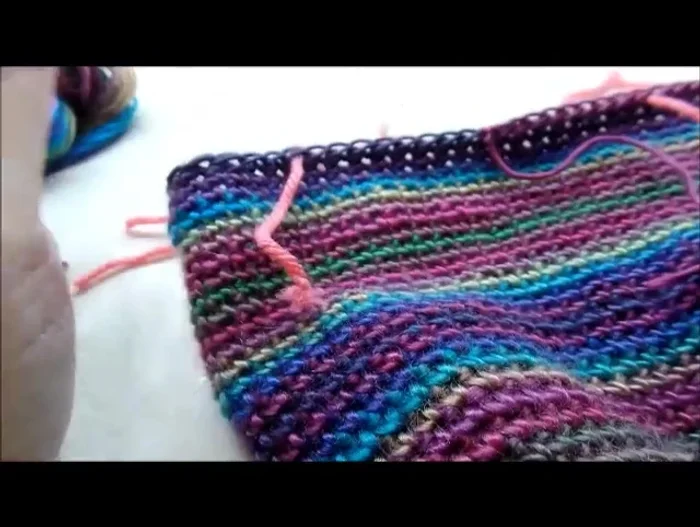
Creating the Hat Base Marking and Creating Ear Flaps
- Place four stitch markers to mark off ear flaps (12 stitches between each marker).
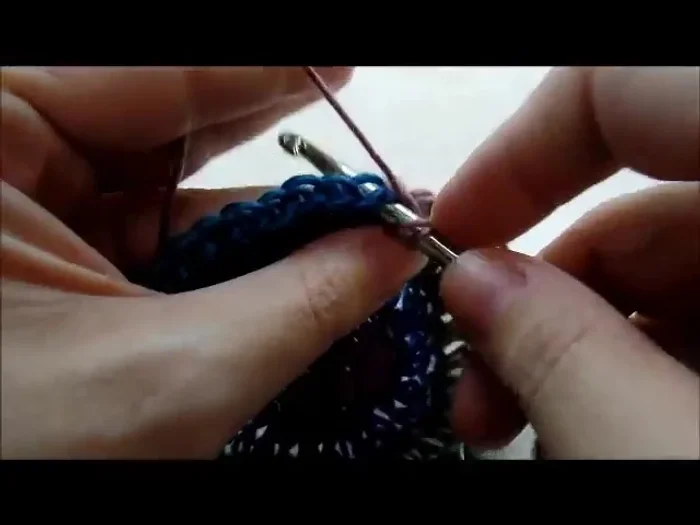
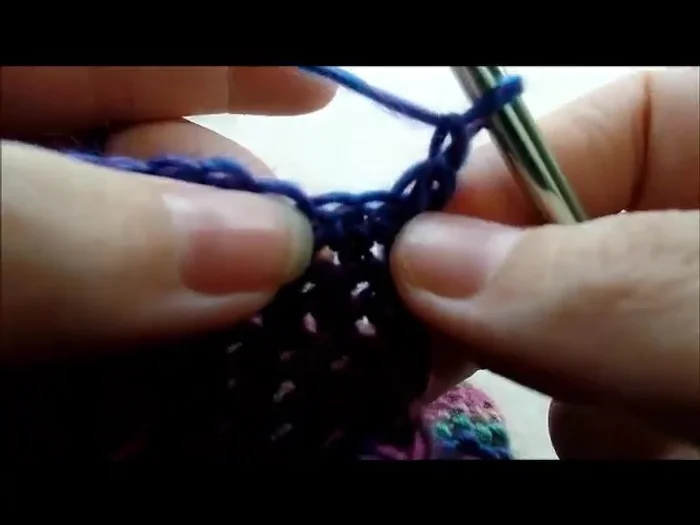
- Chain 1, single crochet in the same stitch, and across to the stitch marker (12 single crochets). Chain 1, turn, and repeat single crochet rows across for a total of 5 rows.
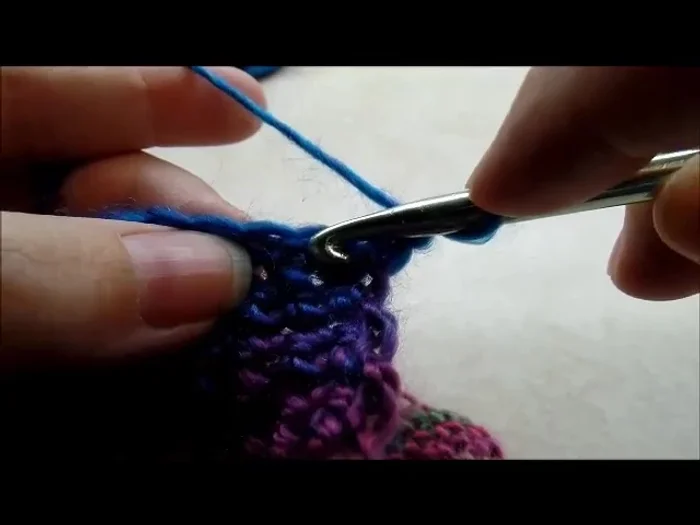
- Chain 1, turn. Single crochet decrease over the first 2 stitches. Single crochet across to the last 3 stitches. Single crochet decrease over the last 2 stitches. Single crochet in the last stitch.
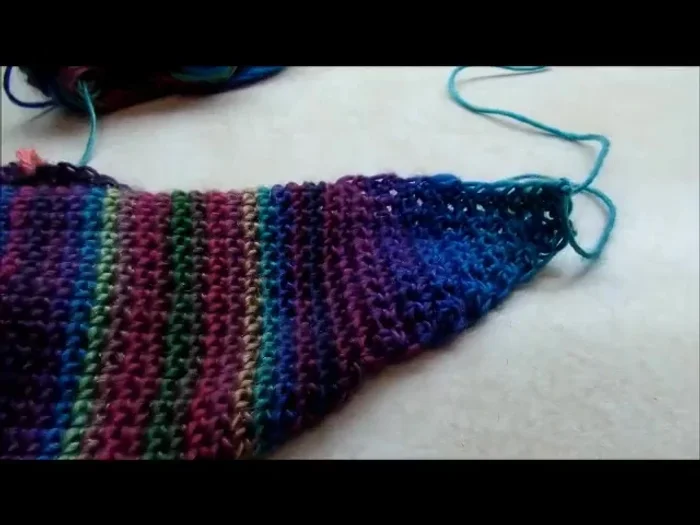
- Repeat step 11, decreasing until 4 stitches remain on ear flap. Chain 1, turn, and single crochet decrease twice, then single crochet into last stitch. Fasten off.
Marking and Creating Ear Flaps - Repeat steps 10-12 for the second ear flap.
Marking and Creating Ear Flaps Finishing the Hat
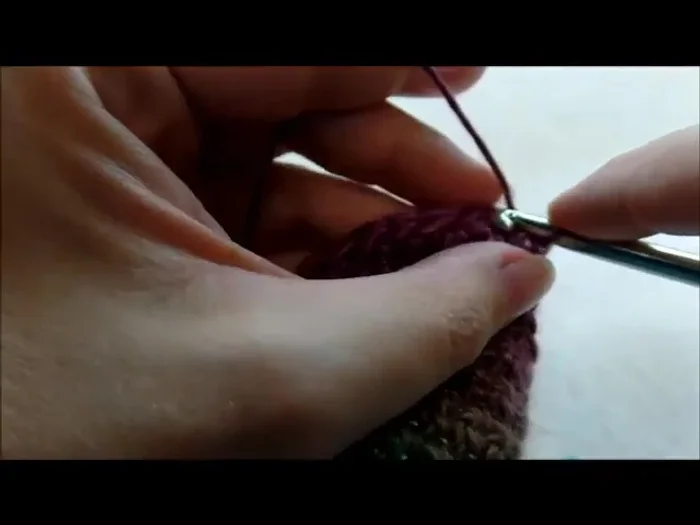
- Single crochet around the entire bottom edge of the hat, including the ear flaps, to clean up the edges.
- Slip stitch to close. Fasten off and weave in ends.
- Make 3 small pom-poms and 1 large pom-pom. Sew or glue the small pom-poms to the ends of the ear flaps and the large pom-pom to the top of the hat.
Finishing the Hat


Read more: Easy Color Block Crochet Blanket Tutorial for Beginners
Tips
- Use a stitch marker to easily keep track of the beginning of your rounds.
- Adjust the number of single crochet rounds in step 8 to achieve your desired hat size.
- Hot glue can provide extra security for attaching the pom-poms. Use a low-heat setting to prevent burning the yarn.