Are you ready to add a touch of cozy texture and undeniable style to your home décor? Then get ready to dive into the wonderfully whimsical world of waffle stitch crochet! This unique stitch creates a beautifully dimensional fabric that's perfect for a variety of projects, but we're focusing on something particularly snuggly today: a pillow cover. Forget boring, plain pillows; this tutorial will guide you through creating a stunning, waffle-textured cover that’s as visually appealing as it is comfortable. The delightful raised squares of the waffle stitch add a captivating depth and visual interest that will elevate any room.
This "Crazy Cool Crochet Waffle Stitch Pillow Cover Tutorial" will walk you through every step, from choosing your yarn and hook to finishing off your masterpiece with a professional touch. Whether you're a seasoned crocheter looking for a new challenge or a beginner eager to tackle a rewarding project, this pattern is designed to be accessible and enjoyable. So grab your yarn, hook, and let's get started on creating your own incredibly stylish and cozy pillow cover!
Preparation and Safety Guidelines
- Super Saver #4 Medium Weight Yarn (Lemon color)
- Size H/5mm Crochet Hook
- Tapestry Needle
- Use sharp scissors to cut your yarn; dull scissors can cause frayed edges and make your finished project look messy.
- Always check your tension throughout the project. Inconsistent tension will result in an uneven waffle stitch and an oddly shaped pillow cover.
- Securely fasten off your yarn ends to prevent unraveling. Weaving in loose ends is essential for a professional finish. Consider using a yarn needle for this task.
Step-by-Step Instructions
Foundation Chain
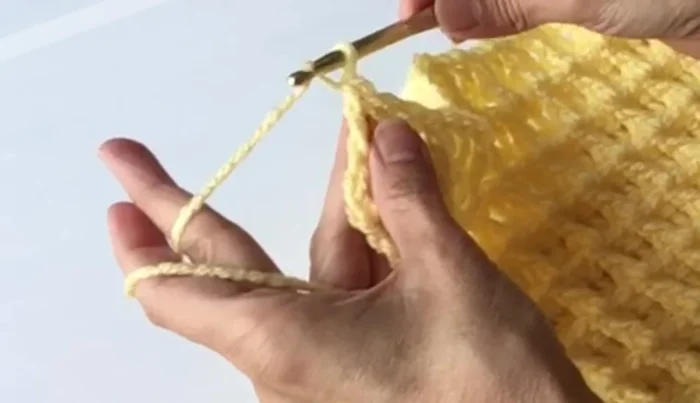
- Start with a chain of 55. Preferably, use a slip knot method by twisting the hook around the yarn over for the first chain.

Foundation Chain First Row of Double Crochets
- Do a row of double crochets across (53 total).
First Row of Double Crochets Establish Waffle Stitch Pattern
- Chain 2 to turn.
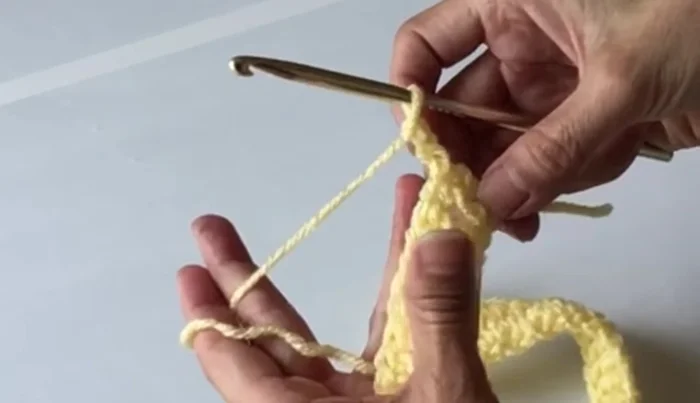
- Work the front post double crochet. Enter a double crochet in the first space under the two-strand chain at the top. Then, yarn over and insert the hook behind the post of the first double crochet below and around.
- Work two double crochets in the next two spaces. Then, skip the next two double crochets and work another front post double crochet in the next double crochet below.
- front post double crochet, two double crochets, and then another front post double crochet across the row. End the row with three double crochets.
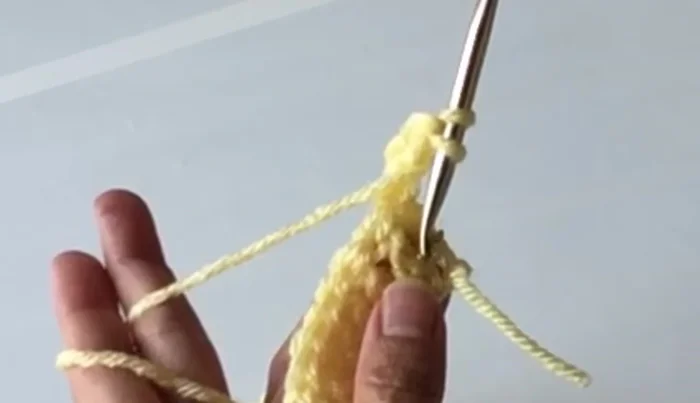
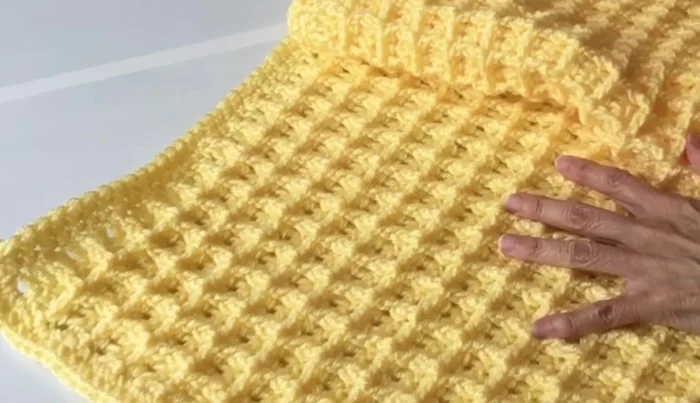
Establish Waffle Stitch Pattern Repeat Waffle Stitch Pattern
- Chain 2, turn. Repeat steps 4-6 for rows 2 and 3.
- Repeat rows 2 and 3 for a total of 30 rows.
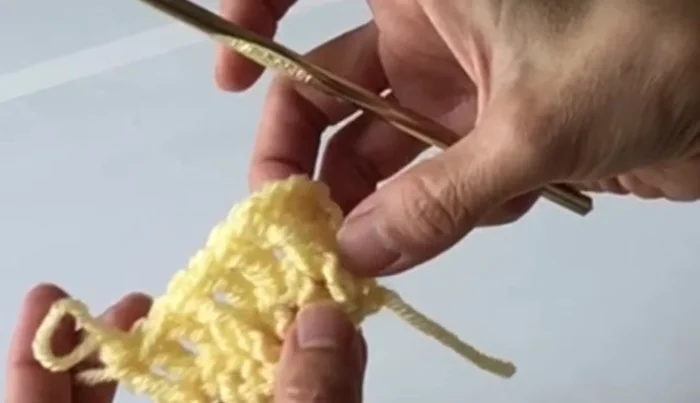
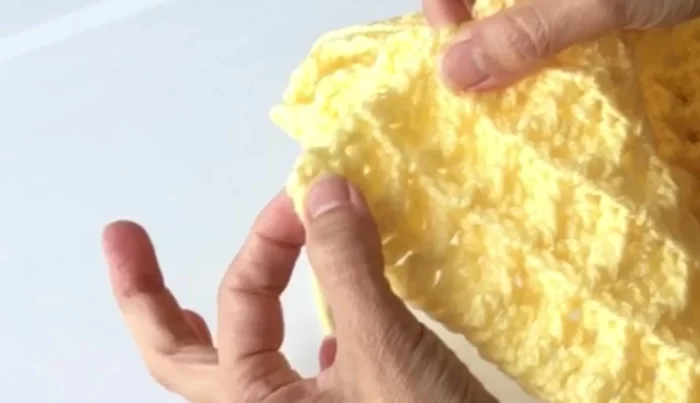
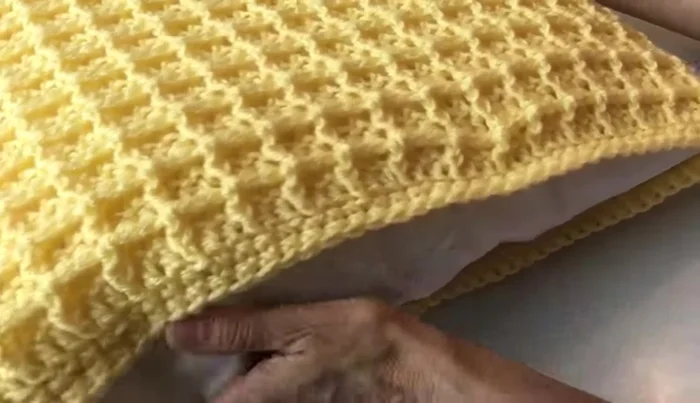
Repeat Waffle Stitch Pattern Single Crochet Border (First Panel)
- Work two rows of single crochet around the edges of the completed panel, remembering to work two single crochets in each corner to create rounded corners.
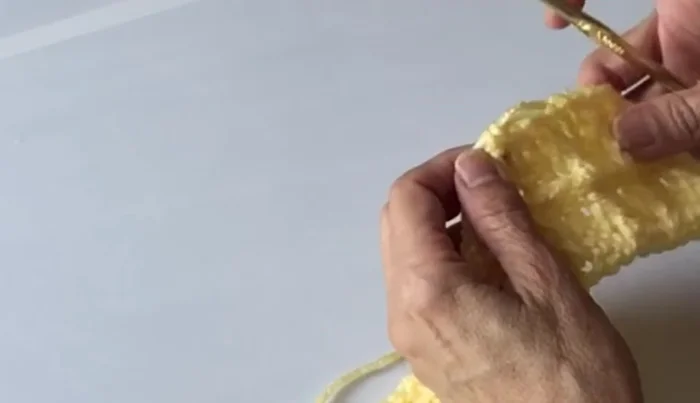
Single Crochet Border (First Panel) Second Panel
- Repeat steps 8 and 9 for a second panel.
Second Panel Sew Panels Together
- Place the two panels right sides together. Using a tapestry needle and yarn, sew the three sides together.
Sew Panels Together Finishing Touches
- Turn right side out, insert your pillow, and sew up the last side.
Finishing Touches


Read more: Easy Color Block Crochet Blanket Tutorial for Beginners
Tips
- For beginners, there's a link to a tutorial on basic crochet stitches.
- Subscribe to the channel!
- Check out the blog and Etsy shop for more patterns and information (links in the description).
- One skein of yarn is enough to make this pillow cover.