Are you ready to ditch those flimsy, easily-torn tote bags and craft something truly durable and stylish? Then get ready to crochet your own sturdy tote bag using a simple yet effective V-stitch pattern! This project is perfect for crafters of all skill levels, requiring only basic crochet knowledge and readily available materials. The V-stitch creates a beautiful, textured fabric that’s surprisingly strong, making this tote ideal for everyday use, from grocery shopping to carrying your laptop. Forget those mass-produced bags; you'll be proudly carrying a unique, handcrafted piece that reflects your personal style and practical needs.
This pattern offers a fantastic balance of ease and durability. The V-stitch creates a visually appealing, textured design without the complexity of more intricate patterns. You'll be amazed at how quickly this bag comes together, and the satisfying result will encourage you to tackle more ambitious crochet projects in the future. To begin crafting your own sturdy and stylish V-stitch tote bag, let's dive into the detailed, step-by-step instructions below.
Preparation and Safety Guidelines
- DK or medium weight yarn
- 4.5 mm crochet hook
- Two stitch markers (or bobby pins)
- Ribbon or wool for bow (optional)
- Use a sturdy yarn and hook size appropriate for your chosen yarn weight. A heavier yarn and hook will create a more durable tote.
- Check your tension regularly to ensure consistent stitch size and bag shape. Inconsistent tension can weaken the finished product.
- Secure all ends firmly to prevent unraveling. Weaving in ends properly is crucial for a long-lasting tote.
Step-by-Step Instructions
Create the Bag's Base
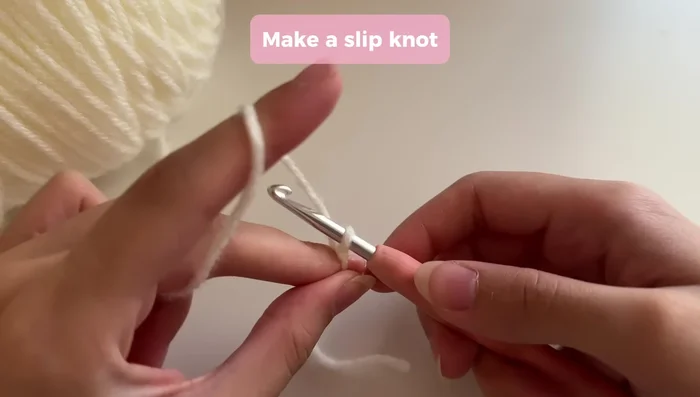
- Create the bag's base by chaining the desired width. Ensure chains aren't too loose.
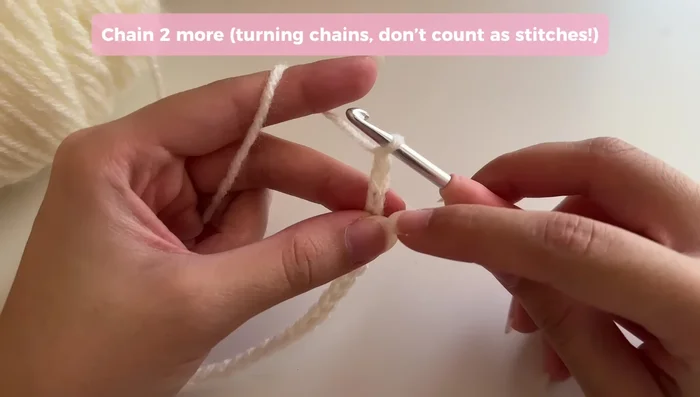
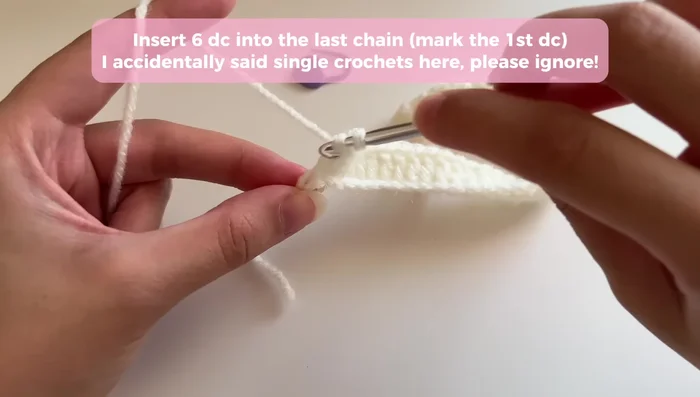
- Chain two (turning chains), then work six double crochets into the third chain from the hook, closing any large gaps by inserting the hook between the chain and stitches.
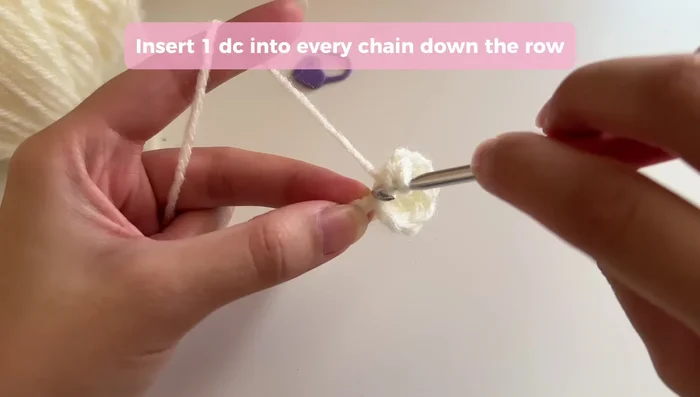
- Work one double crochet into each remaining chain across the base.
- Repeat step 2 on the opposite side of the base, closing the gap as before, then work one double crochet into each remaining chain to complete the first round.

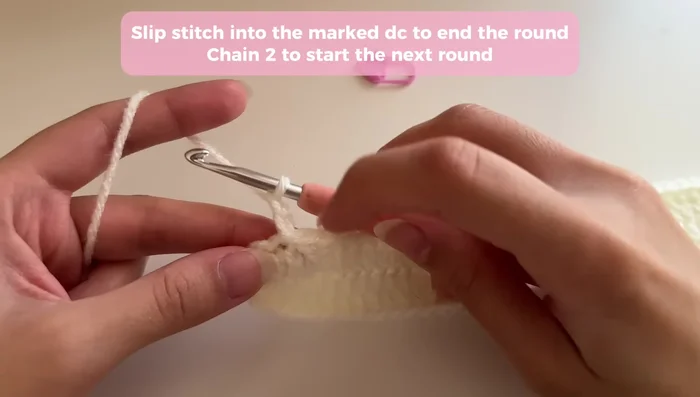
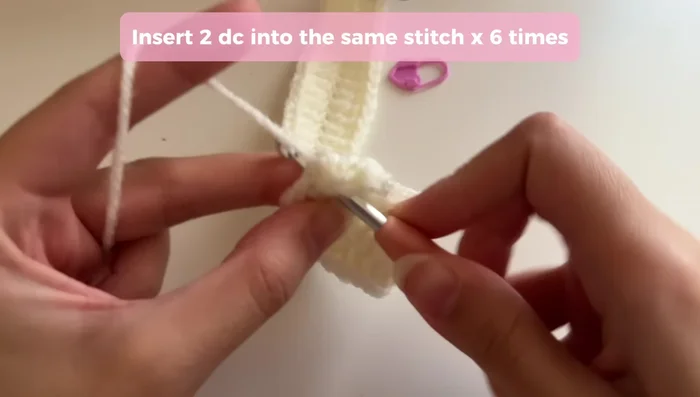
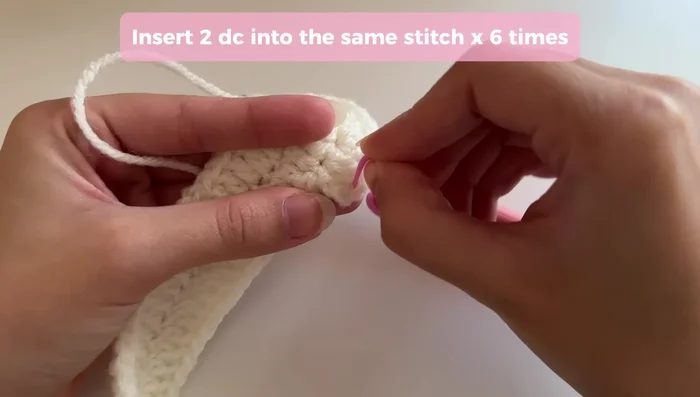
Create the Bag's Base - Begin the second round with two turning chains. Work two double crochets into the first stitch, then two double crochets into each of the next five stitches.
- Work one double crochet into each remaining stitch around the base, repeating step 5 on the opposite side. Slip stitch into the first double crochet to end the round.
- Repeat steps 5 and 6 for subsequent rounds, increasing the oval size until desired base size is achieved.
Create the Bag's Base Create the Bag Body (Mesh)
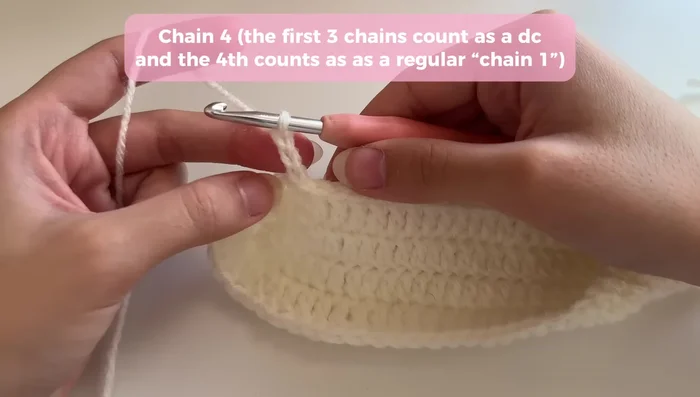
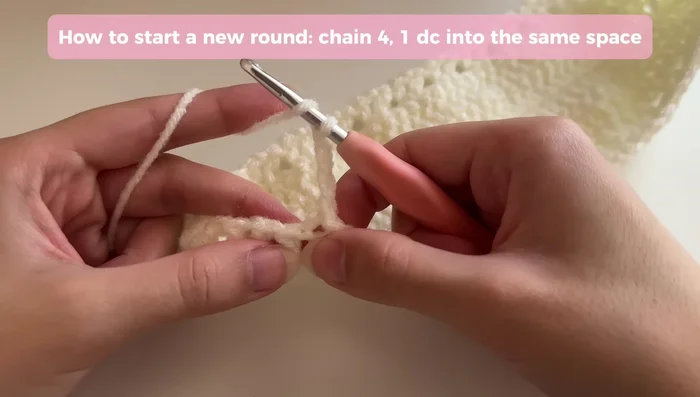
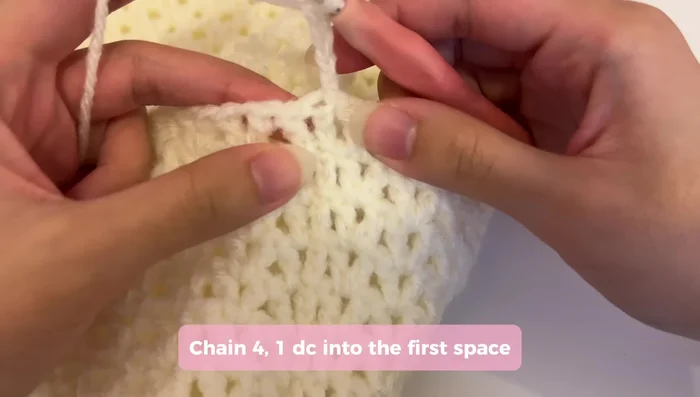
- Begin the bag body (mesh) by chaining three (counts as first double crochet), chaining one, and working a double crochet into the same stitch. This creates the first V-stitch.
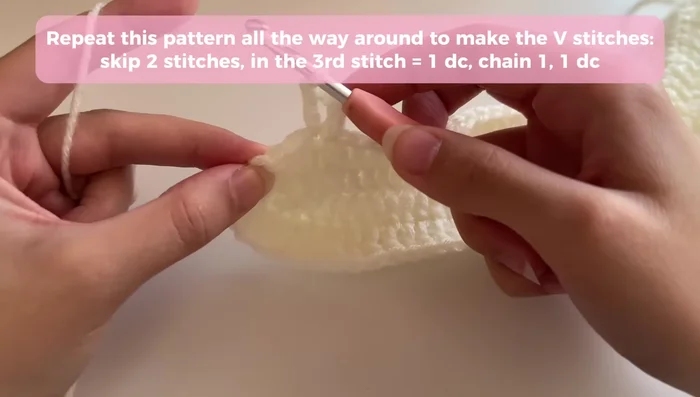
- skip two stitches, double crochet into the third stitch, chain one, and double crochet into the same stitch. Continue around, adjusting for the last stitch.
- Repeat step 9 for each subsequent round, working into the V-stitch spaces until the bag reaches the desired height.
Create the Bag Body (Mesh) Create the Bag Straps
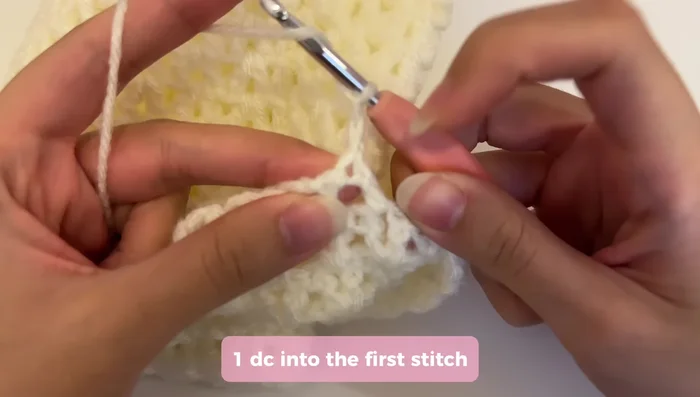
- To create the straps, chain four, double crochet into the first space, and work two V-stitches into the next two spaces.
- Continue creating rows for the straps, chaining two and turning at the beginning of each row. Repeat the V-stitch pattern, adjusting the last stitch to seamlessly connect to the bag.
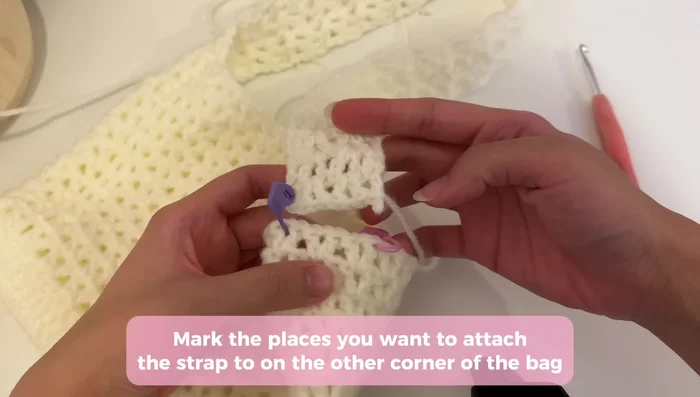
Create the Bag Straps Attach Straps to Bag
- Attach straps to the bag by turning the bag inside out and working through marked stitches on the side. Slip stitch to join the strap and bag, repeating until the strap is attached. Fasten off and chain one for security.
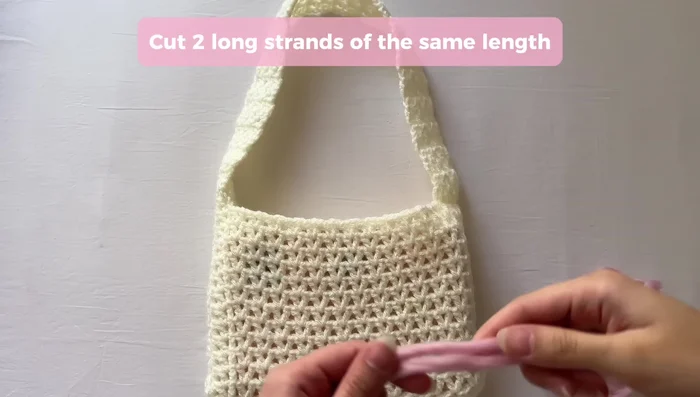
Attach Straps to Bag Decorate (Optional)
- Optionally, thread ribbon or yarn through the straps and tie bows for decoration.
Decorate (Optional)
Read more: Easy Color Block Crochet Blanket Tutorial for Beginners
Tips
- Use stitch markers to track your stitches and maintain consistent tension.
- Don't worry about curling; it will stop after a few rounds.
- Pay attention to the shape of the spaces (V-shapes) when creating the V-stitches for the bag body.