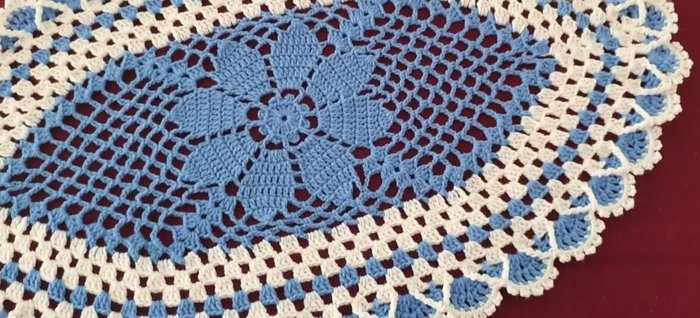
Add a touch of handmade charm to your dining table with a beautiful, crocheted table runner! This versatile craft project is perfect for beginners and experienced crocheters alike, offering a satisfying way to personalize your home decor. Whether you're aiming for a rustic, modern, or whimsical aesthetic, a crocheted table runner provides a unique and adaptable centerpiece, adding warmth and texture to any setting. You can customize the colors and stitch patterns to perfectly complement your existing tableware and room décor, making it a truly personal expression of your style.
This easy-to-follow tutorial will guide you through each step of the process, from choosing the right yarn to completing the finishing touches. Let's get started on creating your own stunning crocheted table runner with this simple, step-by-step guide.
Preparation and Safety Guidelines
- crochet hook
- yarn (white and blue)
- Use sharp scissors to cut yarn; dull scissors can cause snags and injuries.
- Always be mindful of your hook size. Using a hook that's too small can strain your hands and wrists.
- Keep your workspace well-lit and organized to prevent accidental needle pricks or tangles.
Step-by-Step Instructions
Introduction
- Introduction and linking to Part 1 of the tutorial.

Introduction Beginning the Table Runner
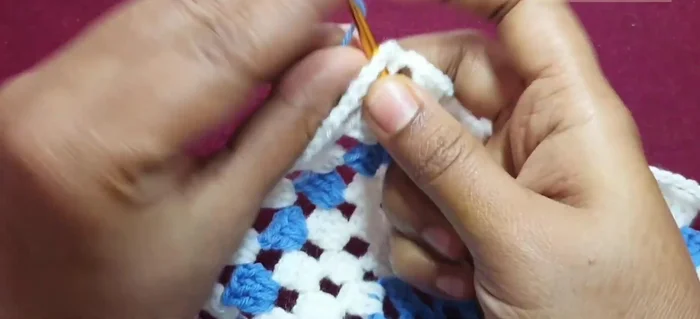
- Joining white yarn to the center chain three space.
- Chain 3 (counts as a double crochet), work two more double crochets in the same space, chain 2, and work three more double crochets in the same space.
Beginning the Table Runner First Round
- Chain 2, work three double crochets in the next chain five space, repeat chain 2 and three double crochets in the following chain five spaces until reaching the next corner.
- Chain 2, work three double crochets in the chain three space, chain 2, work three double crochets in the same space.
- Continuing the pattern around to complete the first round.
First Round Second Round
- Slip stitch into chain two spaces, repeat the corner pattern, and continue the pattern around the runner.
Second Round Rounds 3-6
- Repeat the pattern from round two with white yarn for a total of six rows (three rounds).
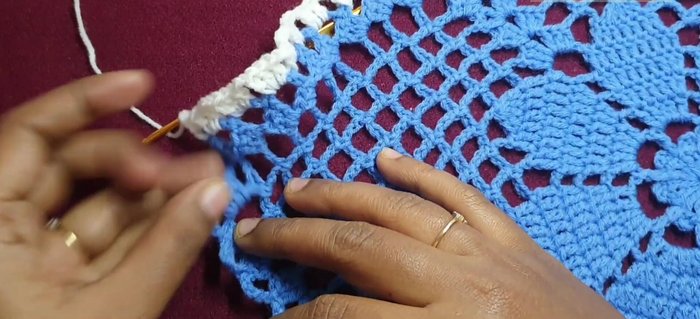
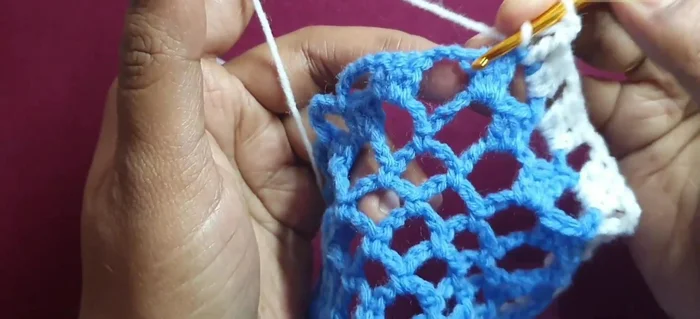
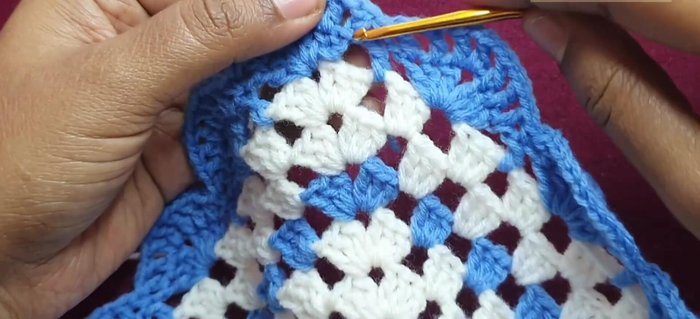
Rounds 3-6 Adding Blue Yarn
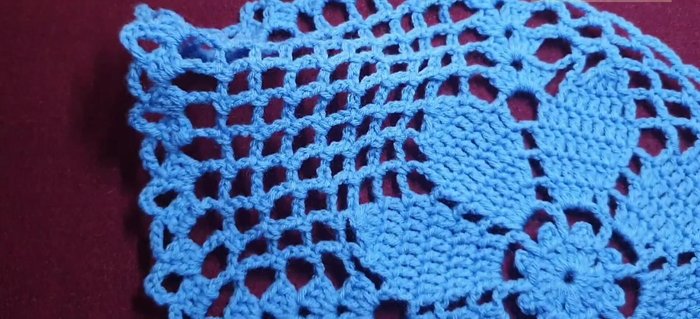
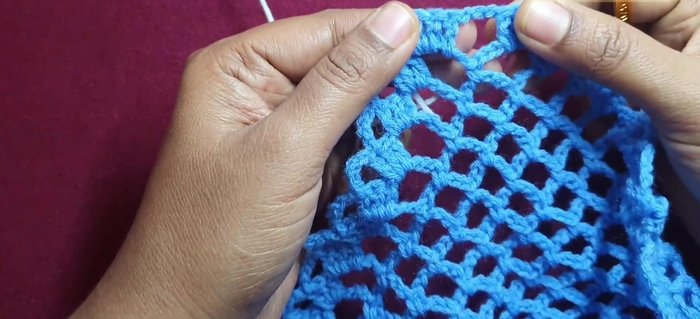
- Join blue yarn, repeat corner pattern, and then work one double crochet into each chain two space, separated by a chain one. Repeat around.
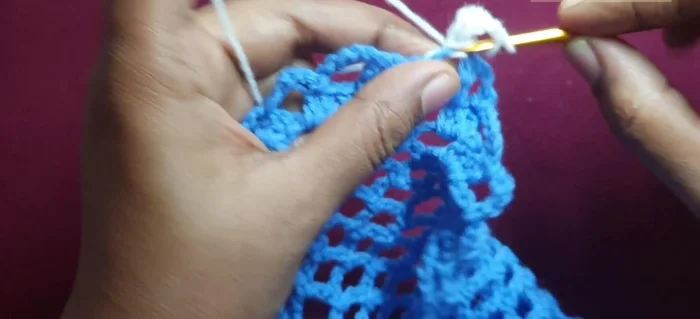
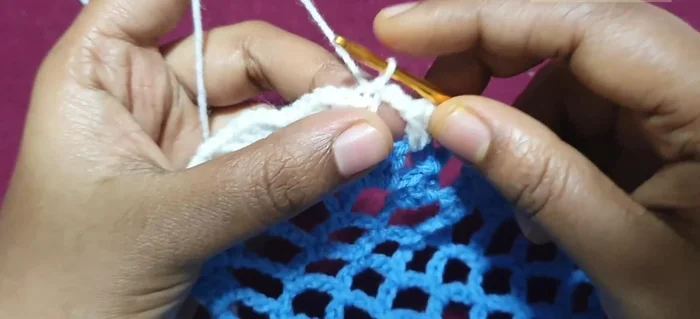
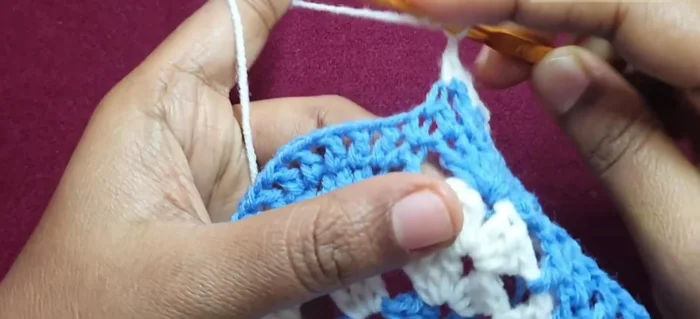
Adding Blue Yarn Final White Round (Picots)
- Join white yarn, chain one, single crochet in each chain one space, chain four, make a picot, single crochet in the next chain one space. Repeat around.
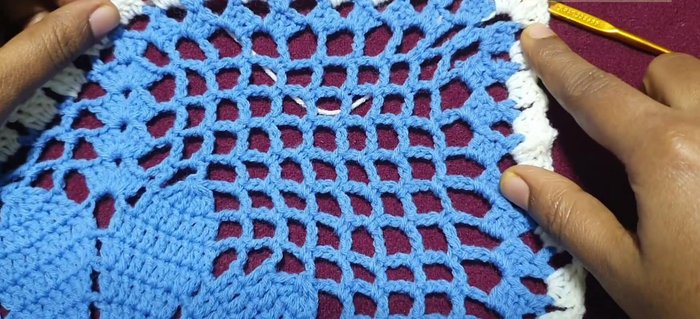
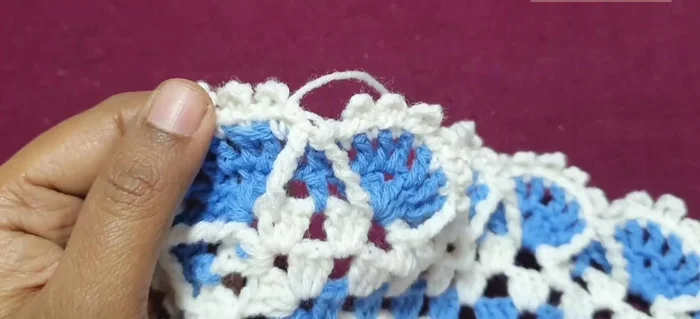
Final White Round (Picots) Finishing Edging and Fastening Off
- Make front post double crochets on each corner double crochet, chain one, single crochet between the first two double crochets. Repeat around. Fasten off.
Finishing Edging and Fastening Off Weaving in Ends
- Weaving in the ends.
Weaving in Ends
Read more: Easy Color Block Crochet Blanket Tutorial for Beginners
Tips
- N/A