Summer is calling, and what better way to answer than with a breezy, beautiful crochet top? This easy-to-follow tutorial will guide you through creating your own comfortable and stylish summer garment using the delightful Line & Bren yarn. Forget complicated patterns and frustrating instructions; this project is perfect for both beginners and experienced crocheters looking for a quick and rewarding make. The soft, breathable texture of Line & Bren yarn ensures a cool and comfortable feel, perfect for warm weather. We've chosen a simple yet elegant design that's easily customizable to your personal style – think beach days, picnics in the park, or relaxed evenings out.
This pattern utilizes basic crochet stitches, making it accessible to a wide range of skill levels. Prepare to be amazed at how quickly this top comes together! Ready to get started on your new favorite summer piece? Let's dive into the step-by-step instructions and transform that yarn into a stunning crochet creation.
Preparation and Safety Guidelines
- Lightweight yarn (Line & Bren 24/7 cotton DK recommended)
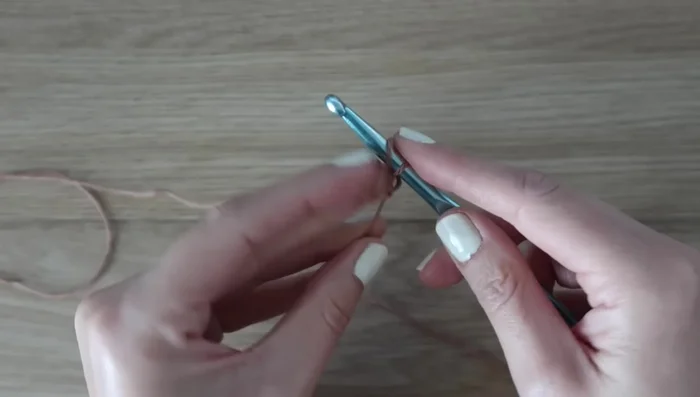
- 6 mm crochet hook
- Needle
- Scissors
- Stitch markers
- Always use sharp scissors to cut yarn to prevent fraying and ensure clean edges on your finished top.
- Use a hook size appropriate for your chosen yarn. Using the wrong size can lead to a top that is too loose or too tight and may affect the overall look and fit.
- Before starting the main body, create a gauge swatch to ensure your tension matches the pattern’s gauge. This will help you achieve the correct size and avoid frustration.
Step-by-Step Instructions
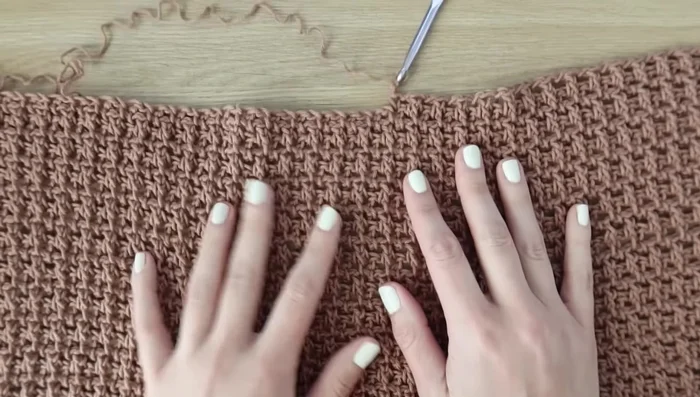
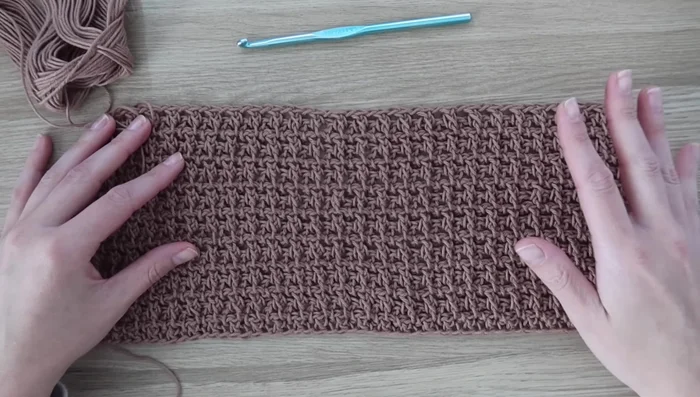
Create Back Panel
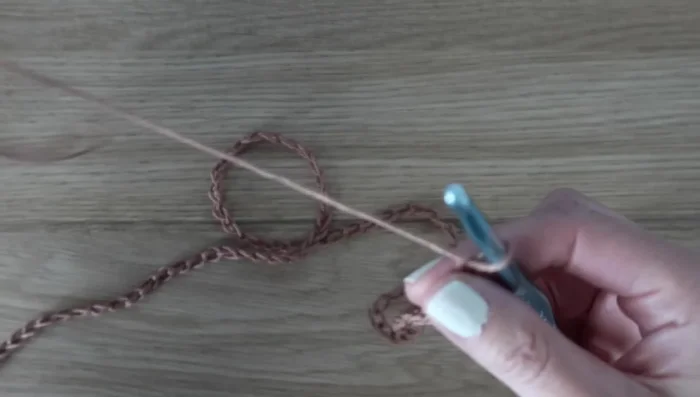
- Chain 91 (adjust according to size).
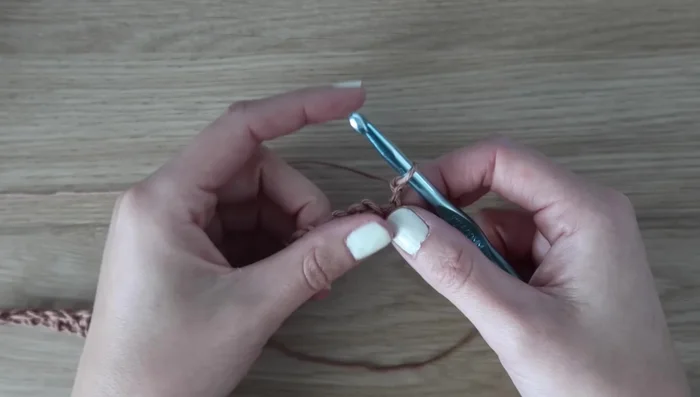
- Work double crochet in the third chain from the hook. Continue working double crochet across (with chain 1 in between), keeping tension loose. Finish with a single crochet in the last chain.
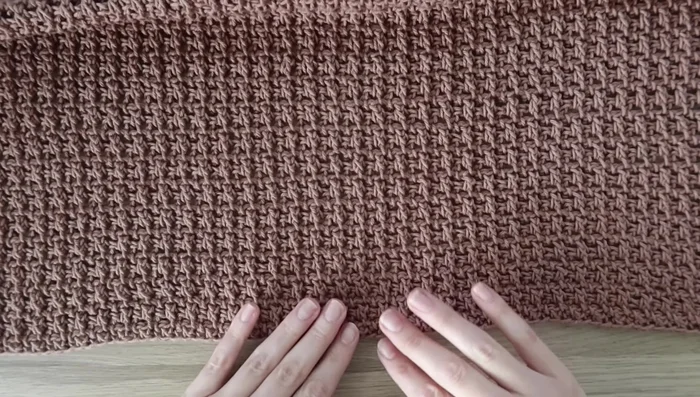
- Repeat row 2 pattern across. Maintain loose tension.

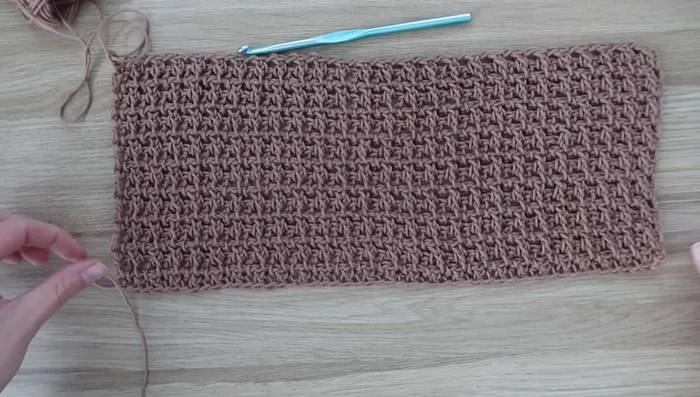
Create Back Panel Create Front Panel
- Repeat steps 2 and 3 for the front panel, stopping at row 46.
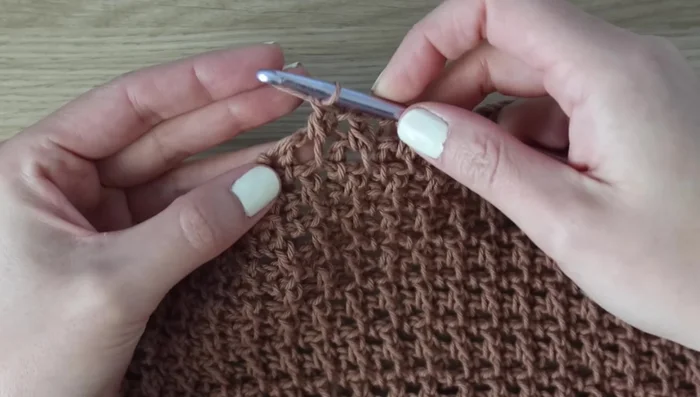
Create Front Panel Shape Front Neckline
- Work only 42 stitches across, finish with a single crochet. Chain 2, turn.
- Work across 43 stitches.
- Work decreases by skipping the first stitch in each row; alternate Rows 49 and 50 until 32 stitches remain for size small. Fasten off.
Shape Front Neckline Shape Second Shoulder
- Repeat steps 5-7 for the other shoulder.
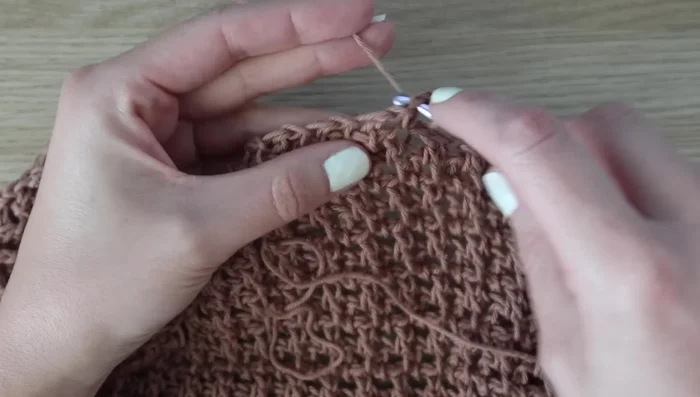
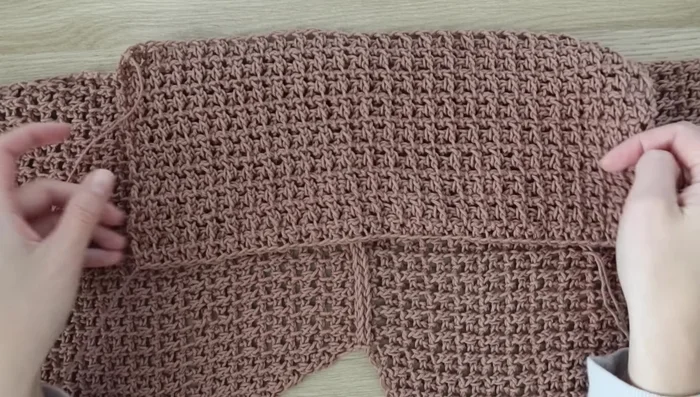
Shape Second Shoulder Seam Shoulders
- Using the long tails, slip stitch the last row of both shoulders of the front panel to the back panel.
Seam Shoulders Create Sleeves
- Chain 53 (adjust as needed). Work row 1 and repeat row 2 for 17 rows (adjust as needed). Make two panels.
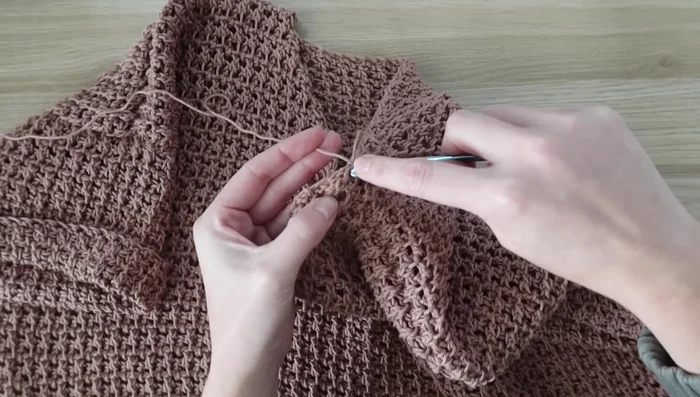
Create Sleeves Attach Sleeves and Seam Sides
- Use stitch markers to ensure the shoulder seam is centered; use slip stitch to attach sleeves to the front and back panels. Seam sides of sleeves and body, leaving a 6-inch slit on each side if desired.
Attach Sleeves and Seam Sides Add Neckline Trim
- Join a new piece of yarn at the shoulder seam and single crochet evenly around the neckline, not pulling too tight. Fasten off.
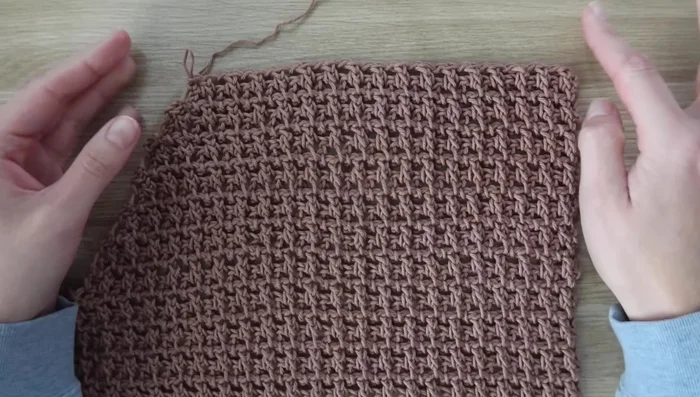
Add Neckline Trim Finishing Touches
- Weave in ends and steam block.
Finishing Touches

Read more: Easy Color Block Crochet Blanket Tutorial for Beginners
Tips
- Maintain loose tension throughout the entire project. Use a larger hook size if you are prone to tight stitches.
- The finished top will stretch, so the measurements in the pattern are for the garment lying flat.
- Adjust the length of the back and front panels by adding or removing rows before the neckline shaping.
- Chain-one spaces count as stitches.
- Use slip stitch to seam; other seaming methods are acceptable.