Are you ready to add a touch of handmade elegance to your winter wardrobe? This easy crochet shell stitch scarf tutorial is perfect for beginners, guiding you through the creation of a beautiful and cozy accessory. The shell stitch, a classic and visually appealing pattern, might seem intimidating at first, but we'll break it down into simple, manageable steps. No prior crochet experience is needed – just a hook, some yarn, and a willingness to learn! This versatile scarf is a fantastic project for practicing a new stitch and a rewarding way to create something beautiful with your own hands.
Forget complicated patterns and frustrating instructions! This guide focuses on a clear, step-by-step approach to mastering the shell stitch, enabling you to confidently complete this delightful scarf. Whether you're a complete novice or simply seeking a relaxing and creative project, you'll soon be happily crocheting your way to a stunning, handmade accessory. Let's get started with the detailed instructions below.
Preparation and Safety Guidelines
- crochet hook
- yarn
- Always use sharp scissors to cut your yarn. Dull scissors can fray the yarn and make your work look messy.
- Use a yarn weight and hook size that are appropriate for your chosen pattern. Using the wrong size can result in a scarf that is too loose or too tight.
- Take breaks if you feel hand or wrist strain. Crochet should be enjoyable, and forcing yourself to work when tired can lead to injury.
Step-by-Step Instructions
Starting the Scarf
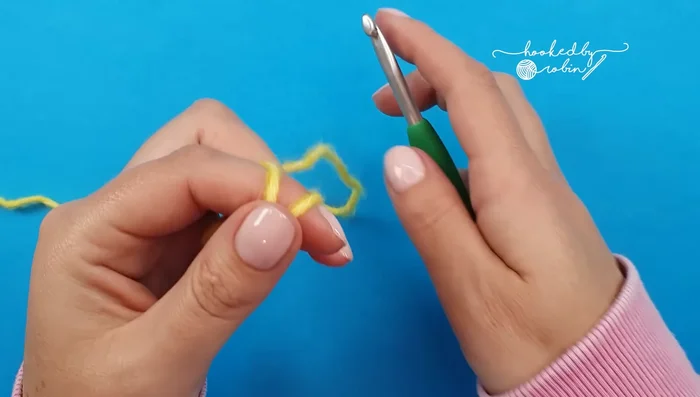
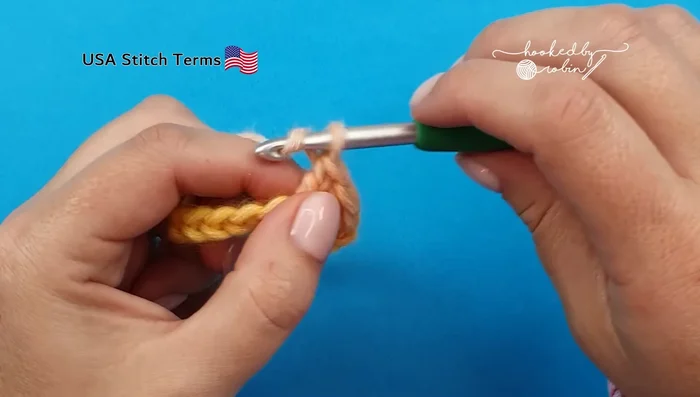
- Make a slip knot and place it onto your hook.
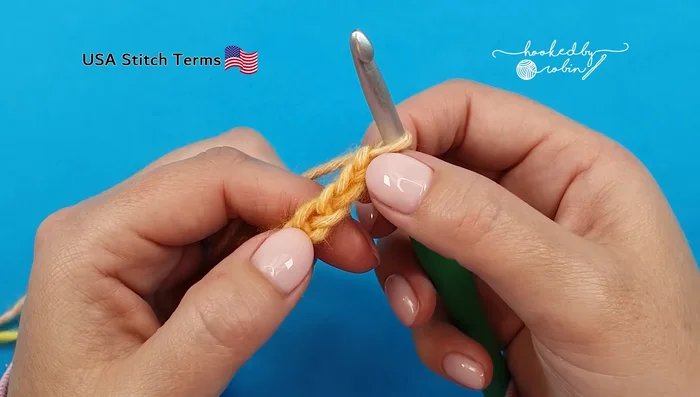
- 28 chains for a scarf)

Starting the Scarf Creating the First Shell Stitch Row
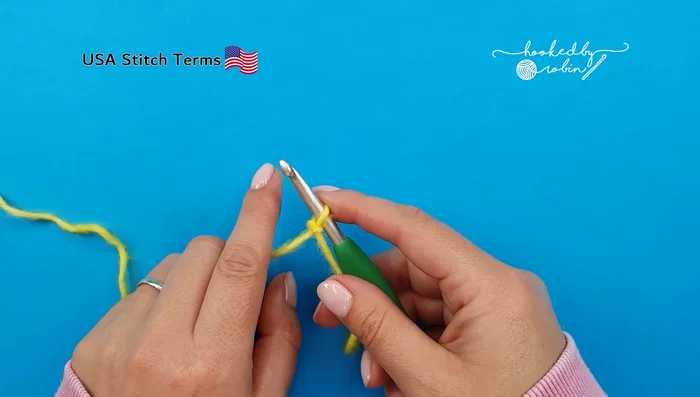
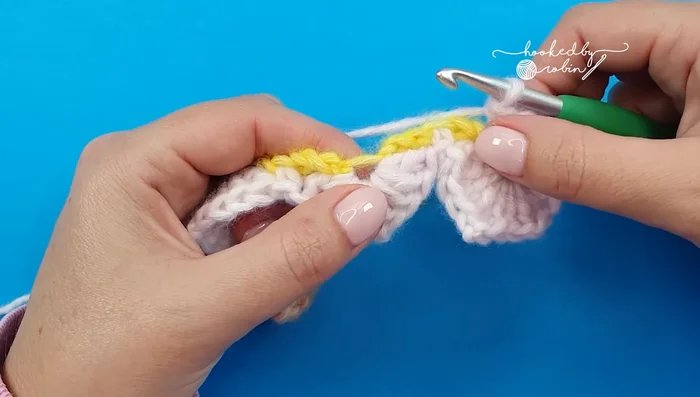
- Work into the 4th chain from the hook (skip 3 chains). This will be your first double crochet.
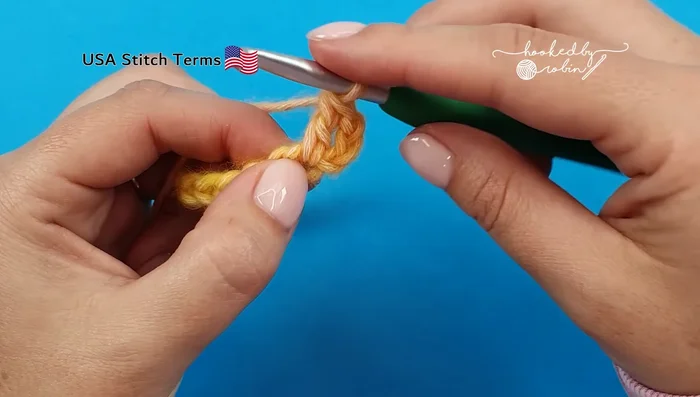
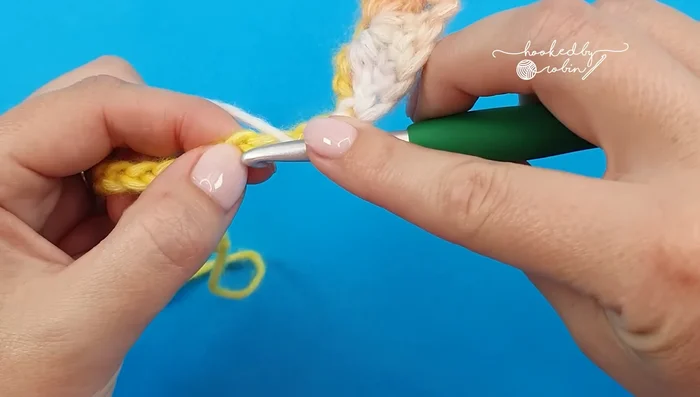
- Work a total of four double crochets into the same chain.
- Chain 2.
- Work four more double crochets into the same chain as step 4.
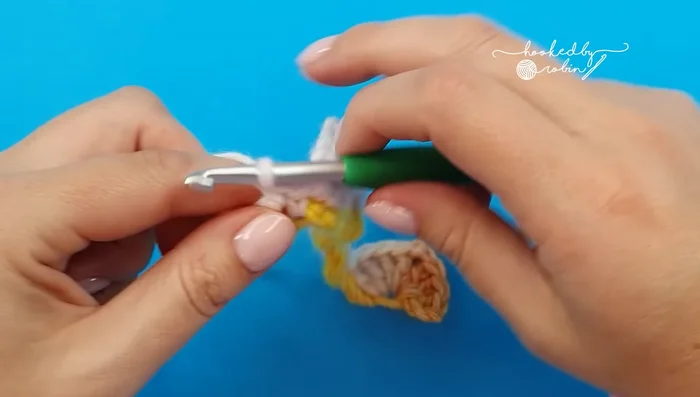
Creating the First Shell Stitch Row - Skip three chains.
- Work a single crochet into the next chain.
- Repeat steps 3-8 across the row until the last four chains.
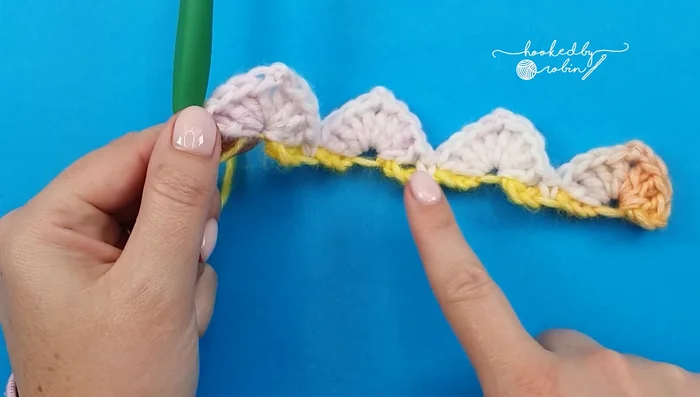
- Work a final shell (four double crochets, chain 2, four double crochets) into the last chain.
Creating the First Shell Stitch Row Beginning the Second Row
- Chain 1, rotate your work, and work a new shell into the base of the last shell you made.
Beginning the Second Row Creating Subsequent Rows
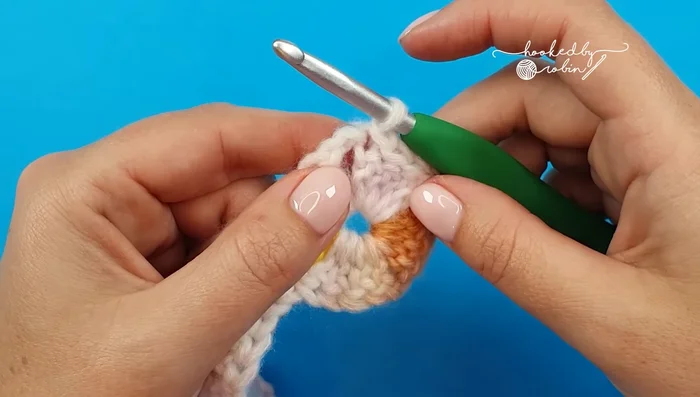
- Continue working shells into the base of the previous row's shells, skipping the single crochets and chains in between.
- Slip stitch to join at the end of the row.
Creating Subsequent Rows Working Subsequent Rows (Detailed)
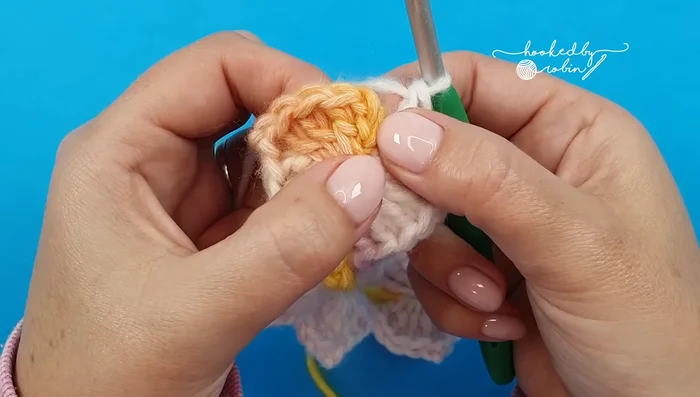
- For subsequent rows, turn your work, slip stitch across the top of the previous row's double crochets, and then create a stack stitch (two single crochets) in the first chain-2 space of the row.
- Work three double crochets into the chain-2 space followed by a chain 2, then four more double crochets into the same chain-2 space to form a new shell.
- Repeat step 15 across the row, creating shells in the chain-2 spaces of the previous row.
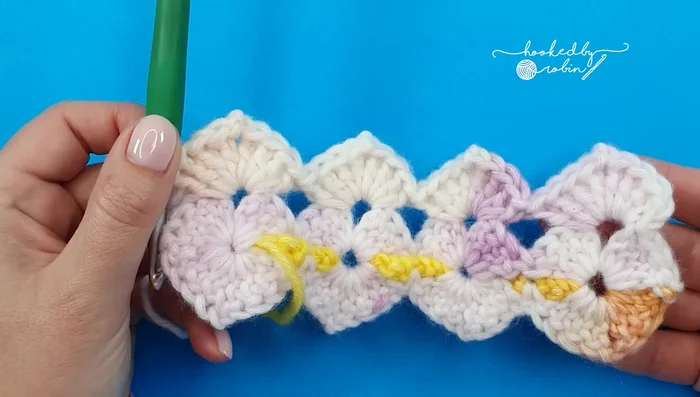
- Repeat steps 14-16 until the desired length is reached.
Working Subsequent Rows (Detailed) Finishing the Scarf
- Chain 1, cut yarn, and weave in ends.
Finishing the Scarf


Read more: Easy Color Block Crochet Blanket Tutorial for Beginners
Tips
- Don't worry about working into the exact top or bottom loop of the chains; whichever is easiest is fine.
- Keep track of the chain next to the one you're working into so you don't lose count when skipping chains.
- This pattern works well with both variegated and solid-colored yarn.