Add a touch of handmade charm to your bedroom with this easy crochet pillowcase edging tutorial! Learning to crochet a beautiful border can instantly elevate even the simplest pillowcase, transforming it from ordinary to extraordinary. Whether you're a seasoned crocheter looking for a quick and satisfying project or a beginner eager to try a simple yet elegant stitch, this tutorial is perfect for you. This simple shell stitch is surprisingly versatile and adds a lovely, textured finish that's both classic and modern.
We'll be using a basic shell stitch to create a delicate yet durable edging that will beautifully frame your pillowcase. This tutorial offers a clear and concise guide, perfect for all skill levels. Get ready to transform your plain pillowcases into cozy, handcrafted treasures! Let's dive into the step-by-step instructions and begin crocheting your stunning new pillowcase edging.
Preparation and Safety Guidelines
- crochet hook
- yarn
- Use sharp scissors to cut your yarn. Blunt scissors can cause fraying and make it harder to weave in your ends.
- Always count your stitches carefully, especially when working in rows. An incorrect stitch count can affect the overall look and fit of your edging.
- If using a hook size different from the pattern, test your tension first on a swatch to avoid unexpected size changes in your finished edging.
Step-by-Step Instructions
Foundation Chain
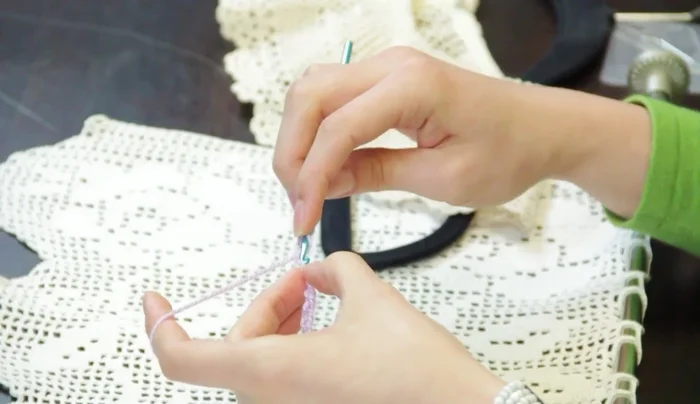
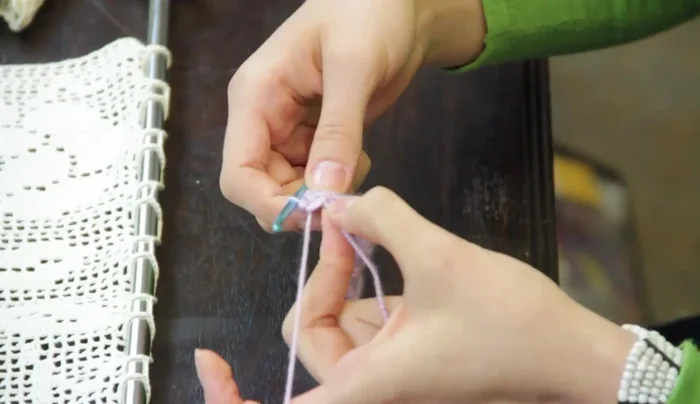
- Make a slip knot with your crochet hook and chain a number of chains to match the width of your pillowcase, plus three extra chains for the turning chain.
First Row: Creating the Shell Stitch
- Double crochet into the fourth chain from your hook (the first three chains count as one double crochet).
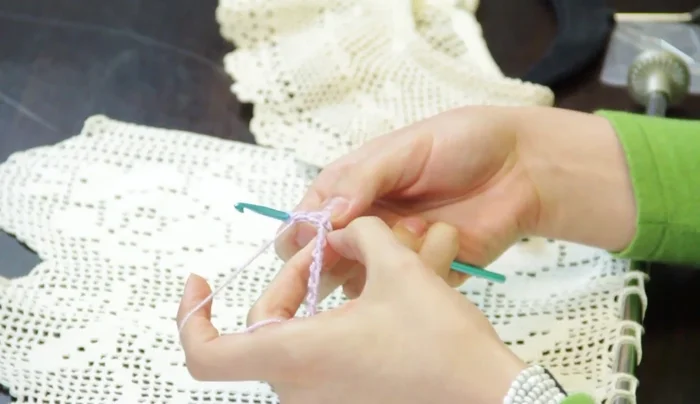
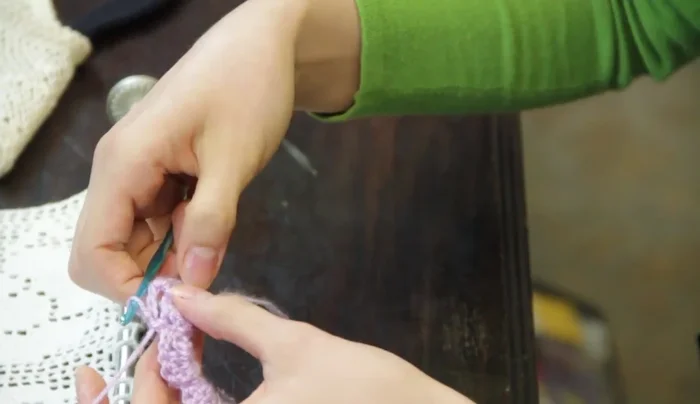
- Make two more double crochets into the same stitch (total of three double crochets).
- Chain one, then make three more double crochets into the same stitch (This creates one shell).
- Single crochet in the next chain stitch.

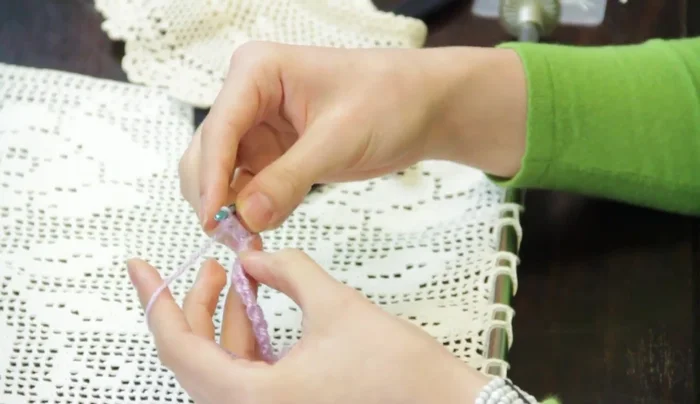
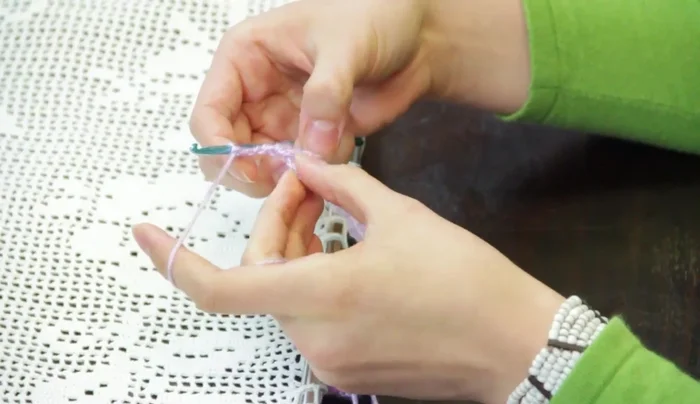
First Row: Creating the Shell Stitch - Repeat steps 3-5 across the entire width of your foundation chain.
- Ensure you end with a single crochet in the last stitch to keep the edges straight. Turn your work and chain three.
First Row: Creating the Shell Stitch Subsequent Rows: Repeating the Shell Stitch Pattern
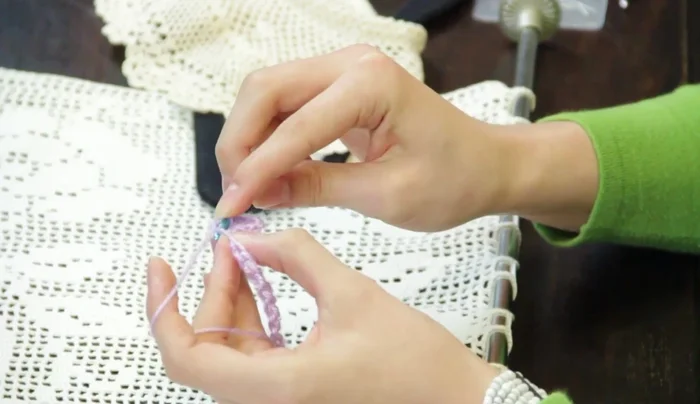
- Double crochet in the chain space formed by the crochet shell. Chain three and attach this chain to the single crochet from the previous row.
- For a lacier effect, chain four instead of three between single crochets and double crochets.
- Continue this pattern of chaining (three or four) and placing a double crochet in the chain space of the shell, then chaining and placing a single crochet where the single crochet was on the previous row, skipping the double crochets within the shells.
- At the end of the row, chain three and attach it with a single crochet to the last double crochet in the shell from the previous row.
Subsequent Rows: Repeating the Shell Stitch Pattern


Read more: Easy Color Block Crochet Blanket Tutorial for Beginners
Tips
- Adjust the number of chains between shells to achieve your desired lacy effect.