Are you ready to dive into the wonderful world of crochet? Then look no further! This beginner-friendly tutorial will guide you through creating a beautiful and practical dishcloth using the ever-popular shell stitch pattern. Even if you've never picked up a crochet hook before, you'll be amazed at how quickly you can master this simple yet elegant stitch. Dishcloths make excellent projects for practicing your crochet skills, allowing you to experiment with tension and stitch consistency without committing to a large or complex item. Plus, they’re incredibly useful and make thoughtful, homemade gifts.
This tutorial is designed to provide a clear and concise step-by-step guide to crocheting a shell stitch dishcloth, perfect for absolute beginners. We’ll cover everything from choosing the right yarn and hook size to understanding the basic shell stitch and finishing your project neatly. Ready to get started? Let's jump into the step-by-step instructions!
Preparation and Safety Guidelines
- Burnet Handicrafter wool (100% cotton)
- 5.5 mm crochet hook
- Use a smooth, washable yarn specifically designed for dishcloths. Avoid using anything that might shed or be damaged by hot water and soap.
- Always wash your finished dishcloth before using it to remove any excess dye or sizing from the yarn.
- Be mindful of your tension throughout the project to ensure an even, attractive fabric. Inconsistent tension can affect the look and durability of your dishcloth.
Step-by-Step Instructions
Starting the Dishcloth
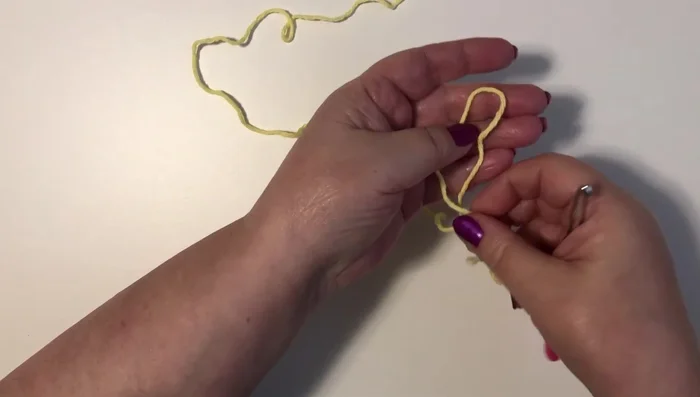
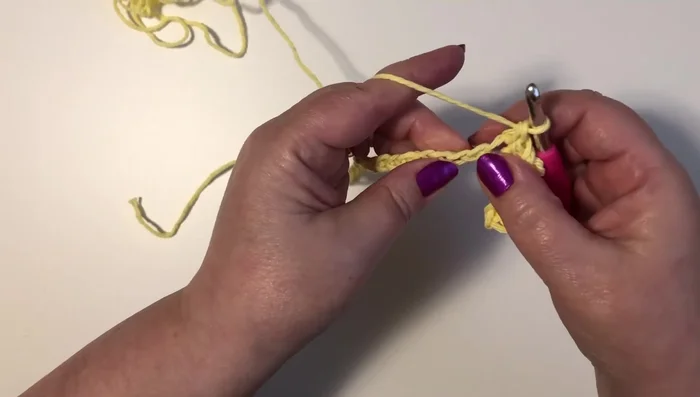
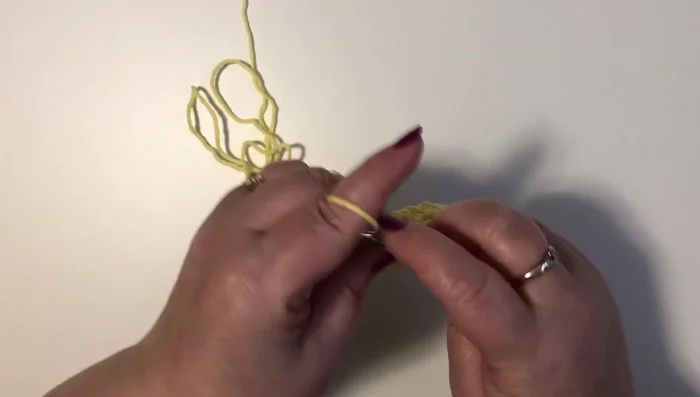
- Make a slip knot.
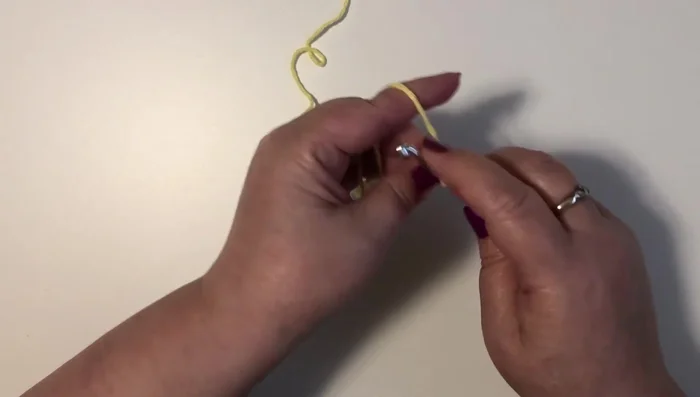
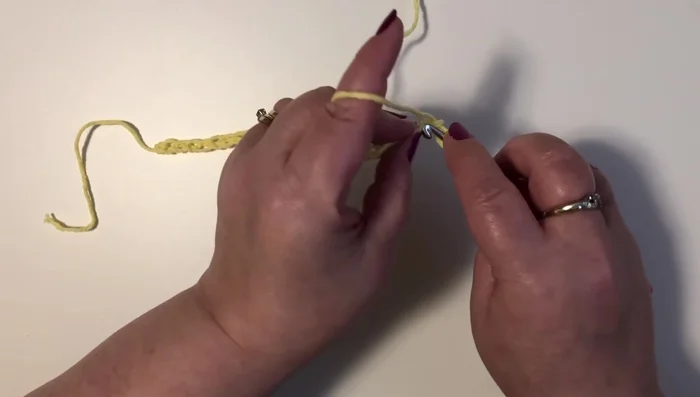
- Chain 31.

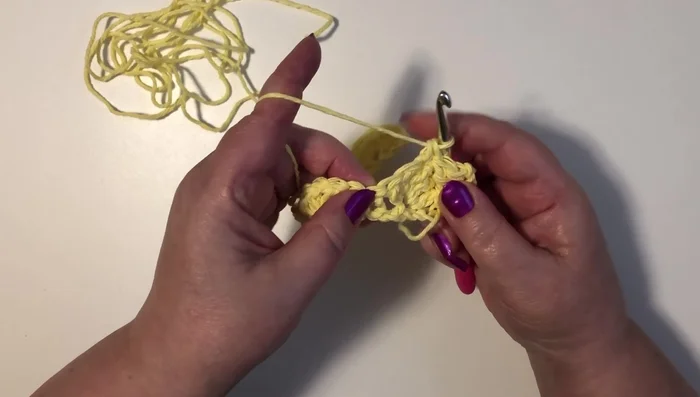
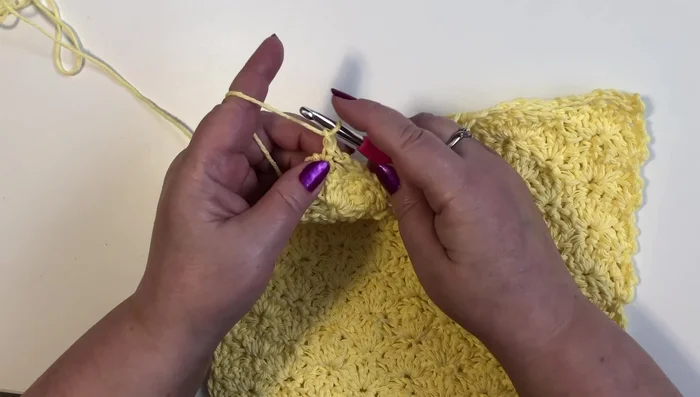
Starting the Dishcloth First Row: Shell Stitch
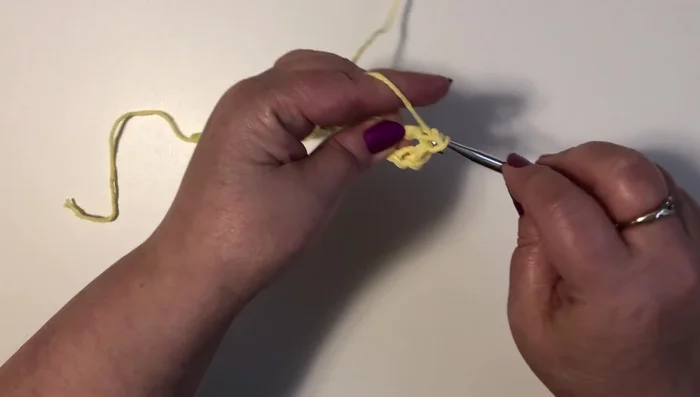
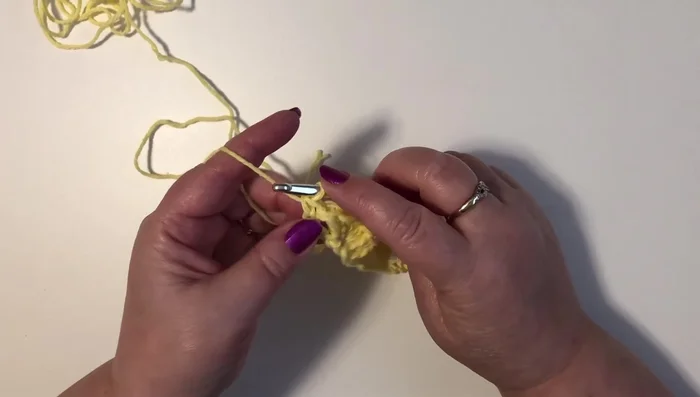
- Single crochet in the second chain from the hook. Skip the next two chains.
- Work 5 double crochet in the third chain.
- Repeat steps 3 and 4 across the row, ending with a single crochet in the last chain.
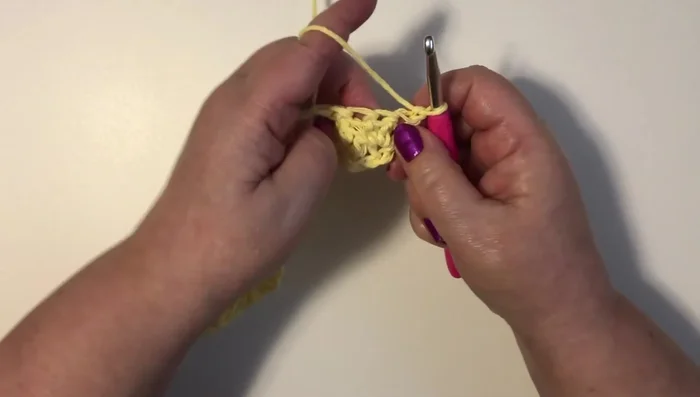
First Row: Shell Stitch Second Row and Subsequent Rows: Shell Stitch
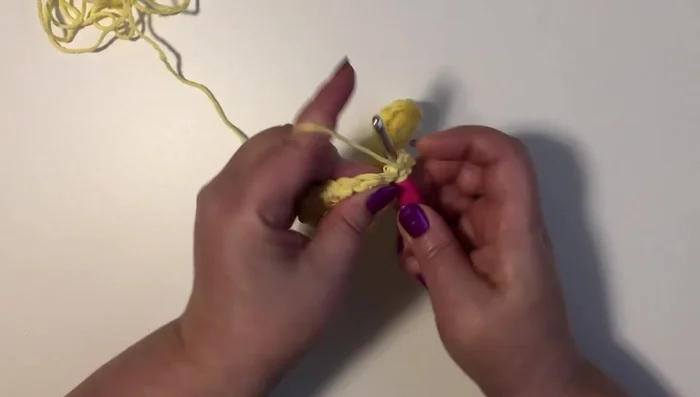
- Chain 3, turn.
- Work 2 double crochet in the first single crochet of the previous row.
- Skip two stitches. Single crochet in the top of the shell from the previous row.
- Skip two stitches. Work 5 double crochet in the next single crochet from the last row.
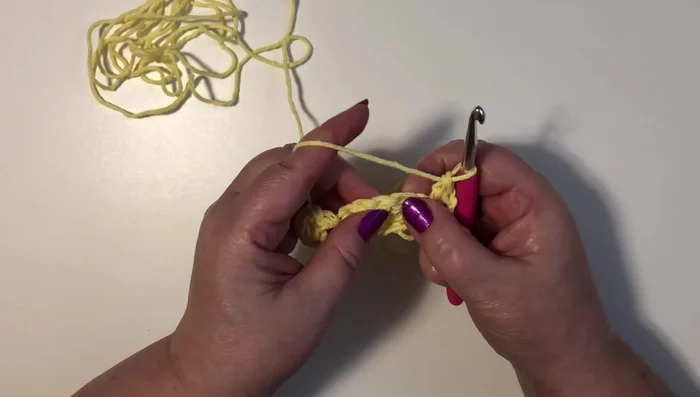
Second Row and Subsequent Rows: Shell Stitch - Repeat steps 8 and 9 across the row, ending with a single crochet.
- Chain 1, turn. Continue this pattern for 17 rows.
Second Row and Subsequent Rows: Shell Stitch First Row of Edging
- Chain 1, turn. Single crochet in each stitch. Chain 2 between each shell, single crochet in the top of each shell.
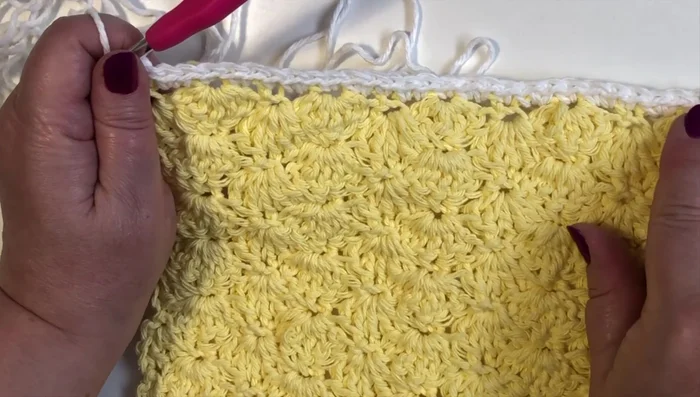
First Row of Edging Corner Edging
- Change to contrasting color yarn. In each corner, single crochet, chain 1, single crochet.
Corner Edging Second Row of Edging
- Work a second row of edging, following the same spacing as the previous row.
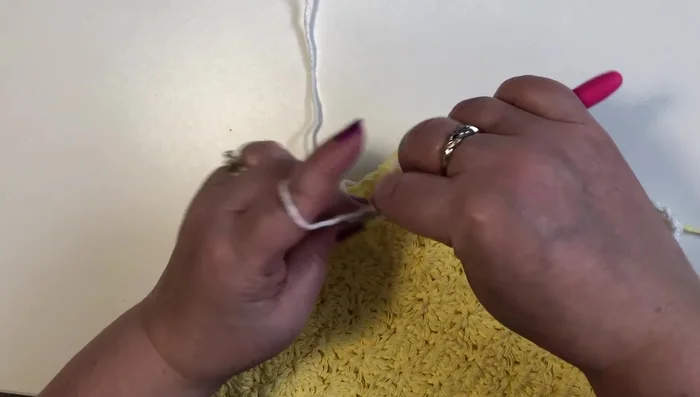
Second Row of Edging Finishing
- Fasten off, weave in ends.
Finishing
Read more: Easy Color Block Crochet Blanket Tutorial for Beginners
Tips
- For a larger dishcloth, increase the chain count in increments of 5 + 1.
- Using multiple colors makes the shell pattern easier to follow, especially for beginners.
- At the beginning and end of each row, remember to work half a shell (three double crochet).
- For even spacing in the edging, aim for two single crochets in the spaces between shells and one single crochet at the top of each shell.