Transform your leftover yarn scraps into a stunning, cozy pillow cover with this delightful crochet shell pattern! This tutorial will guide you through creating a textured and visually appealing masterpiece, perfect for adding a touch of handmade charm to your living space. Forget those bulky yarn bins overflowing with precious remnants – this project is the perfect solution for upcycling those beloved scraps into something truly special. The satisfying rhythm of creating these beautiful shells will be just as enjoyable as cuddling up against the finished product.
Imagine the soft, plush feel of this unique pillow against your cheek as you unwind with a good book. This cozy crochet shells pillow cover is surprisingly easy to make, even for intermediate crocheters, and the result is a truly bespoke piece that reflects your personal style. Ready to get started on this rewarding project? Let's dive into the step-by-step process outlined below.
Preparation and Safety Guidelines
- Scissors
- Tapestry needle
- Ruler or tape measure
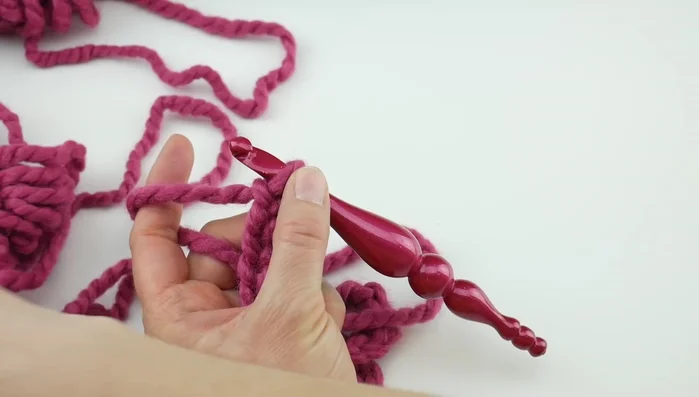
- 9mm crochet hook
- Super bulky weight 6 yarn (various colors)
- 12-inch pillow form (or desired size)
- Always use a yarn needle to weave in your ends securely. Loose ends can unravel your project and pose a choking hazard, especially if the pillow is used by children or pets.
- Be mindful of your hook size. Using a hook too large can create holes in your fabric, while a hook too small may lead to tight, uncomfortable stitching. Refer to your yarn label for recommended hook size.
- When working with multiple colors, secure the yarn tails of each color change to prevent them from unraveling. Consider using a knot or weaving the tails in as you go.
Step-by-Step Instructions
Foundation Chain
- Start the foundation chain. The multiple for this pattern is six plus one. For a 12-inch pillow, chain 31 (30 + 1). Adjust chain length for different pillow sizes.
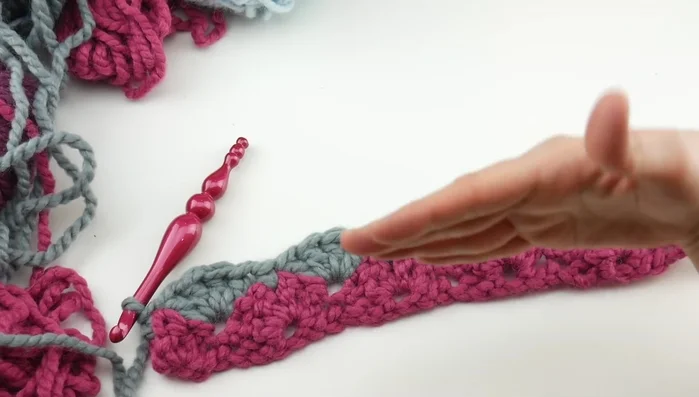
First Row (Shell Pattern)
- In the fourth chain from the hook, work two double crochets. Skip two chains, work a single crochet in the next chain. Repeat the pattern of four double crochets, skip two chains, work a single crochet across the row.

First Row (Shell Pattern) Subsequent Rows (Repeating Shell Pattern)
- Fasten off the yarn from Row 1. Join new yarn in the last stitch of Row 1. Chain 3, turn. Work two double crochets into the single crochet from the previous row. Work a single crochet in the center of the first shell (fan). Work four double crochets into the next single crochet from Row 1. Repeat this pattern across the row, ending with a single crochet in the turning chain space.
- Repeat Row 2 until the piece reaches the desired height for your pillow cover (allowing for overlap at the top and bottom). For a 12-inch pillow, approximately 28 inches in length was used in the video.
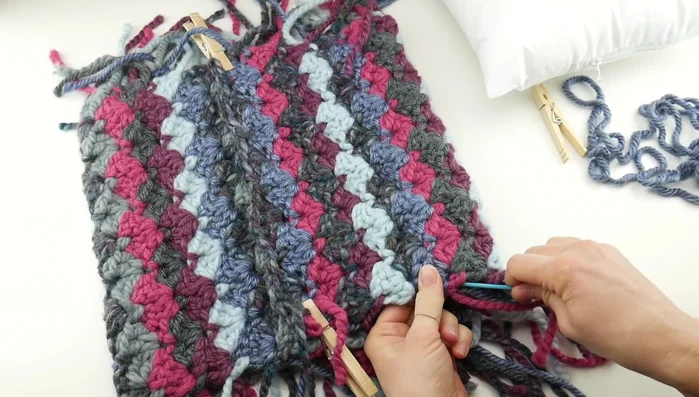
Subsequent Rows (Repeating Shell Pattern) Seaming the Sides
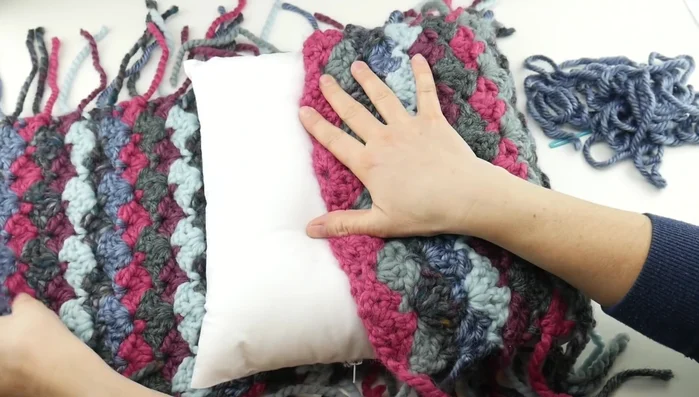
- Fold the rectangle in half with the right sides facing inwards. Using a tapestry needle and scrap yarn, seam the sides together using a whip stitch, leaving an opening at the top for inserting the pillow.
Seaming the Sides Finishing Touches
- Secure and hide any remaining yarn tails on the inside of the pillow cover.
- Turn the pillow cover right side out, insert the pillow form, and adjust the edges to ensure a neat and snug fit.
Finishing Touches
Read more: Easy Color Block Crochet Blanket Tutorial for Beginners
Tips
- Use a hook size up if your chains are too tight.
- Change yarn colors every row or few rows for a vibrant and visually appealing result.
- Consider the pillow form thickness when determining the height of your crochet piece. Add extra length for a poofy pillow.
- Before seaming, check for any gaps to ensure a smooth and professional finish. Adjust the overlap as needed.
- Choose which edge you want to be facing outward before seaming.